
Pantum Chip Reset — Safe Methods for Popular Models
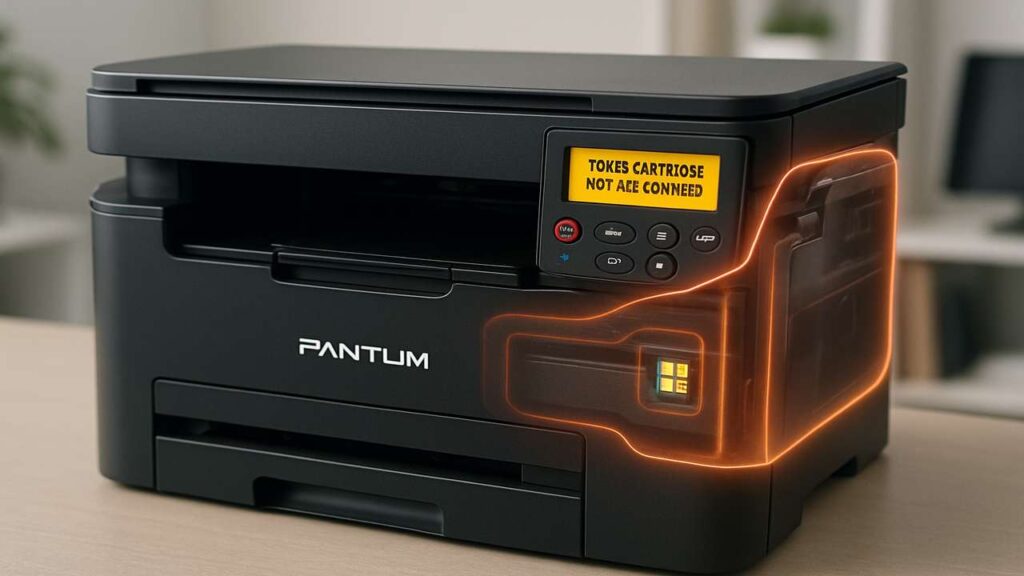
pantum chip reset is what you need when your printer shows “toner cartridge not recognized” or stops at a low page counter even after refilling. Use our pantum chip reset walkthrough to restore printing on common models like M6500/M6550/M6600 and P2500, with steps that are easy, safe, and repeatable.
Pantum chip reset — before you start
Before touching the cartridge, take 2 minutes to prepare:
Power off the printer and unplug it for safety.
Note your current page count from the printer report or utility.
Keep a soft cloth, isopropyl alcohol (for contacts), and good lighting handy.
If you recently updated firmware, keep that version noted; we’ll address it below.
Pantum chip reset — quick checks that solve half the cases
Clean contacts: Lightly clean the gold contacts on the cartridge and inside the printer with a lint-free cloth dampened with alcohol; let them dry 60 seconds.
Reseat the cartridge: Remove and insert the cartridge firmly until it clicks.
Try a different cartridge: If another one is detected, your original chip may be spent or damaged.
Cold reboot: Power off the printer for 60 seconds, then power on and print a test page.
If detection returns after these steps but fails again later, proceed with the reset methods.
Pantum chip reset — Method A: swap with a new reset chip (fast & reliable)
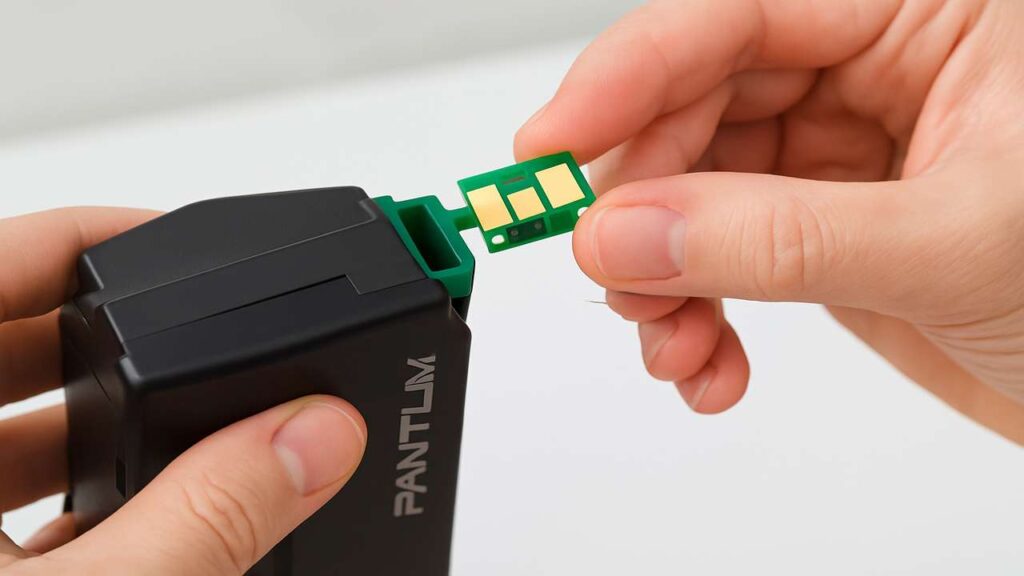
Most Pantum monochrome cartridges use a small replaceable chip on the side of the toner.
Steps:
Power off the printer and remove the toner cartridge.
Locate the chip housing (usually a small board secured by one or two screws or clips).
Remove the original chip carefully; avoid touching pads with bare fingers.
Install the new reset chip designed for your exact cartridge series (e.g., TL-410/TL-420 families used by M6500/P2500 variants).
Reseat the cartridge and power on. Print a configuration page to confirm the counter is restored.
Why Method A works: The reset chip presents a fresh page counter and valid ID to the printer, clearing the “not recognized/low” status instantly. It’s the cleanest path if you have the correct spare.
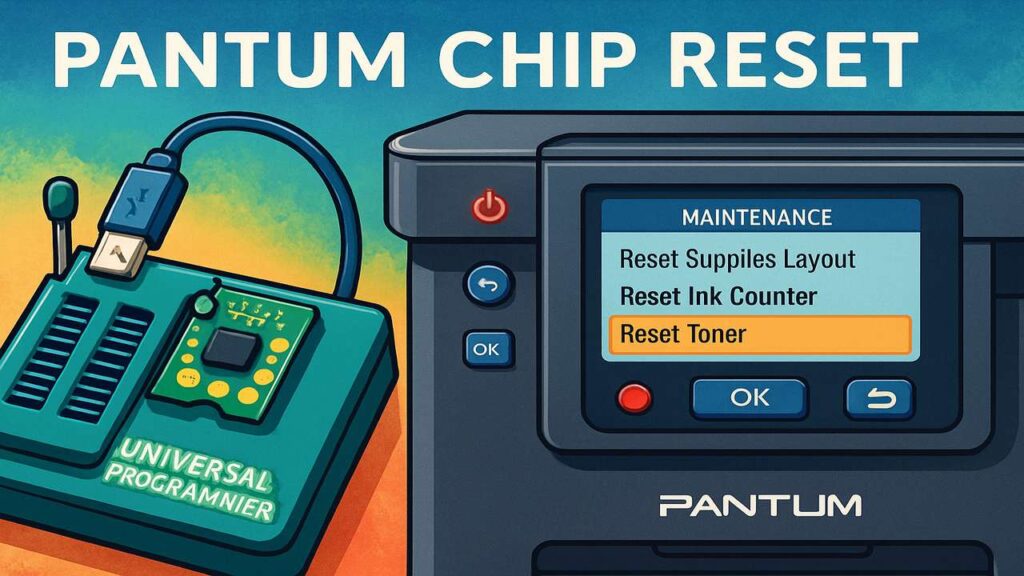
Pantum chip reset — Method B: clone/program a replacement chip (advanced)
If you service many devices, a universal programmer can duplicate compatible chip data onto a blank.
Essentials:
Use blanks that match the chip type used by your model.
Keep a clear labeling system for firmware families; mixing the wrong family can trigger errors.
Program, verify, then test on one cartridge before rolling out to others.
Precautions: Programming requires stable power and anti-static handling. If verification fails, don’t force it—use a factory reset chip instead.
Pantum chip reset — Method C: counters via maintenance menu (model-dependent)
Some Pantum units expose consumable counters in a service/maintenance area. Where available:
Enter maintenance/service mode (key sequence varies by model).
Locate “Toner/Cartridge Count” or similar.
Apply reset and reboot.
Print a supplies report to confirm.
Not all consumer models allow this; if the menu isn’t present, return to Methods A/B.
Pantum chip reset — firmware & “auto-update” considerations
A firmware change can tighten cartridge validation. To avoid surprises:
Freeze auto-updates: In the printer’s Web UI or panel, turn off automatic update checks.
Stable network: If your printer lives behind a router that forces updates, block update endpoints or keep the device on a VLAN with no outbound Internet.
Test first: If you manage multiple printers, try new firmware on a single device before updating the fleet.
Pantum chip reset — after the swap/program: testing the result
Power on and wait until the printer is ready.
Print a Supplies/Status page. The toner level should show “new/OK”.
Run a 3–5 page text test to ensure no smudges or faint areas (these indicate toner or drum issues, not the chip).
If the level still shows low/unknown, reseat the chip, re-clean contacts, and recheck firmware.
Pantum chip reset — quality & longevity tips
Store chips in anti-static bags, away from heat and humidity.
Avoid flexing the chip board when installing.
Keep your reset chips organized by series to prevent mix-ups.
Educate users to avoid pulling cartridges mid-print; that can corrupt readings.
Pantum chip reset — troubleshooting unusual cases
Still “not recognized”: Wrong chip family or a bent contact in the printer. Inspect the spring pins with a flashlight.
Resets but drops to 0% quickly: Cartridge is physically empty or developer is uneven. Gently rock the cartridge side-to-side to level toner, then print a test.
Works only after power cycling: Update the printer driver on the computer and ensure there’s no stale job in the queue.
Random error after updates: Roll back to a stable firmware build or reapply the same version to clear partial installs.
FAQs
Q1. Does pantum chip reset harm the printer?
No, when done with the correct chip and static-safe handling. You’re simply presenting valid supply data; mechanical parts are unaffected.
Q2. Which models benefit most from pantum chip reset?
Entry and mid-range mono models such as M6500/M6550/M6600 and P2500 series commonly accept reset chips designed for their cartridge families.
Q3. Will refilling toner alone fix detection?
Refilling restores print capacity, but the chip still tracks pages. You need pantum chip reset (new or programmed chip) to clear “low/not recognized”.
Q4. After reset, my prints are light—why?
That’s a toner or drum issue, not the chip. Shake the cartridge gently, check the drum’s life, and run a cleaning cycle if available.
Q5. How often should I do pantum chip reset?
Only when the counter reaches end-of-life or the cartridge isn’t recognized. Frequent unnecessary resets can confuse tracking.
Conclusion
A proper pantum chip reset returns your Pantum to normal in minutes. Start with contact cleaning and reseating, then move to a model-correct reset chip. For workshops, chip programming can save cost and time—as long as you keep firmware and chip families organized. Lock down auto-updates, verify with a supplies page, and your printer should stay stable for the full life of the refill.