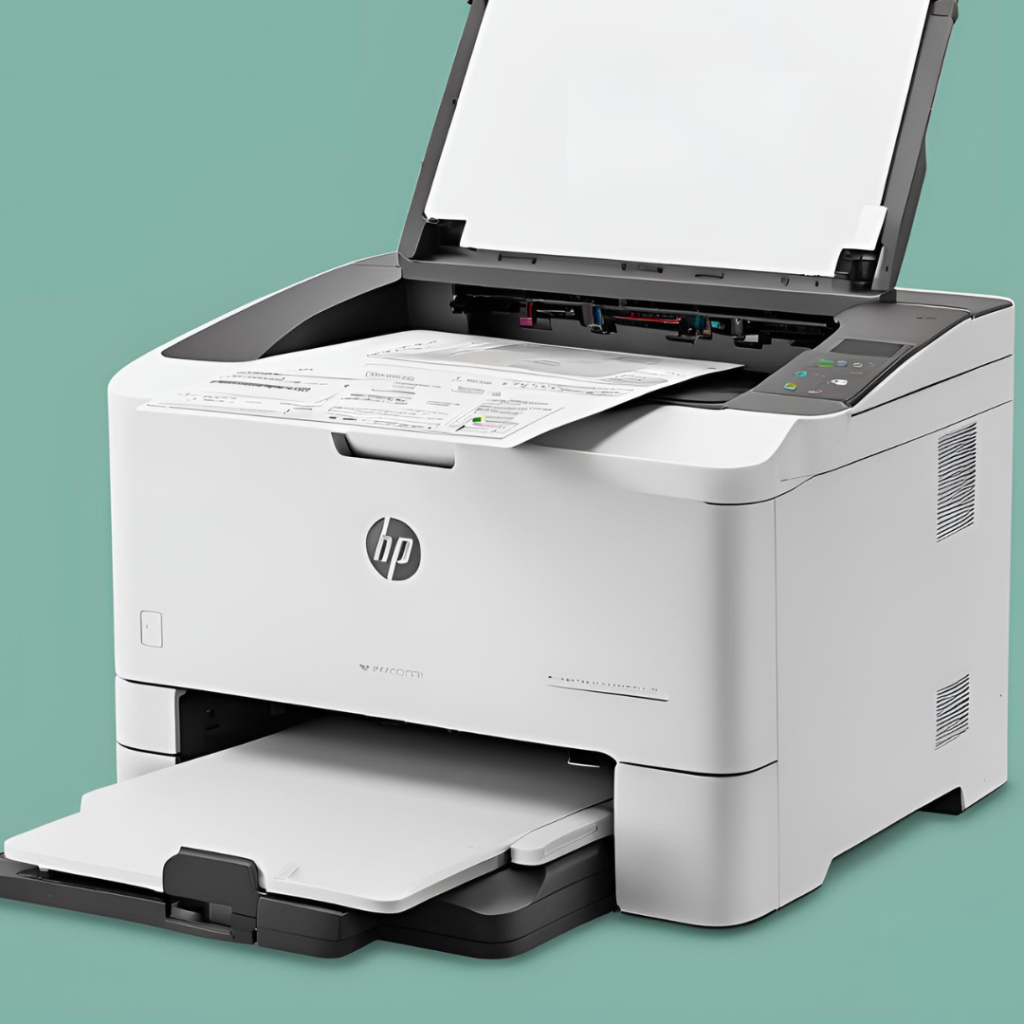
How to Reset the HP Color LaserJet MFP 179fnw
If you are experiencing issues with your HP Color LaserJet MFP 179fnw printer and need to reset it, this guide will walk you through the process. Resetting the printer can help resolve various problems, such as network connectivity issues, paper jams, and printing errors. Please note that resetting the printer will also reset any custom settings you have configured.
Step 1: Power Cycle the Printer
The first step in resetting the HP Color LaserJet MFP 179fnw is to power cycle the printer. This process will clear any temporary errors or glitches that may be causing the issue.
- Turn off the printer by pressing the power button.
- Unplug the power cord from the printer and the wall outlet.
- Wait for at least 60 seconds to allow the printer to fully power down.
- Plug the power cord back into the printer and the wall outlet.
- Turn on the printer by pressing the power button.
Step 2: Perform a Factory Reset
If power cycling the printer did not resolve the issue, you may need to perform a factory reset. This will restore the printer to its original factory settings.
- Press the « Menu » button on the printer’s control panel.
- Use the arrow keys to navigate to the « System Setup » option and press the « OK » button.
- Navigate to the « Restore Defaults » option and press the « OK » button.
- Confirm the reset by selecting « Yes » and pressing the « OK » button.
Please note that performing a factory reset will erase any custom settings you have configured, such as network settings and paper tray settings. Make sure to note down any important configurations before proceeding with the reset.
Step 3: Update Firmware (Optional)
In some cases, updating the printer’s firmware can help resolve issues and improve performance. To update the firmware, follow these steps:
- Visit the official HP Support website and search for the firmware updates for your specific printer model.
- Download the latest firmware update file.
- Connect a USB flash drive to your computer.
- Copy the firmware update file to the root directory of the USB flash drive.
- Insert the USB flash drive into the USB port on the printer.
- On the printer’s control panel, press the « Menu » button.
- Use the arrow keys to navigate to the « System Setup » option and press the « OK » button.
- Navigate to the « Firmware Update » option and press the « OK » button.
- Select the firmware update file from the USB flash drive and follow the on-screen instructions to update the firmware.
After updating the firmware, restart the printer and check if the issue has been resolved.
Step 4: Contact HP Support
If none of the above steps resolved the issue with your HP Color LaserJet MFP 179fnw printer, it is recommended to contact HP Support for further assistance. They have trained technicians who can help diagnose and resolve complex printer problems.
When contacting HP Support, make sure to provide them with detailed information about the issue you are experiencing, any error messages displayed on the printer’s control panel, and the steps you have already taken to troubleshoot the problem.
Remember to have your printer’s model and serial number handy, as they may be required by the support team.
Conclusion
Resetting the HP Color LaserJet MFP 179fnw printer can help resolve various issues and get your printer back up and running smoothly. By following the steps outlined in this guide, you should be able to power cycle the printer, perform a factory reset, and update the firmware if necessary. If the problem persists, don’t hesitate to reach out to HP Support for further assistance.
To communicate directly with us, please contact us from here


Hey people!!!!!
Good mood and good luck to everyone!!!!!