
printer not printing black after refill — the tiny vent fix that saves your sanity
printer not printing black after refill can feel like a cruel joke: the cartridge is full, the chip is reset, the nozzle cleanings run, yet your pages come out stubbornly blank. After days of trial and error (and a lot of head-clean cycles), the unexpected culprit is often airflow—specifically, a blocked or over-sealed vent hole on the cartridge. When the vent can’t admit air, the ink can’t flow; a vacuum forms in the reservoir and the printhead starves. The “weird fix” that finally works? Restoring that tiny vent.
Why airflow matters more than you think
Inkjet cartridges are simple pressure systems: as ink leaves the reservoir through the nozzle/printhead, it must be replaced by air through the vent. If you sealed the vent during refill (tape, plug, sticker, or dried ink), the outgoing ink creates negative pressure that quickly halts flow. Your printer may show no error at all—just blank or faint pages—because electrically and mechanically everything appears normal.
How to confirm you’re dealing with a vent problem
Consistent blanks for black only: Color prints or test patterns may look fine, but black is missing entirely.
Cleaning cycles don’t help (or help for a single page): You get a tease of faint black after a cleaning, then it disappears.
No “cartridge not recognized” error: The chip is okay; the supply simply isn’t reaching the head.
Cartridge feels “vacuum locked”: If you gently pull a little ink at the outlet with a lint-free swab and it doesn’t re-wet quickly, air isn’t entering.
The safe, step-by-step vent fix (2–5 minutes)
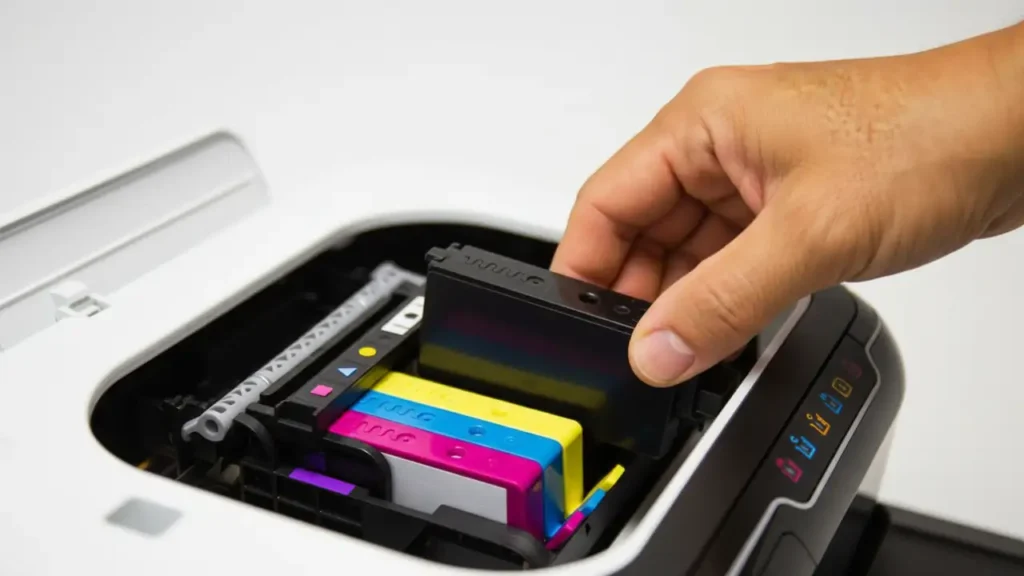
Power off and remove the black cartridge. Work over a paper towel to catch drips.
Locate the vent.
On many OEM cartridges, the vent is a small hole or slit near the top label or under a removable tape tab.
On refillable tanks, it’s often a rubber plug or swing-open cap labeled “Air.”
Inspect and clear.
If there’s tape from refilling, peel it back or punch a tiny pinhole through the label where the vent sits.
If there’s a plug, open it. If dried ink is crusted over the vent, gently clear with a pin and wipe away debris.
Prime lightly (if needed). Touch the outlet sponge with a lint-free swab to make sure ink is present—don’t squeeze or flood.
Reinstall the cartridge and run one normal cleaning (not deep cleaning).
Print a nozzle check/test pattern. Black should appear crisp again. If it’s still blank, repeat the visual vent check and ensure the hole isn’t re-covered by the lid/clip.
Tip: Start with the smallest opening that restores flow. You’re equalizing pressure, not making a chimney. Oversized vents can encourage evaporation or leaks.
Frequently Asked Questions
Preventive setup after every refill
Vent first, then print: Before your first post-refill page, verify the vent is open and unobstructed.
Use the right tape in the right place: Only seal fill holes, not the vent port. If the label hides the vent, pre-punch a neat pinhole where the vent sits.
Store upright: Cartridges stored upside-down can wet the vent path and cause a sticky seal when dry.
Avoid excessive deep clean cycles: They waste ink and can saturate the waste pads. Fix the cause (airflow) instead.
When it’s not the vent (other quick checks)
If your vent is clearly open but black still won’t print, run through these rapid tests:
Outlet sponge is bone dry: The internal sponge can trap air. With the cartridge upright, gently touch the outlet with a lint-free swab until it just moistens (don’t squeeze ink out).
Microbubbles in the line (tank systems): On printers with external tanks/hoses, run a single purge/prime from maintenance (once), not repeated deep purges.
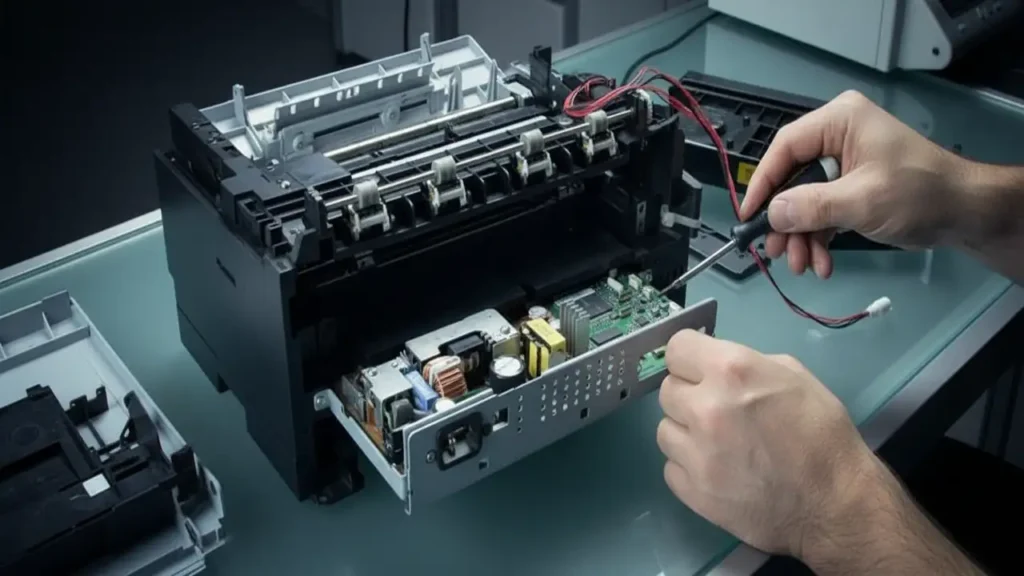
Clogged head (separate printhead models):
Soak the black nozzle plate with a few drops of approved cleaning solution and let sit 10–15 minutes, then blot and test.
For removable heads, a gentle soak on a lint-free pad can revive dried blacks.
Wrong ink type/viscosity: Dye vs. pigment matters for many blacks. If you refilled a pigment-black channel with dye (or vice versa), flow and permanence suffer.
Firmware/region mismatch (rare): If the printer reports ink low/empty despite a reset, re-seat the chip or replace with a known-good resetter/chip.
Model-specific notes (quick guidance)
HP integrated-head (Tri-color + Black carts like 61/63/65 etc.): Vent is under the top label. A tiny pinhole over the vent location usually restores flow. Keep the electrical contacts spotless.
Canon with separate printhead (PG/CL, PGI/CLI, GI tanks): Bottled systems have a dedicated air cap—must be open during printing and closed only for storage.
Epson EcoTank/Canon MegaTank: Open the air cap/valve when printing; close for transport. Don’t overfill—overpressure can saturate pads and cause back-bleed.
Brother cartridges: Often have a labyrinth vent path under the label. Ensure the correct breather membrane isn’t blocked by tape.
Why deep cleaning felt useless until the vent was fixed
A cleaning cycle relies on the pump pulling ink through the head. With a blocked vent, the pump pulls vacuum instead of ink. You might see a momentary improvement if residual ink wet the nozzles, but once that micro-supply is spent, the vacuum wins and pages go blank again. Restore airflow and the same single cleaning suddenly works—because you finally gave the pump something to pull.
Long-term best practices for stress-free refills
Label your steps: “Fill → cap fill hole → open vent → prime → print test.” Stick this on your refill kit.
Use compatible ink only: Match dye/pigment to your model’s black channel.
Keep vents clean: A soft brush or dry swab around the vent path prevents crust.
Print a small test weekly: Prevents dry-out and keeps the head conditioned.
Avoid over-pressurizing: Don’t squeeze cartridges; let gravity do the work during priming.