
Brother Printer Replace Toner Error Fixes
Stop the “Replace Toner” message with these simple Brother printer fixes.
Encountering a “Replace Toner” message on your Brother printer, even when you’re sure there’s toner left, can be frustrating. This common issue often prevents you from printing, halting your work or home productivity. Fortunately, this error doesn’t always mean you need a new toner cartridge.
Brother printers utilize sophisticated systems to monitor toner levels and signal when replacement is due. However, these systems, particularly the toner counter or chip, can sometimes misinterpret the situation. This guide will walk you through several effective methods to address the brother mfc replace toner reset error, helping you get your printer operational again.
Understanding the “Replace Toner” Message
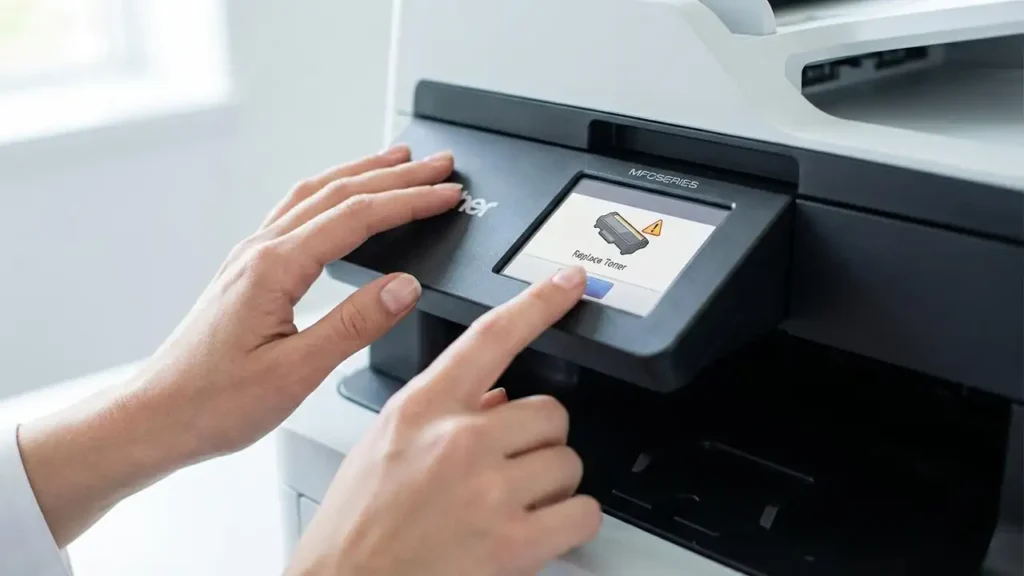
Brother printers, including their Multifunction Center (MFC) and simpler Laser (HL) models, rely on internal counters to track toner usage. When this counter reaches a predetermined limit, it triggers the “Replace Toner” or “Replace Toner Cartridge” message on the printer’s display or your computer. This system is designed to ensure optimal print quality by prompting replacement before toner is completely depleted.
However, external factors or minor glitches can cause the printer to display this message prematurely. This might happen with refilled cartridges, third-party cartridges, or sometimes even with genuine ones due to a temporary sensor or chip issue. Recognizing these potential causes is the first step to resolving the brother replace toner error.
Manual Toner Counter Reset Procedures
One of the most effective ways to bypass a persistent “Replace Toner” message is to manually reset the printer’s toner counter. The exact procedure can vary significantly between Brother models, especially between those with touchscreens and those with basic button interfaces. Always consult your printer’s manual if unsure, but these general methods often work.
Resetting Brother MFC Models with Touchscreens
For Brother MFC printers equipped with a touchscreen interface, resetting the toner counter typically involves accessing a hidden service or maintenance menu. This menu allows you to manually set the toner levels for each color.
Open the printer’s front cover to gain access to the toner cartridge area. Do not remove the toner cartridge yet. On the printer’s control panel, locate and press and hold the “Back” or “Cancel” button for a few seconds. On some models, you might need to tap a specific, often blank, area of the touchscreen, such as the top-left corner, to reveal the reset menu. Once the maintenance or reset menu appears, navigate through the options to select the toner type (Standard or High Yield) and the specific toner color you wish to reset. Confirm your selection by pressing “OK” or “Yes.” Close the front cover, and the printer should recognize the reset.
Resetting Brother HL Monochrome Models (Non-Touchscreen)
Brother HL monochrome printers without a touchscreen often use a button-based sequence to access a reset function. This typically involves the “Go” button and observing the LED indicators.
Begin by opening the front cover of your printer. Locate the “Go” button (often green and labeled). Press and hold the “Go” button until all the LED lights on the printer illuminate, then release it. Immediately after, press the “Go” button a specific number of times. The number of presses varies by model and cartridge yield; common sequences include pressing it 5, 6, or 7 times. After the correct sequence, the LEDs will likely flash in a specific pattern, indicating that the reset has been successful. Close the front cover, and power cycle the printer if necessary.
Other Effective Fixes for Replace Toner Issues
If manual resets don’t resolve the brother replace toner message, several other troubleshooting steps can help. These involve ensuring correct installation, cleaning components, or performing a simple power cycle. These methods address potential physical or temporary electronic glitches that might be causing the false “Replace Toner” warning.
Verify Toner Cartridge and Drum Unit Installation
Incorrect installation or seating of the toner cartridge or drum unit can often lead to recognition errors. It’s crucial to ensure these components are properly locked into place.
Open the printer’s front cover. Carefully remove the toner cartridge and drum unit assembly as a single unit. Separate the toner cartridge from the drum unit according to your printer’s instructions (there’s usually a lever or locking mechanism). Gently shake the toner cartridge from side to side to redistribute any remaining toner. Reinsert the toner cartridge firmly back into the drum unit until you hear it click or lock securely. Then, reinsert the entire drum and toner assembly back into the printer, making sure it is seated correctly and locks into place. Close the front cover.
Clean the Corona Wire
Inside the drum unit, there is a corona wire that plays a vital role in transferring toner to the paper. A dirty or misplaced corona wire can cause printing issues, including false toner warnings.
With the drum and toner assembly removed from the printer, locate the green tab on the drum unit. This tab is used to clean the corona wire. Gently slide this green tab back and forth across the width of the drum unit several times. This action wipes any dust or toner residue off the corona wire. It is crucial to return the green tab to its original “home” position after cleaning. If you don’t, you might experience blank pages or other print quality problems.
Power Cycle Your Brother Printer
A simple power cycle, often called a hard reset, can clear temporary error messages and glitches within the printer’s firmware. This is a quick and non-invasive step that can resolve many minor issues, including a spurious replace toner brother error.
Turn off your Brother printer using the power switch. Unplug the power cord from the wall outlet and from the back of the printer. Wait for at least 5 to 10 minutes. This extended period allows any residual power to dissipate, ensuring a complete reset of the printer’s internal memory. Plug the power cord back into the printer and the wall outlet. Turn the printer back on. Check if the “Replace Toner” message has disappeared.
Inspect and Clean the Toner Cartridge Chip
Modern toner cartridges have an electronic chip that communicates with the printer. If this chip is dirty, damaged, or obstructed, the printer may not be able to read the toner level correctly.
Remove the toner cartridge from the printer. Examine the chip on the side of the cartridge. It’s usually a small, rectangular component with metallic contacts. Gently wipe the chip and its contacts with a clean, dry, lint-free cloth (like a microfiber cloth used for eyeglasses). Avoid touching the metallic contacts with your fingers, as oils can interfere with the connection. Ensure there is no debris on the chip. Reinstall the toner cartridge firmly into the printer, close the cover, and power on the device.

Update Printer Firmware
Outdated firmware can sometimes cause compatibility issues or bugs that lead to persistent error messages. Checking for and installing firmware updates can resolve these kinds of problems.
Visit the official Brother support website. Navigate to the support or downloads section and search for your specific Brother printer model. Look for the latest firmware version available for your model and operating system. Follow the provided instructions carefully to download and install the firmware update. Be aware that some firmware updates might be designed to prevent the use of third-party or refilled cartridges, so proceed with caution if you use such consumables.
Addressing Non-Genuine Toner and Continue Mode
Often, the “Replace Toner” message appears when using non-genuine (remanufactured or compatible) toner cartridges. These cartridges may have chips that the printer doesn’t fully recognize or has a different way of signaling toner levels.
Some Brother printers offer a “Continue Mode” or a similar function that allows you to override the low toner warning and continue printing. This feature is usually found within the printer’s menu settings, often under “General Setup” or “Maintenance.” Look for an option related to “Replace Toner” or “Toner Life” and select “Continue.” This mode allows you to deplete the toner completely, but be aware that print quality may degrade significantly as the toner runs low.
Safety Precautions and Warranty Considerations
When performing any of these troubleshooting steps, safety is paramount. Always unplug your Brother printer from the power outlet before opening any covers or removing components. Avoid touching the shiny surface of the drum unit or the fuser assembly (a heated component, usually near the paper exit), as these parts can be sensitive to static electricity, oils from your skin, or heat, which can cause damage or affect print quality. Modifying your printer or using non-genuine consumables may void your manufacturer’s warranty. If you are unsure about any step or if the problem persists, it is best to contact Brother customer support or an authorized service technician.
Frequently Asked Questions About Brother Toner Errors
Keeping Your Brother Printer Running Smoothly
Dealing with a “Replace Toner” message on your Brother printer can be a common hurdle, but it’s often manageable. By understanding how the toner monitoring system works and employing methods like manual resets, proper installation checks, and cleaning key components, you can frequently resolve the issue. Remember to follow safety guidelines and consult your printer’s manual for model-specific instructions. Regular maintenance and understanding the limitations of consumables can help prevent future printing interruptions.