
Resolve Printer’s Drum Counter Reset Issue
Printers, particularly Brother models, often display a “Replace Drum” message that can persist even after installing a new drum unit. This is rarely due to a faulty sensor. Instead, the notification is typically tied to an internal page counter that requires a specific, manual drum counter reset procedure from the user. Understanding and performing this reset is crucial for clearing the message and resuming normal operation.
This persistent message indicates that the device has not registered the installation of a fresh drum unit. Rather than a physical detection, the printer tracks print volume. When this volume reaches a predetermined limit, it triggers the “Replace Drum” alert. The only way for the printer to acknowledge the new component is through a specific drum counter reset action initiated by the user.
Understanding the Drum Counter Reset Requirement
Printers are designed to estimate the lifespan of consumables based on usage, not physical inspection. The “Replace Drum” notification serves as a reminder that the internal page counter for the drum has reached its limit. This counter must be explicitly reset to inform the device that a new unit is in place, thereby clearing the error and allowing the printer to continue functioning without interruption. Without this manual confirmation, the printer assumes the old drum is still in use, regardless of an actual replacement.
The problem nearly always stems from an unperformed or incorrectly performed reset. Modern printers do not feature a physical sensor to detect a new drum; their operational logic relies solely on this internal page count. Therefore, the user’s manual input is essential for a successful drum counter reset.
Executing the Standard Drum Counter Reset Procedure
The method for performing a drum counter reset varies depending on your printer’s interface. Ensure the printer is powered on before starting. This process effectively tells the printer that a new drum has been installed, allowing it to clear the “Replace Drum” message.
Performing Drum Counter Reset on LCD Models
For printer models equipped with an LCD screen (such as MFC or DCP series), follow these steps:
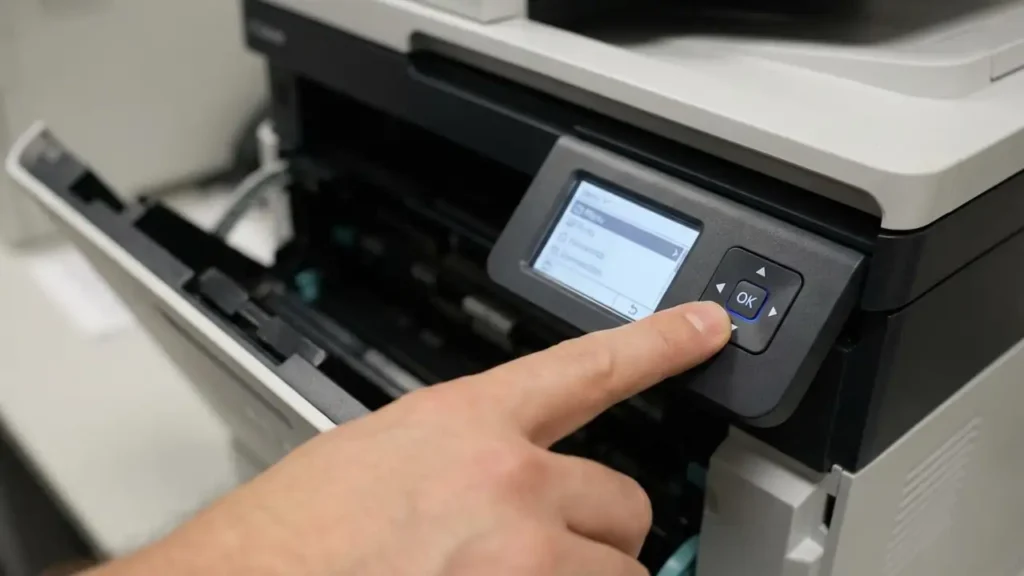
- Open the front cover of your printer. This exposes the internal components and enables access to the reset function.
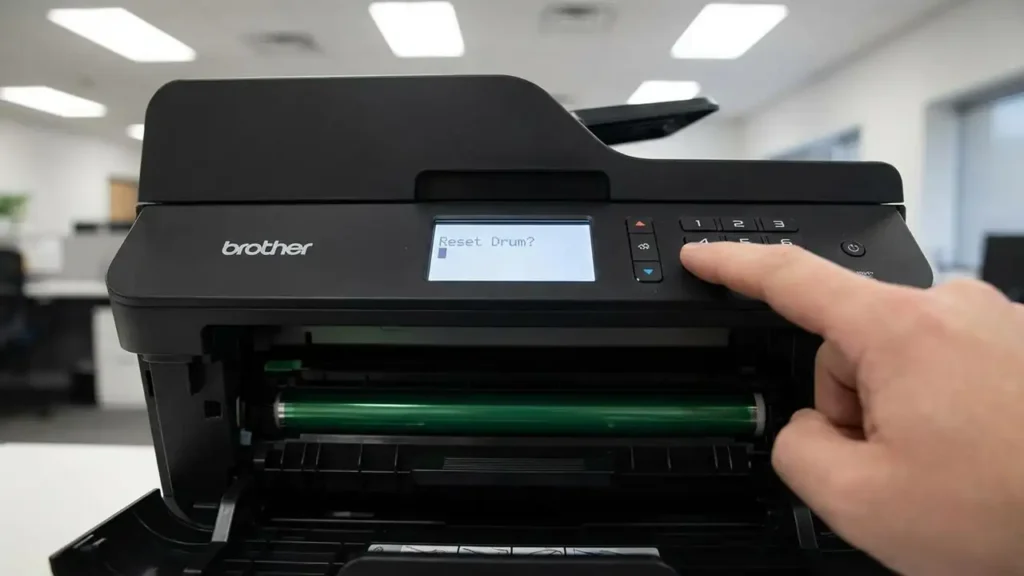
- Locate and press the “OK” button. Hold it down firmly until a “Replace Drum?” message appears on the LCD.
- Once the prompt appears, confirm the operation. Use the Up Arrow key or press the “1” button, as indicated by your specific model’s interface, to finalize the reset.
- Close the front cover. The “Replace Drum” message should now be cleared, indicating a successful drum counter reset.
For models with a touchscreen interface, the process is slightly different:
- Navigate to the [Settings] menu on your printer’s touchscreen.
- Select [All Settings] from the options presented.
- Proceed to [Device Info], then choose [Parts Life].
- On the [Parts Life] screen, press and hold the “#” key until the display message changes. This action initiates the reset prompt.
- Select “Drum” from the options that appear, then confirm your selection by pressing “Yes.”
- The touchscreen should now indicate that the drum counter has been reset, clearing the previous error message.
If your printer is a compact HL series model without a screen, use this method:
- Open the front cover of the printer.
- Press and hold the “Go” button. Keep it pressed until all the indicator lights on the control panel illuminate.
- Once all lights are on, release the “Go” button.
- Close the front cover of the printer. The “Replace Drum” message should disappear, signifying that the drum counter reset has been completed.
Addressing Persistent Errors with a Hard Reset
If the standard drum counter reset procedure fails to clear the “Replace Drum” message, the printer’s internal memory might be in an inconsistent state. A hard reset can often resolve these memory-related issues by clearing any residual data. This procedure helps to ensure that the printer’s system can correctly accept the subsequent reset command.
- Remove the entire drum and toner assembly from the printer. This isolates the component from the main unit.
- Turn off the printer using its power button.
- Unplug the printer’s power cord directly from the wall outlet. Leave it disconnected for a minimum of 10 minutes. This duration allows any residual electrical charge in the printer’s memory to dissipate.
- After 10 minutes, reconnect the power cord to the wall outlet and turn the printer back on.
- Reinstall the drum and toner assembly into the printer.
- Immediately attempt the appropriate drum counter reset procedure again, using the steps detailed for your printer’s specific interface (LCD, touchscreen, or no-screen model). This sequence should give the printer a fresh opportunity to recognize the drum unit and accept the reset command.
Investigating Component Issues for Drum Counter Reset Failure
Sometimes, the issue isn’t with the reset procedure itself, but with the drum unit or its connection. If the drum counter reset still doesn’t work after a hard reset, examine the physical components.
- Check for Unofficial Drum Units: Some third-party drum units may lack the specific physical reset gears or internal chips that are necessary for the printer’s menu system to properly register the reset command. If you are using a non-original unit, consider testing with an official drum if available.
- Inspect and Clean Contacts: Residue from toner can accumulate on the metal contacts inside the printer where the drum unit sits. These contacts are crucial for proper communication between the drum and the printer. Gently clean the metal contacts both on the drum unit and inside the printer using a dry, lint-free cloth. Ensure no toner dust remains on these connection points.
- Verify Proper Installation: Double-check that the drum unit is seated correctly and securely within its compartment. A slight misalignment can sometimes prevent the printer from fully recognizing the component, leading to a failure to complete the drum counter reset.

Prevention and Safety Considerations
To prevent future issues and ensure safe operation, always handle printer components with care. When performing any maintenance, especially if unplugging the device, ensure your hands are clean and dry. Avoid touching the sensitive green drum surface directly, as oils from your skin can damage it. If you are unsure about any step, refer to your printer’s manual or consider contacting technical support. Replacing consumable parts typically does not void a warranty, but using unofficial parts or causing physical damage during maintenance could. Always power off and unplug the device before cleaning internal contacts or removing components for extended periods.