
ponyprog resetter is a practical workflow for technicians who need to erase or re-initialize a microcontroller’s EEPROM without touching fuse or lock bits. Using PonyProg with the proper hardware interface, you can read, verify, and reset EEPROM contents on supported devices while keeping firmware and security settings intact—ideal for maintenance, bench testing, or returning prototypes to a known baseline.
What the ponyprog resetter can (and can’t) do
PonyProg is a universal programmer that supports multiple families (e.g., AVR, some PIC, I²C/SPI EEPROMs). As a ponyprog resetter setup, it lets you:
-
Read and verify EEPROM contents.
-
Erase or overwrite EEPROM with a blank image.
-
Back up data before changes.
It is not a tool for bypassing vendor lock mechanisms. Avoid changing fuse/lock bits unless you fully understand device consequences and have official guidance.
Requirements (hardware & software)
To operate a ponyprog resetter reliably you need:
-
A compatible PonyProg build from the official project source or trusted distribution.
-
A supported interface (commonly SI-Prog I/O or a well-supported USB-to-serial bridge).
-
Proper cabling and level translation as required by your target (ISP/SPI/I²C).
-
Target device power that matches the microcontroller’s spec (undervoltage causes read/write errors).
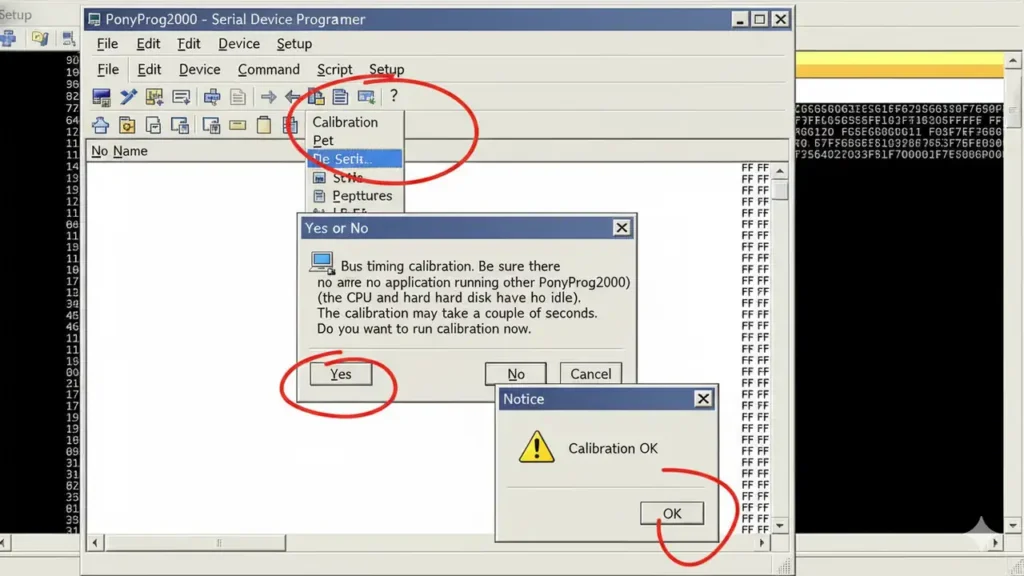
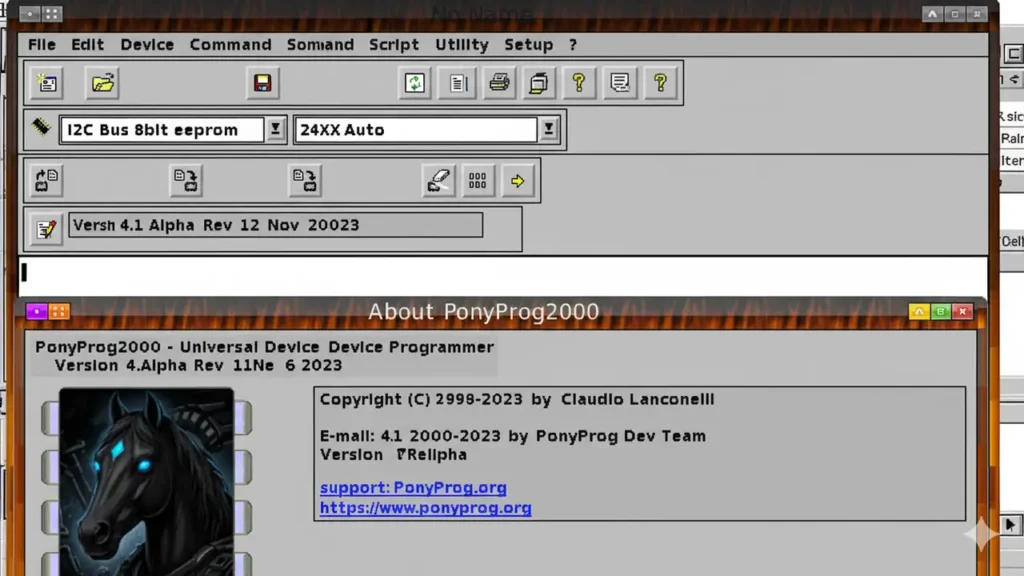
Initial configuration (Interface Setup & Calibration)
After installing PonyProg, open Setup → Interface Setup… and configure the link used by your ponyprog resetter:
-
Choose SI Prog I/O (or the interface your hardware requires).
-
Select the serial programming interface and the correct COM port (COM1/COM2 or the enumerated USB-COM).
-
Set line-control polarity per your adapter’s documentation.
Then run Setup → Calibration once to tune the serial timing so the ponyprog resetter can communicate reliably across different hosts.
Selecting the device & target memory
From Device, select the correct family (e.g., AVR micro) and the exact chip (e.g., ATmega128) so the ponyprog resetter applies the right protocols and memory maps. If the chip exposes separate Flash and EEPROM spaces, make sure the EEPROM window is selected before any erase/write action.
Safe EEPROM erase/reset workflow
Use this conservative, service-friendly routine with your ponyprog resetter:
-
Backup first: Read EEPROM and save a binary/HEX dump.
-
Verify link quality: Perform a Read → Verify to ensure clean comms.
-
Prepare a blank image: Either use PonyProg’s blank buffer or generate a 0xFF-filled file that matches the EEPROM size.
-
Write/Erase: Write the blank image to EEPROM (or use the device-specific erase command if available).
-
Read back & verify: Confirm the device returns the expected blank pattern.
-
Do not alter fuses/lock bits: Only read them for diagnostics; changing them may brick the device.
Troubleshooting & best practices
-
If the ponyprog resetter can’t detect the device: recheck pinout, cable length, target power, and COM port; reduce cable length and noise.
-
If operations are flaky: re-run Calibration, slow down the programming speed, and ensure a stable ground reference.
-
If verification fails: confirm you selected the exact device, and that brown-out or reset lines aren’t floating.
-
Keep an audit trail: store the original EEPROM dump and a short log of changes for traceability.
Frequently Asked Questions
Download Link
Ponyprog Resetter Download
Conclusion
Used with care, a ponyprog resetter provides a clean, reversible way to erase or re-initialize EEPROM on supported microcontrollers. Keep to official documentation, back up before you write, and avoid changing fuses or lock bits unless you have explicit, authoritative instructions.