
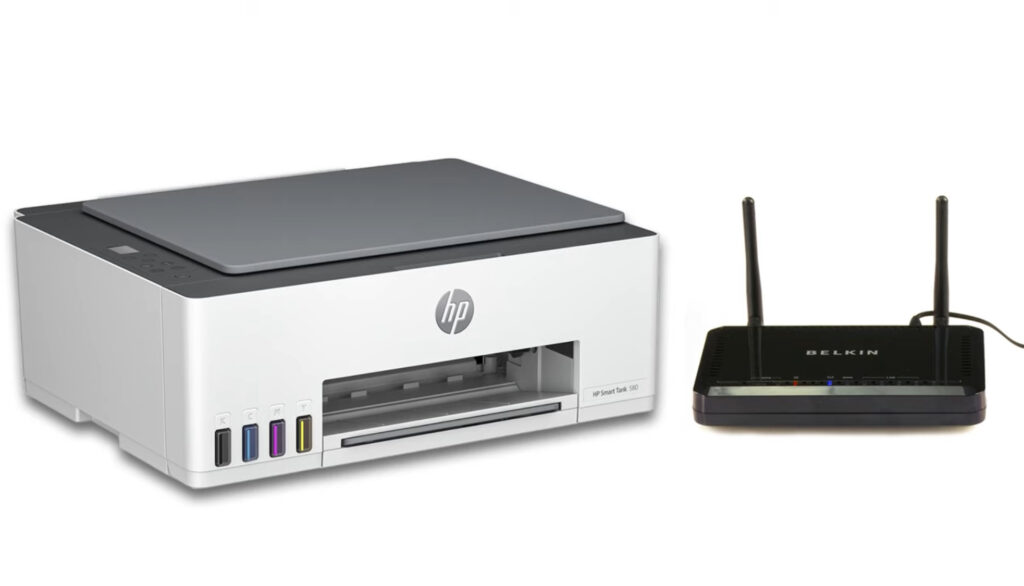
Connecting your HP printer to a wireless network can greatly enhance your printing experience by allowing seamless printing from multiple devices. One of the simplest methods to achieve this is through Wi-Fi Protected Setup (WPS). This guide outlines the steps to connect your HP printer to your wireless network using the push button method of WPS.
Setting up your HP printer on a wireless network can free you from the constraints of wired connections and enable easy printing from any device on the same network. This guide provides a comprehensive walkthrough to help you connect your printer using WPS.
Requirements for WPS Connection
Before you begin, ensure that you have the following:
- A wireless HP printer that supports WPS push button mode
- A wireless router with a WPS button
This method does not require a computer, network name, or password, making it a convenient option for quick setup.
Steps to Connect HP Printer via WPS
Preparing the Printer
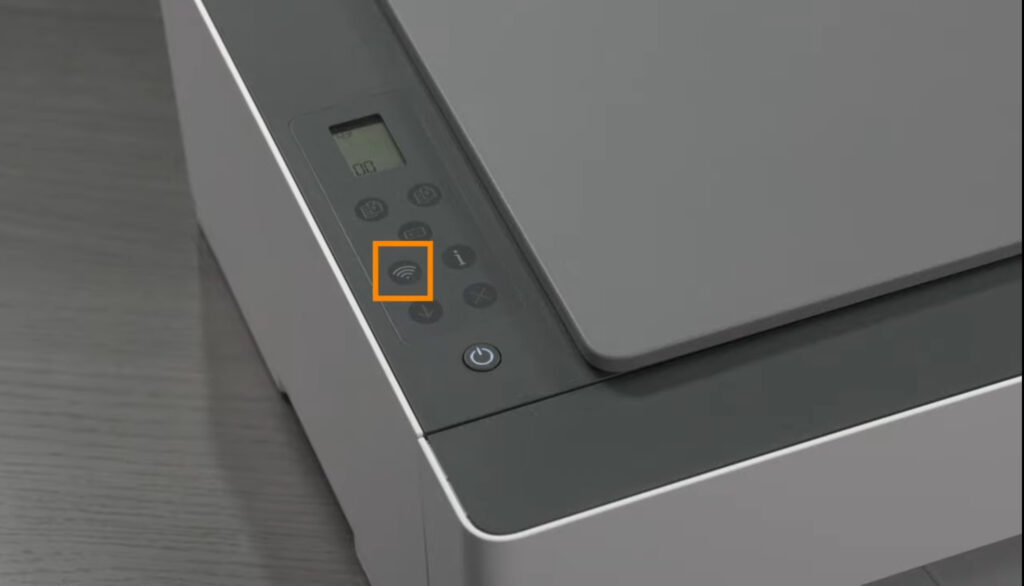
- Wireless Button Activation:
- If your printer has a wireless button, press and hold it for three seconds until the wireless light begins to blink. This indicates that the printer is ready to connect.
- Control Panel Navigation:
- For printers without a wireless button, use the control panel to navigate. Access the Network Settings or Wireless Settings menu, select Wi-Fi Protected Setup, choose Push Button, and then select Start.
Connecting to the Router
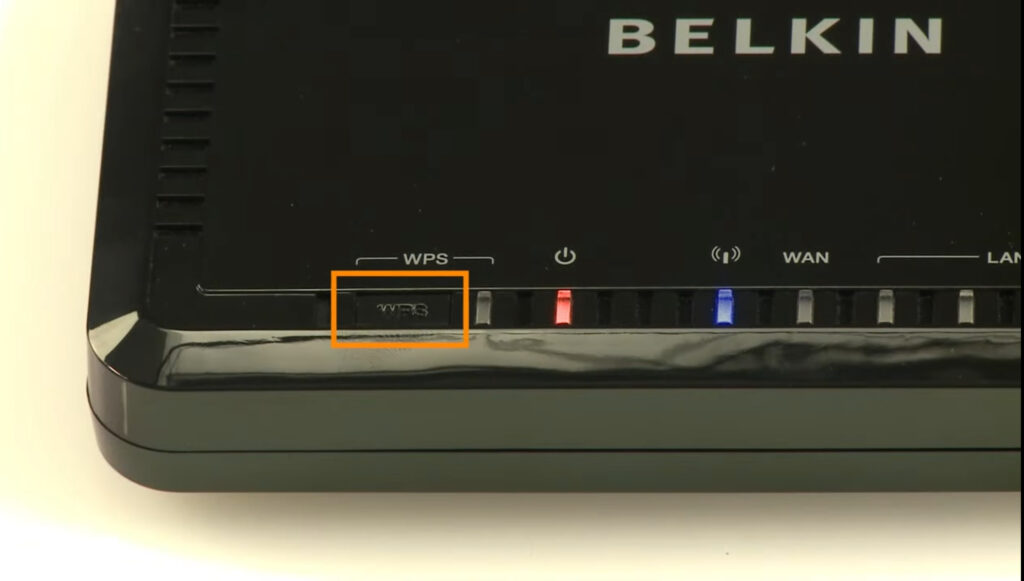
- WPS Button on the Router:
- Within two minutes of starting the WPS setup on your printer, press and hold the WPS button on your router for three to five seconds. The WPS light on the router should start blinking, indicating that it is in pairing mode.
- Establishing Connection:
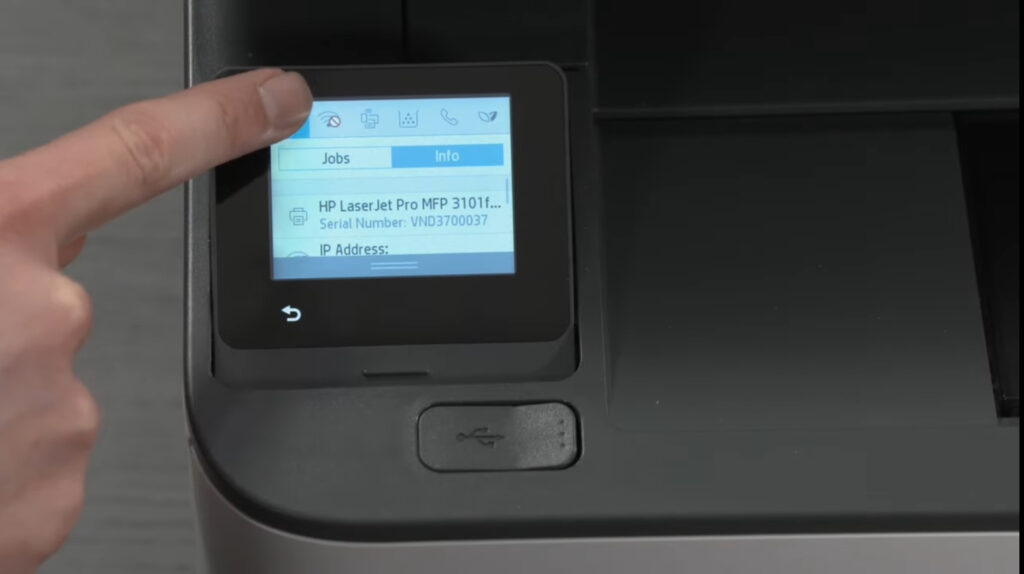
- Wait a few moments for the printer to establish a connection with the router. This may take several minutes.
- Connection Confirmation:
- Once connected, the wireless light on your printer will stop blinking, or a confirmation message will appear on the control panel, indicating a successful connection to the wireless network.
Post-Connection Steps
After your printer is connected to the wireless network, it is essential to install the HP printer software on your mobile device or computer. This software will enable you to manage your printing tasks efficiently and utilize additional features offered by your printer.
Conclusion
Using the WPS push button method is an efficient way to connect your HP printer to a wireless network without the need for a computer or complicated network settings. With your printer now connected, you can easily print from various devices, enhancing your productivity. For further assistance, explore HP’s official support videos and resources available on their YouTube channel.
By following these steps, you can enjoy the benefits of wireless printing, including flexibility and convenience. Regularly updating your printer’s software and firmware can also help maintain its performance and compatibility with other devices.
To communicate directly with us, please contact us from here
Keywords for SEO
- Connect HP printer to wireless network
- HP printer WPS setup
- Wireless printing HP printer
- HP printer network connection
- WPS push button method
- HP printer Wi-Fi setup
- HP printer wireless configuration
- Easy printer setup
- HP wireless printing guide
- Troubleshoot HP printer connection