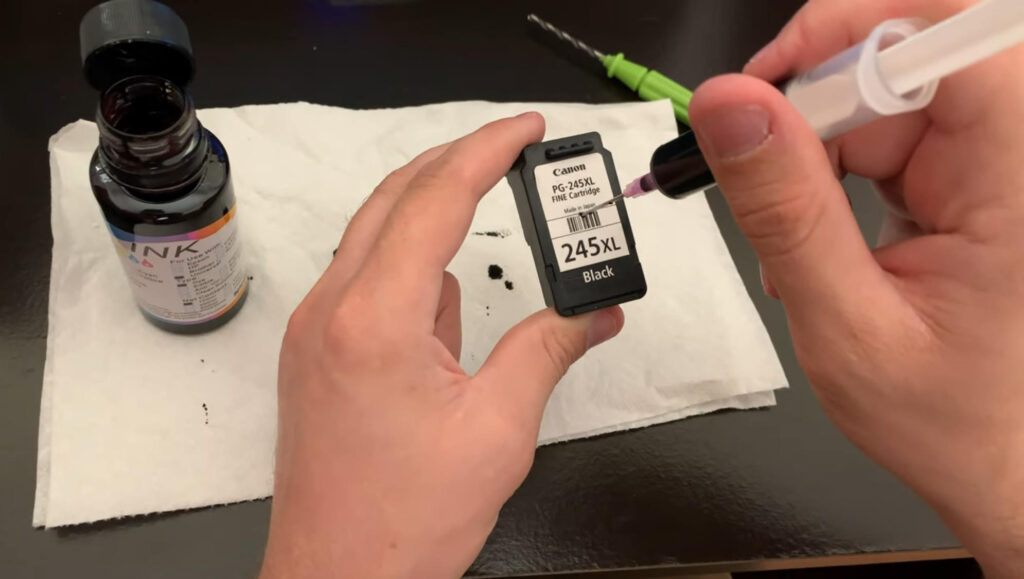
Refilling your Canon PG 245 XL ink cartridge can save you money and reduce waste. This guide provides clear instructions on how to safely and effectively refill your cartridge, ensuring optimal performance and quality prints.
As the cost of printer ink continues to rise, more users are turning to refilling their cartridges as a cost-effective and environmentally friendly alternative. In this guide, we will walk you through the entire process, from gathering the necessary materials to testing your refilled cartridge, ensuring you achieve the best results without compromising print quality.
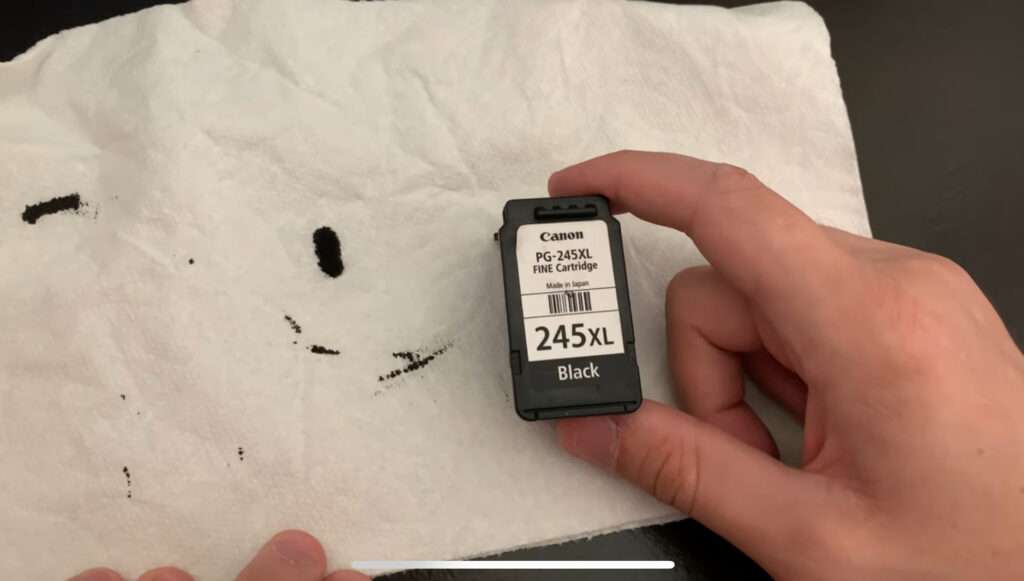
Materials Required
Before starting the refilling process, gather the following materials:
- Canon PG 245 XL ink cartridge
- Ink refill kit (including a syringe and needle)
- Ink bottle (ensure it is compatible with Canon cartridges)
- Piercing tool (often included in the ink kit)
- Paper towels (for cleanup)
Having all the materials ready and within reach will make the process smoother and reduce the risk of spills or errors.
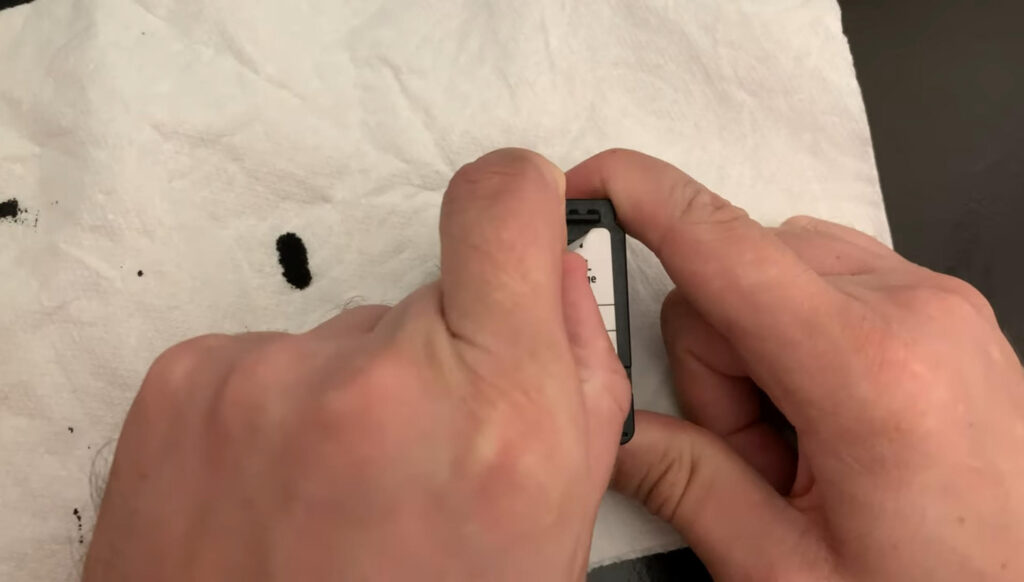
Preparing the Cartridge
Step 1: Remove the Sticker
Begin by gently peeling back the sticker on the cartridge. Take care not to damage it, as you will need to cover the hole after refilling. The sticker covers the ink entry point and must be removed to access the cartridge’s interior.
Step 2: Locate the Plastic Cover
In the center of the cartridge, you will find a solid plastic section that needs to be penetrated to refill the ink. This area is specifically designed to be accessed during refills.
Step 3: Use the Piercing Tool
Insert the tool from the ink kit into the plastic cover. Apply downward pressure and twist until you break through the plastic layer. Be patient; it may take a moment to get through the plastic layer, but persistence will pay off.
Refilling the Ink
Step 1: Clear Debris
Once you have penetrated the plastic, clear any debris from the area to ensure a clean refill. Debris can interfere with the ink flow, so ensure the area is clean before proceeding.
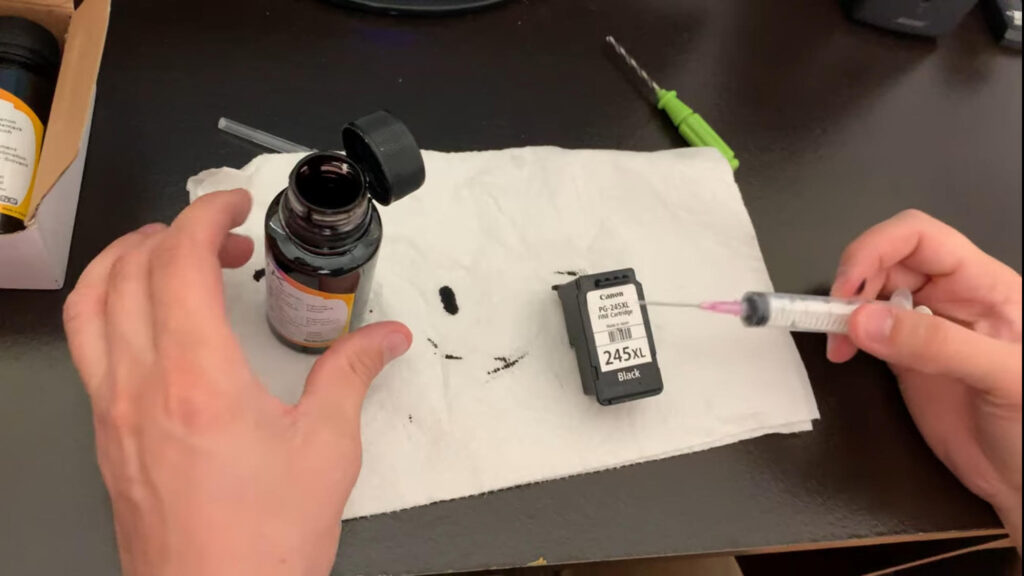
Step 2: Prepare the Syringe
Take the needle from the kit and attach it to the syringe. Exercise caution to avoid injury during this step. Properly securing the needle is crucial to ensure a smooth and safe refill process.
Step 3: Measure the Ink
Open your ink bottle and draw ink into the syringe. For the PG 245 XL cartridge, which holds 18 milliliters of ink, add the appropriate amount to the syringe. If you have already filled part of the cartridge, measure accordingly. Overfilling can lead to leaks, so it’s important to measure accurately.
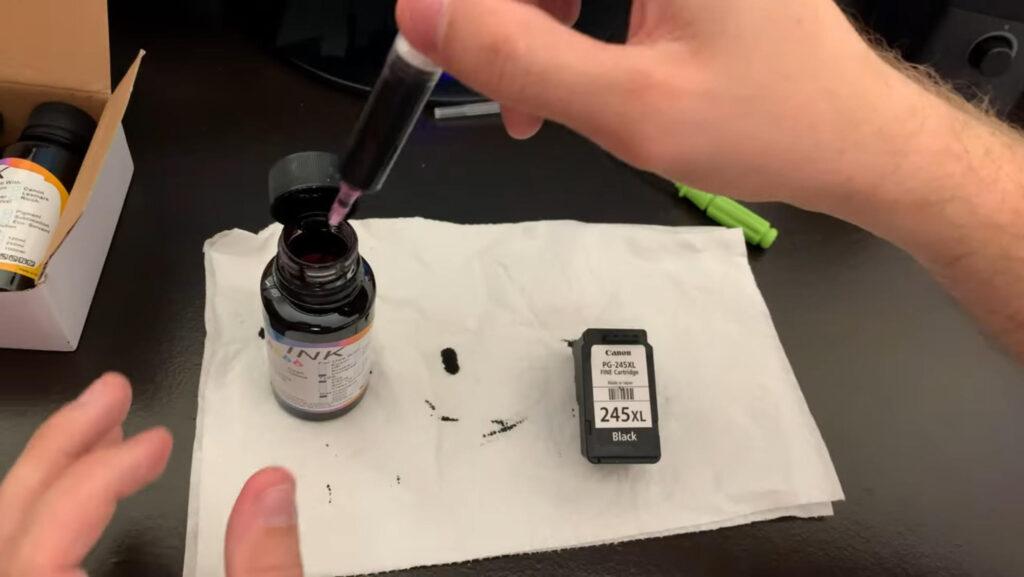
Step 4: Inject the Ink
Position the needle over the sponge inside the cartridge (the exact spot is typically right below the barcode). Slowly inject the ink into the sponge. Pause every few seconds to allow the sponge to absorb the ink fully. Ensure the cartridge remains upright during this process. This careful injection helps prevent overflow and ensures even distribution of ink within the cartridge.
Finalizing the Process
Step 1: Check for Ink Flow
After injecting the ink, you should see ink at the bottom of the cartridge. If there is no ink visible, you may need to prime the cartridge to encourage ink flow.
Step 2: Priming the Cartridge
If necessary, use a separate ink cartridge priming tool to help draw ink into the printhead. If you do not have this tool, you can cover the printhead with a paper towel and use a vacuum cleaner hose to create suction, pulling the ink down into the cartridge. Priming ensures that the ink flows smoothly from the cartridge to the printhead, preventing streaks or gaps in your prints.
Step 3: Reattach the Sticker
Once refilled, cover the hole with the original sticker to protect the cartridge. This step is essential to prevent the ink from drying out or leaking.
Step 4: Test Your Cartridge
Insert the refilled cartridge into your printer. It is recommended to run two to three printhead cleanings to ensure proper ink flow and print quality. Testing the cartridge ensures that the refilling process was successful and that your prints maintain high quality.
Conclusion
Refilling your Canon PG 245 XL ink cartridge is a straightforward process that can save you money while contributing to environmental sustainability. By following the steps outlined in this guide, you can effectively manage your ink needs and maintain your printer’s performance. Enjoy high-quality prints without the high cost of new cartridges!
Refilling your cartridges not only saves you money but also reduces the environmental impact of single-use cartridges. With careful handling and regular maintenance, you can achieve professional-quality prints at a fraction of the cost.
To communicate directly with us, please contact us from here
Keywords for SEO
- Refill Canon PG 245 XL ink cartridge
- Canon ink cartridge refill guide
- Save money on printer ink
- DIY ink cartridge refilling
- Canon printer ink refill process
- How to refill Canon PG 245 XL
- Ink cartridge maintenance tips
- Improve printer performance
- Environmental benefits of refilling cartridges
- Canon PG 245 XL refill instructions


Filled 3 275xl cartridges and when I put them in the printer it showed a message ” Cartridge not in correctly”. Took it out and put it back in several times and got the same message. Whats up with that????