
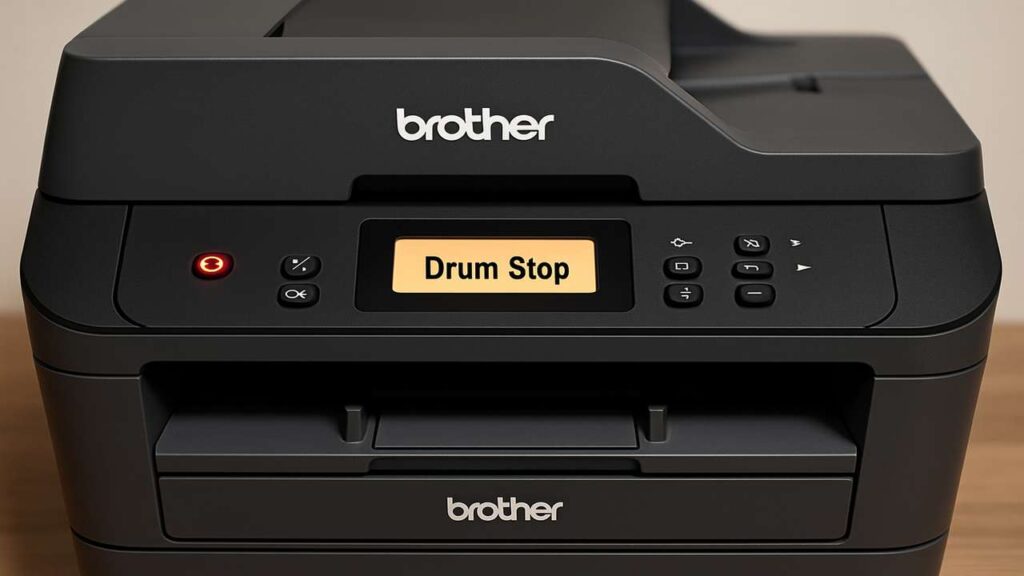
brother dcp-l2540dw replace drum reset — sensor & counter
brother dcp-l2540dw replace drum reset is the routine you need when the message won’t clear or returns right after you “reset.” Use our brother dcp-l2540dw replace drum reset guide to store the counter properly, verify the door sensor, clean the corona wire, and confirm the fix with a status page.
brother dcp-l2540dw replace drum reset — what the message really means
The alert is driven by two things working together:
A drum life counter stored in the printer.
A front-door sensor that must detect cover open → reset command → close to save the new value.
If the sensor doesn’t register, or the drum/toner isn’t fully seated, the counter won’t write and the message comes back.
Quick checks before you reset
Power cycle correctly: Turn off, unplug for 60 seconds, plug back, turn on.
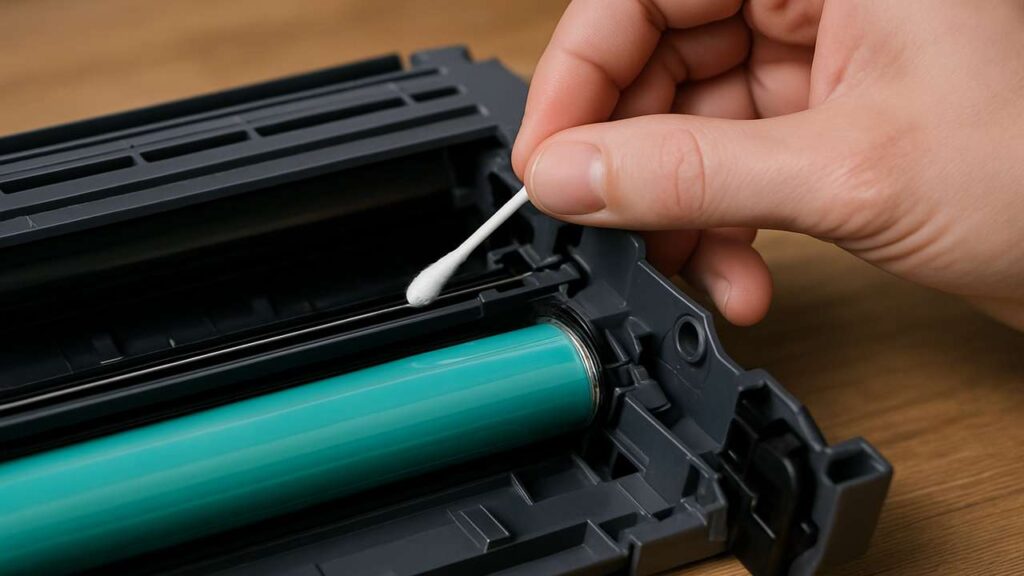
Seat the drum+toner as one unit: Remove the assembly, click the toner firmly into the drum, then reinstall until the latch is solid.
Clean the corona wire: Slide the green tab left–right 10 times, then park it at the home triangle.
Watch the door sensor: Open/close the front cover—does the display react instantly? A slow/no change means the sensor flag is sticky or misaligned.
brother dcp-l2540dw replace drum reset — the actual procedures
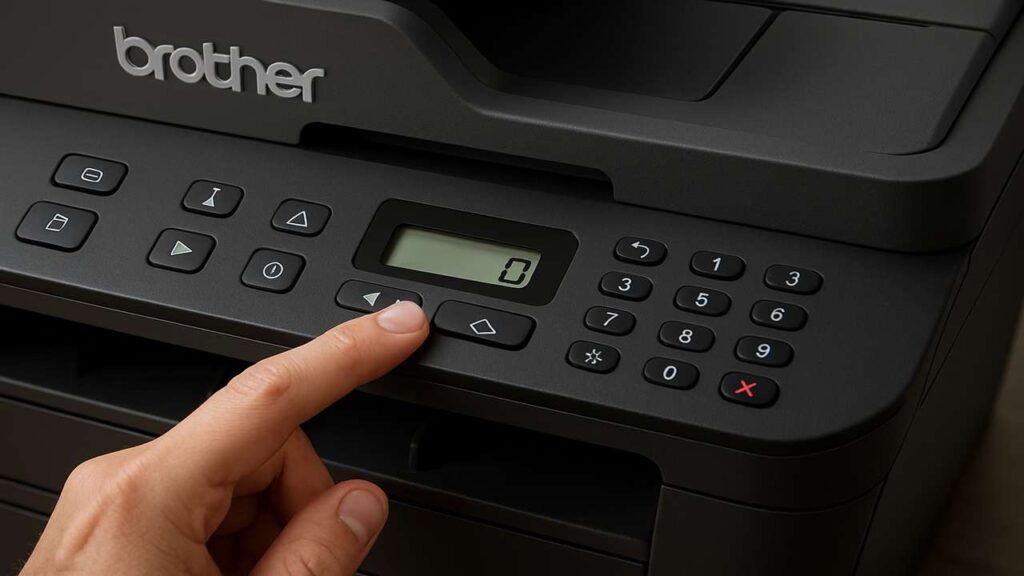
Perform the reset with the front cover open unless your screen specifically instructs otherwise.
Method A (most DCP-L2540DW units with keypad):
Open the front cover.
Press Clear/Back (or Options) on the panel.
When you see Replace Drum?, choose Yes (or select Drum → Reset).
Close the cover and wait for Ready.
Method B (alternate wording):
Open front cover.
Go to Settings → Machine Info/Device → Reset Parts → Drum → Reset.
Close the cover → Ready.
No display / button-only variants (if applicable):
Open front cover.
Hold GO/OK until all LEDs flash (about 4–5s), then release.
Close cover → Ready.
If “Replace Drum” returns immediately
Door sensor flag: The small plastic flag near the hinge must spring freely. If it sticks, the printer never logs the reset. Gently free it and test again.
Dirty contacts: Wipe the drum’s metal pads and the printer’s spring contacts with a lint-free cloth.
Wrong drum series: Confirm you installed the correct DR-630 (or region-equivalent) drum.
Do the reset again with cover open: Many failed resets happen because the cover was closed too soon.
After the reset — quality still poor?
Gray background or spots: Corona not parked or wiper fatigue. Clean the corona again and print 5–10 pages to settle.
Repeating band at drum circumference: The drum surface/wiper is worn—replace the drum unit.
Light prints: Toner is low or compacted—gently rock the toner cartridge to level, or replace it.
Keep it from coming back
Reset only after installing a new drum or finishing service.
Train users to pull/insert the toner and drum together—yanking toner alone can stress the drum latch.
Keep the device clean and dry; dust and humidity accelerate corona contamination.
Disable automatic firmware updates during heavy jobs; update deliberately after testing.
Step-by-step table (print this)
| Step | Action | Why it helps | Time |
|---|---|---|---|
| 1 | Power cycle (unplug 60s) | Clears transient states before reset | 1–2 min |
| 2 | Reseat toner into DR-630 drum, reinstall | Ensures proper electrical/mechanical fit | 1–2 min |
| 3 | Clean corona wire (10 slides, park at home) | Prevents charge issues that retrigger alerts | 1 min |
| 4 | Open front cover and run the reset (panel/Options/Clear) | Stores the drum counter correctly | 30–60 s |
| 5 | Close cover → Ready; print status/config page | Confirms drum life = new/OK | 1–2 min |
| 6 | If alert returns: check door sensor flag | No open/close = no saved reset | 1 min |
| 7 | Wipe contacts (drum & springs) | Stabilizes sensing and charge | 1 min |
| 8 | Test print 5–10 pages | Verifies quality and stability | 2–3 min |
FAQs
Do I have to reset with the cover open?
Yes—this model expects open → command → close to commit the counter.
Can I keep printing with the message on?
Sometimes, but quality may degrade and the device can halt. Fix the cause and reset properly.
Does cleaning the corona wire really matter?
Absolutely. A dirty or unparked corona causes background and premature warnings.
Which part do I replace for stripes after reset?
If stripes repeat at drum circumference, replace the drum unit; if they wipe off easily, suspect the fuser or media type.
Quick checklist
Drum + toner seated as a unit
Corona wire cleaned and parked
Reset performed with cover open then closed
Door sensor responds immediately
Status page shows fresh drum life
Test prints clean and stable
Conclusion
A stubborn brother dcp-l2540dw replace drum reset issue is usually a procedure + sensor problem—not a dead printer. Do the reset with the cover open, verify the door sensor, clean and seat everything once, and confirm on a status page. You’ll be back to steady, clean output without nag screens.