
Canon 5B00 Reset — Safe Steps to Clear Ink Absorber Error (2025)
canon 5b00 reset is the exact fix when your Canon PIXMA shows “Support Code 5B00 / Ink Absorber Full.” Use our canon 5b00 reset walkthrough to clear the error safely, understand what it means, and keep your printer running without messy surprises.
canon 5b00 reset — what the error means
The printer tracks how much waste ink gets flushed during cleanings and startup cycles. When the counter reaches a threshold, the device locks with 5B00 to prevent overflow. Two things matter:
The software counter (what we’ll reset).
The physical absorber pads (sponges inside). If they’re truly saturated, consider replacing or cleaning them to avoid leaks.
canon 5b00 reset — quick checks before service mode
Power off the printer and unplug for 60 seconds.
Ensure paper is loaded and there’s no jam.
If you recently refilled cartridges, wipe any drips and reseat them.
Place the printer on newspaper or a mat in case of residual ink.
canon 5b00 reset — service mode entry (typical buttons)
Button names vary slightly by series, but the logic is similar on many PIXMA models (e.g., G- and MG-series):
Power off the printer.
Hold Stop/Reset (triangle-in-circle).
While holding Stop/Reset, press and hold Power.
Keep Power pressed; release Stop/Reset, then press it 5 times (some models use 5, others 6).
Release Power. The printer should enter Service Mode (screen may be blank or show “0”).
If your model behaves differently, repeat with 5/6 presses or slower timing. Consistent timing is key.
canon 5b00 reset — Method A: button-only counter clear
In Service Mode:
Press the Stop/Reset button the number of times that selects Waste Ink Counter (varies by model).
Confirm with Power to perform the reset/initialization.
Power off, then power on normally.
Print a Test Page to verify the error is gone.
canon 5b00 reset — Method B: Service Tool via USB (advanced)
On serviceable models:
Connect the printer to a Windows PC via USB in Service Mode.
Launch the appropriate Service Tool for your series.
Select Main / Platen / Waste Ink counter reset (naming varies).
Execute, wait for completion, then power cycle the printer.
Use only a tool version that matches your model family. If an operation is disabled, don’t force it—return to Method A or consult model-specific notes.
canon 5b00 reset — safety notes
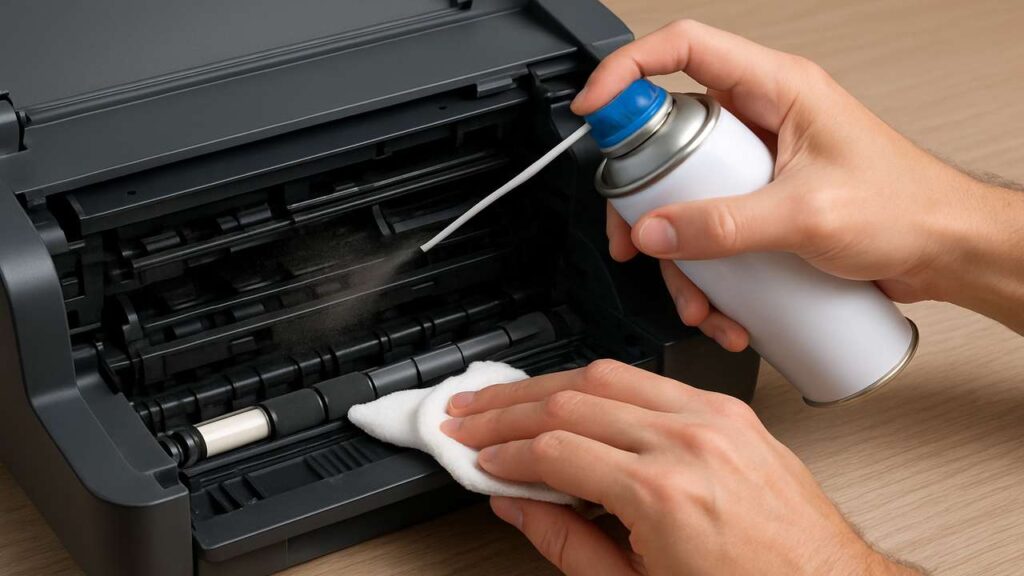
Resetting the counter without addressing soaked pads can cause leakage.
If prints show smears under the page, schedule a pad replacement/cleaning.
Wear gloves; waste ink stains are persistent.
canon 5b00 reset — aftercare & absorber options
If you print heavily, consider:
Pad replacement: swap the absorber kit if available for your model.
Deep clean: rinse pads with warm water until clear, dry thoroughly (24–48h), then reinstall. Only if your model allows easy pad access.
External waste tank mod (pro-level): route the waste tube to a sealed bottle. This reduces future pad saturation but requires careful, clean installation.
canon 5b00 reset — testing and verification
After the reset, power on and wait until Ready.
Print a Nozzle Check; ensure lines are complete.
Run a Head Cleaning only if necessary—avoid excessive cleanings that refill the waste absorber quickly.
Keep a record of the date you reset; it helps predict maintenance windows.

canon 5b00 reset — tips to slow down waste ink
Print at least one page weekly to reduce aggressive priming cycles.
Avoid frequent power cycling; each startup can add waste.
Use quality cartridges/ink to minimize head cleanings.
Keep firmware stable; only update when you need a specific fix.
FAQs
Q1. Is canon 5b00 reset safe?
Yes—when combined with checking/servicing the pads. The reset clears the counter; the pads prevent overflow.
Q2. Which models show 5B00?
Many PIXMA inkjets (G, MG, TS, TR families). Steps are similar, but button counts/timing can vary.
Q3. Do I have to replace absorber pads every time?
Not always. Light users can reset and monitor. Heavy users should replace or deep-clean pads to avoid leaks.
Q4. The tool won’t let me reset—what now?
Try the button-only method, confirm proper Service Mode, or use a version of the tool matching your model family.
Q5. I still get 5B00 after reset. Why?
Wrong service sequence, incomplete operation, or pads truly saturated. Re-enter Service Mode and repeat, then inspect pads.
Advanced Diagnostics (for workshops/IT)
Service prints: Keep a binder with nozzle checks and supply status after each reset.
Leak watch: Place a white tissue beneath the printer for 24h; any new stains indicate pad saturation.
Throughput planning: For bulk jobs, schedule printing in fewer long sessions rather than many small starts to reduce priming cycles.
Spare absorber kit: If your model is common in your shop, stock one kit and note its part number inside your maintenance log.
canon 5b00 reset — quick checklist
Enter Service Mode correctly
Run counter reset (button or tool)
Power cycle and test print
Inspect/clean or replace pads if needed
Log the reset date and usage
Conclusion
Performing a canon 5b00 reset restores normal operation fast, but the real fix is balance: reset the software counter, confirm absorber health, and adopt habits that reduce waste ink. With controlled cleanings and occasional pad service, most PIXMA printers stay stable for the long haul.