
pantum p2500w toner not recognized — chip, contacts & reset
pantum p2500w toner not recognized usually means the printer can’t read the cartridge’s ID chip or the contacts aren’t making solid electrical pressure. Use our pantum p2500w toner not recognized guide to clean the pins, reseat correctly, choose a firmware-compatible reset chip, and lock in a stable setup that won’t drop mid-print.
What the message really means
When the P2500W boots or starts a job, it validates the toner cartridge identity chip. If the chip pads are oxidized, the spring pins are stuck, the door doesn’t fully latch, or the firmware rejects the chip family, you’ll see “Toner Not Recognized.” The fix is methodical: contact → fit → chip → firmware → driver/queue hygiene.
Fast wins (try these first)
Power-drain reset: power off, unplug 60s, hold the power button 10s, reconnect, power on.
Firm reseat: remove the cartridge, then insert straight in until a positive latch—no rocking.
Clean both sides: wipe the gold pads on the cartridge and the printer’s spring pins with a lint-free cloth lightly dampened with isopropyl alcohol; wait 60s to dry.
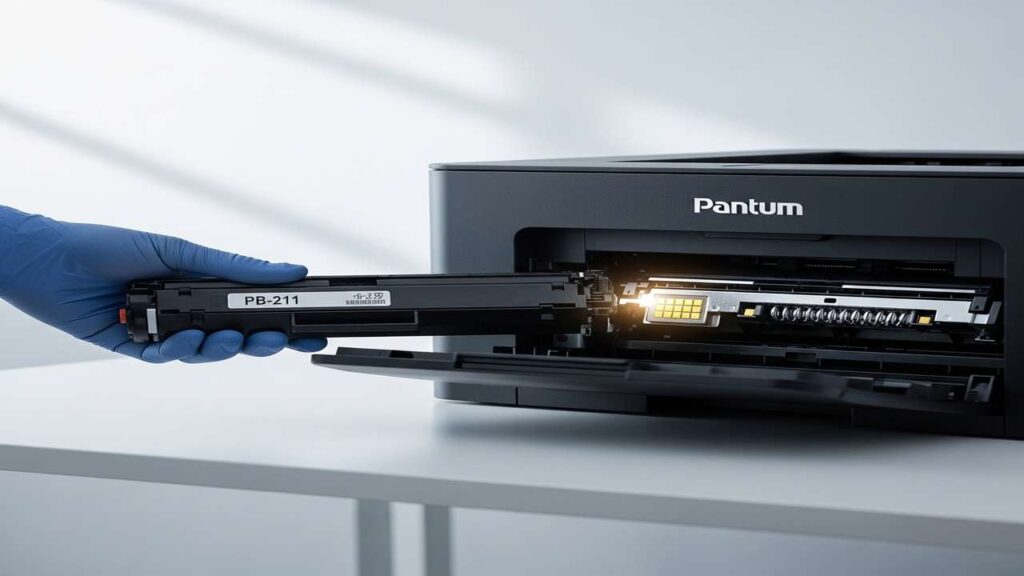
Known-good test: try a verified cartridge (PB-211/PB-210 family depending on region). If it’s accepted immediately, your original chip is suspect.

Parts & compatibility that matter
The P2500W commonly uses the PB-211 series (or PB/PA/PC-210/211 depending on country). If you bought a different regional marking, match the exact series.
If the error began right after a firmware update, you likely need a reset chip compatible with that firmware family.
Printer-side checks that people skip
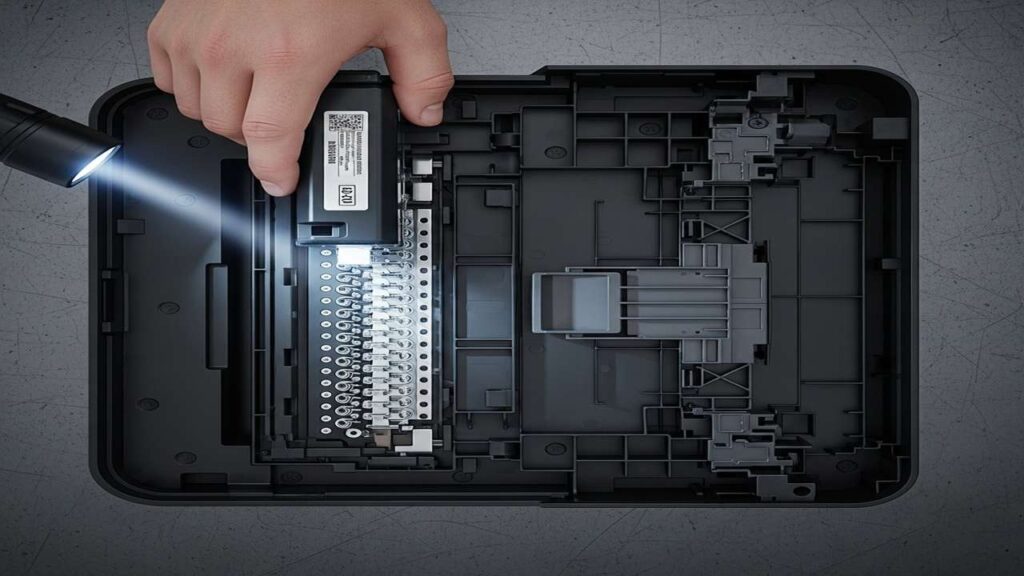
Spring pin height: each pin should stand proud and spring back when pressed. A stuck or collapsed pin won’t reach the chip.
Door/latch pressure: if the front cover doesn’t close squarely, the chip floats off the pins—adjust the hinges and check for obstructions.
Debris in the slot: paper dust or label glue under the cartridge nose lifts it off the contact block—clean gently.
Stable firmware = stable supplies
Turn automatic firmware updates OFF while you test.
If recognition failed immediately after updating, re-apply that build to clear a partial install, or (if your model allows) roll back to the last stable release.
For shops or fleets: run a pilot device for a few days before wider rollout.
Driver & network hygiene (prevents phantom rechecks)
Remove duplicate printer queues and re-add the P2500W by TCP/IP (fixed IP).
Keep a single, model-correct driver (PCL/PS/IPP-Everywhere). Mixed/old drivers can repoll supplies and throw confusing popups.
Clear any stuck jobs before retesting.
Step-by-step table (print this)
| Step | Action | Why it helps | Time |
|---|---|---|---|
| 1 | Power-drain reset (unplug 60s, hold power 10s) | Clears transient validation faults | 1–2 min |
| 2 | Remove cartridge, inspect chip pads | Finds obvious damage/oxidation | 1 min |
| 3 | Clean pads & spring pins (IPA + lint-free cloth) | Restores low-resistance contact | 2 min |
| 4 | Reseat straight & firm, close door fully | Ensures full pin pressure on the chip | 1 min |
| 5 | Try a known-good PB-211/PB-210 cartridge | Isolates chip vs printer body | 1–2 min |
| 6 | Check pin spring action with a flashlight | Stuck pin = replace/repair contact block | 2 min |
| 7 | Disable auto-firmware updates temporarily | Prevents surprise chip rejections | 1 min |
| 8 | If needed, install a firmware-compatible reset chip | Matches the cartridge’s ID to your build | 3–5 min |
| 9 | Re-add printer by TCP/IP, clear old queues | Stops driver re-poll loops | 2–3 min |
| 10 | Print Supplies/Status + a 1-page PDF test | Verifies stable detection under load | 1–2 min |
If it still says “not recognized”
Accepts only the known-good cartridge: your original chip or shell tolerances are the culprit—install a fresh reset chip and reseat.
Rejects every cartridge: contact block or wiring issue. Check for collapsed pins; service/replace the contact assembly.
Works after restart, fails mid-job: borderline contact or driver re-poll. Improve seating and standardize the driver/port.
After refilling: refilling alone doesn’t reset identity. You still need the correct reset chip.
Prevent the comeback
Keep one labeled known-good cartridge for instant A/B tests.
Clean contacts on every change—10 seconds prevents hours of downtime.
Run printers LAN-only if you rely on third-party chips; update manually on your schedule.
Store toner sealed and upright; avoid hot/humid shelves that oxidize contacts.
FAQs
Can cleaning really fix identity errors?
Yes—oxidized pads and dusty pins are top causes.
Do I need a chip after every refill?
Usually, yes. Refilling adds toner, not identity.
Why disable updates?
To avoid mid-project changes that tighten validation before you’ve tested chips against the new firmware.
Pages print but popups still say not recognized.
Remove duplicate queues and keep only the TCP/IP one; stale WSD queues often misreport supplies.
Quick checklist
Contacts cleaned and dry
Firm reseat; door fully latched
Known-good cartridge test passed
Auto-updates off; correct reset chip installed if needed
Single TCP/IP queue; test page clean; Supplies/Status shows normal
Conclusion
A reliable fix for pantum p2500w toner not recognized comes down to clean contact, correct chip, and stable firmware/driver. Work through the table in order and your P2500W will detect cartridges consistently—no more surprise lockouts mid-print.