
Canon B200 Error Fix: Your Ultimate 5-Step Guide
Follow these proven steps to clear the persistent B200 error and get your printer working again.
A canon b200 error fix is necessary when your printer’s screen displays this code, halting all printing functions. This common but frustrating issue typically points to a problem with the printhead, often related to overheating, poor electrical contact, or internal failure. By following a systematic troubleshooting process, you can often resolve this error at home without needing a technician. This guide will walk you through the essential steps, from a simple reset to more advanced cleaning techniques.
- Understand the root cause of the B200 error.
- Perform a power cycle to reset the printer’s internal memory.
- Reseat and clean your ink cartridges and printhead contacts.
- Identify if a permanent printhead failure has occurred.
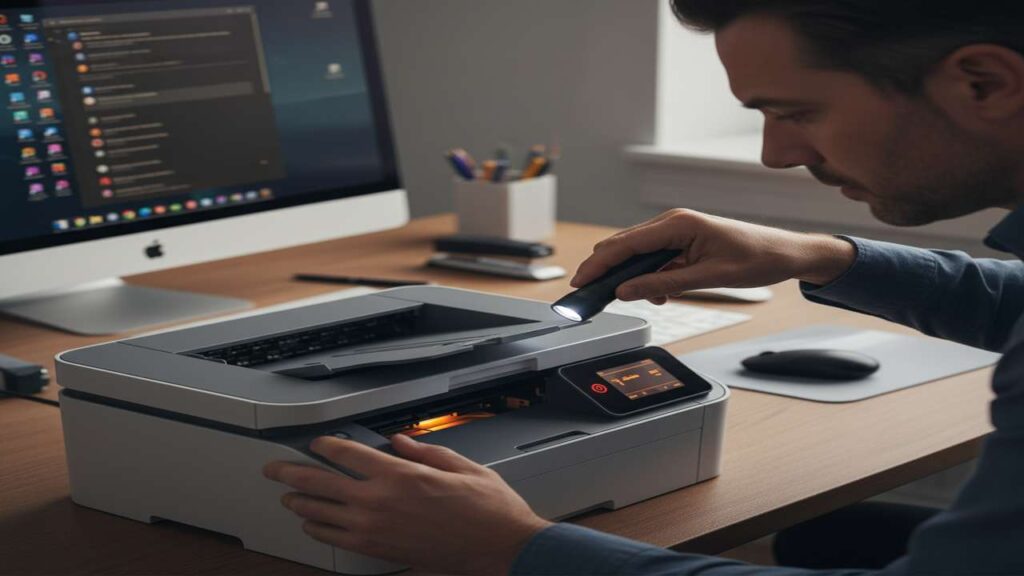
Table of Contents
- What Causes the Canon B200 Error?
- Initial Steps for a Quick Canon B200 Error Fix
- Step-by-Step Guide to a Deeper Fix
- When All Else Fails
What Causes the Canon B200 Error?
The B200 error on a Canon printer is a general hardware error message that almost always relates to the printhead. This critical component is responsible for transferring ink to the paper. The error can be triggered by several factors, including a sudden temperature spike in the printhead, dried ink clogging the nozzles, or dirty electrical contacts preventing the printer from communicating with the component correctly. In some cases, it can also be caused by an incompatible or faulty ink cartridge.
Initial Steps for a Quick Canon B200 Error Fix
Before diving into more complex solutions, start with the basics. These simple actions can often reset the printer’s internal state and clear the error message without requiring any tools.
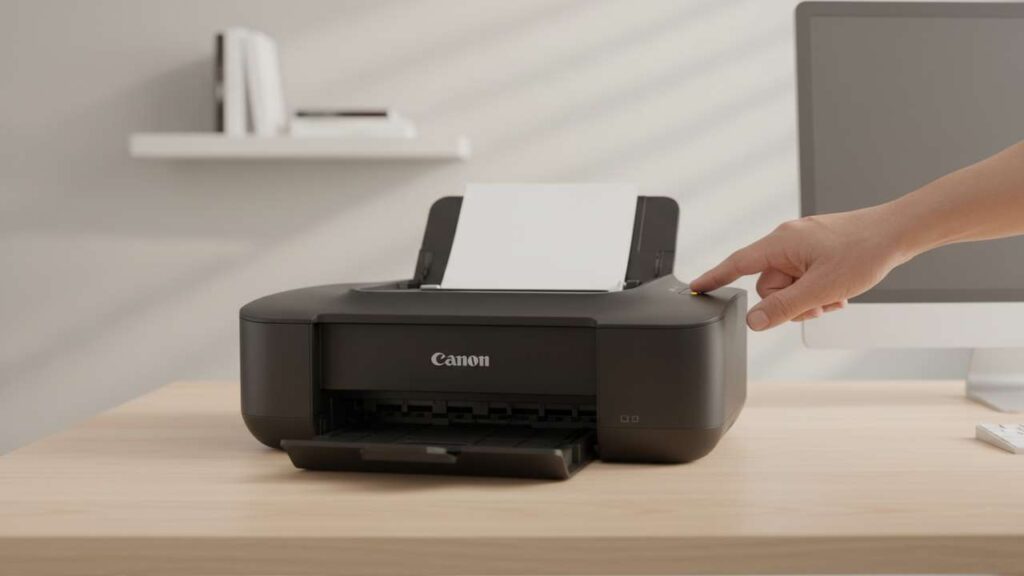
The 60-Second Power Cycle
The first and easiest troubleshooting step is to perform a full power cycle. This is more than just turning the printer off and on; it involves completely draining the residual power from the device. Unplug the printer from both the wall outlet and the back of the machine. Wait a full 60 seconds. Before plugging it back in, press and hold the power button for 10 seconds to discharge any remaining electricity. Then, reconnect the power and turn the printer on.
Reseating the Ink Cartridges
An improperly seated ink cartridge can interrupt the electrical connection to the printhead, triggering the B200 error. Open the printer lid and wait for the ink carriage to move to the center. Carefully remove all ink cartridges. Inspect them for any damage or leaking ink. Reinsert each one firmly into its designated slot until you hear a distinct click, ensuring each is properly seated before closing the lid.
Step-by-Step Guide to a Deeper Fix
If the initial steps did not work, the problem likely lies with the printhead’s physical condition or its connection to the printer. This process involves a more hands-on approach.
Advanced Canon B200 Error Fix: Manual Cleaning
Over time, ink residue and dust can build up on the electrical contacts of the printhead and ink cartridges. This buildup disrupts communication and can lead to errors. To clean them, you will need a lint-free cloth and a small amount of isopropyl alcohol. After removing the ink cartridges and the printhead (if removable on your model), gently wipe the gold-colored contact points on each component. Allow them to air dry completely for a few minutes before reassembling.
| Step | Action | Why it helps | Time |
|---|---|---|---|
| 1 | Power off and unplug the printer. | Ensures safety and prevents electrical damage during cleaning. | 1 min |
| 2 | Open the cover and remove all ink cartridges. | Provides access to the printhead and its contacts. | 2 mins |
| 3 | Gently unlatch and remove the printhead. | Allows for direct cleaning of the critical contact points. | 2 mins |
| 4 | Lightly dampen a lint-free cloth with isopropyl alcohol. | The solvent effectively dissolves dried ink without leaving residue. | 1 min |
| 5 | Wipe the gold contacts on the printhead and cartridges. | Removes insulating buildup, restoring a clean electrical connection. | 3 mins |
| 6 | Reinstall the dry printhead and cartridges, then power on. | Finalizes the process and allows the printer to re-test the system. | 2 mins |
When All Else Fails
If you have completed all the steps above and the B200 error still appears, it is a strong indication that the printhead has failed permanently. At this point, you face a choice: replace the printhead or replace the printer. For many consumer-grade inkjet models, the cost of a new printhead can be nearly as much as a new printer. Consider the age of your device and the cost of replacement parts to make the most economical decision. Following a routine of proper printer maintenance can help extend the life of your next device.
Ultimately, working through these steps provides the most reliable path to a canon b200 error fix. While the error can sometimes signal a terminal hardware failure, the majority of cases can be resolved with a thorough power cycle and a careful cleaning of the printhead components. For a complete solution, check out our full guide to every canon b200 error fix.