
Expert Guide to Epson L3210 Ink Charging After Refill
After refilling your EcoTank, you need a powerful ink priming process to get rid of air bubbles and restore perfect print quality. This guide provides the exact steps.
- Identify the Problem: Confirm if gaps, streaks, or faded colors appear immediately after adding new ink.
- Use the Right Tool: Learn why a standard head cleaning is not enough and when to use the Power Cleaning utility.
- Prevent Ink Waste: Follow a precise, one-time procedure to avoid unnecessarily draining your ink tanks and filling the maintenance box.
Table of Contents
- Why Proper Ink Charging is Crucial for Your L3210
- The Step-by-Step Epson L3210 Ink Charging After Refill Process
- What to Do If the First Ink Charge Doesn’t Work
- A Note on Safety and Warranty
Why Proper Ink Charging is Crucial for Your L3210
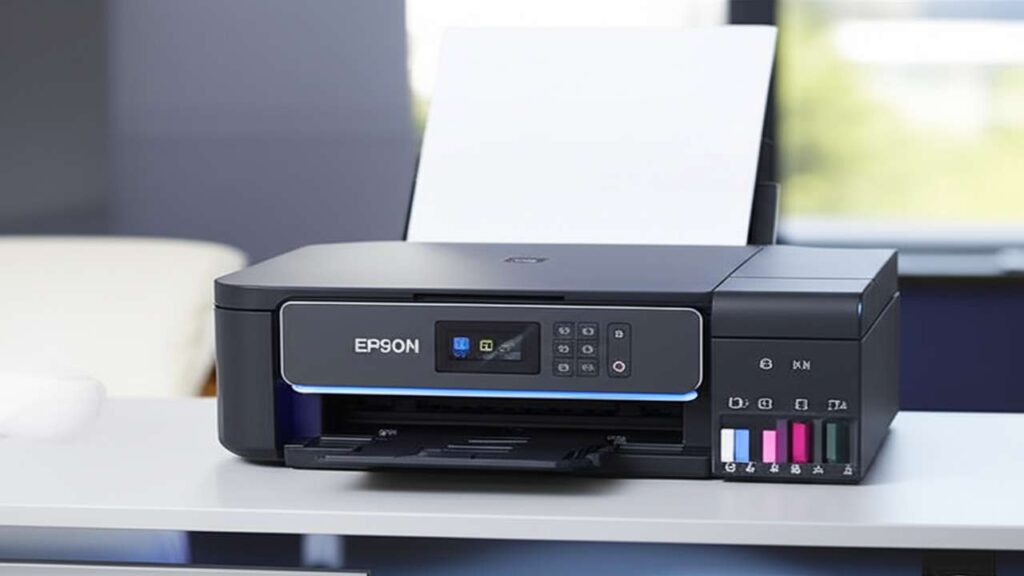
Epson L3210 ink charging after refill is the most important step to perform after topping up your ink tanks. When you add ink, it’s easy for small air bubbles to enter the long, flexible tubes that connect the tanks to the printhead. These air gaps interrupt the ink flow, leading to common print quality problems like banding, faded colors, or entire sections missing from your page.
A standard “Head Cleaning” cycle is a low-power process designed to clear minor nozzle clogs. It does not have enough force to pull ink all the way through the tubes and purge significant air pockets. For a post-refill situation, you must use the more intensive “Power Cleaning” feature, which is specifically designed to prime the entire system.
The Step-by-Step Epson L3210 Ink Charging After Refill Process
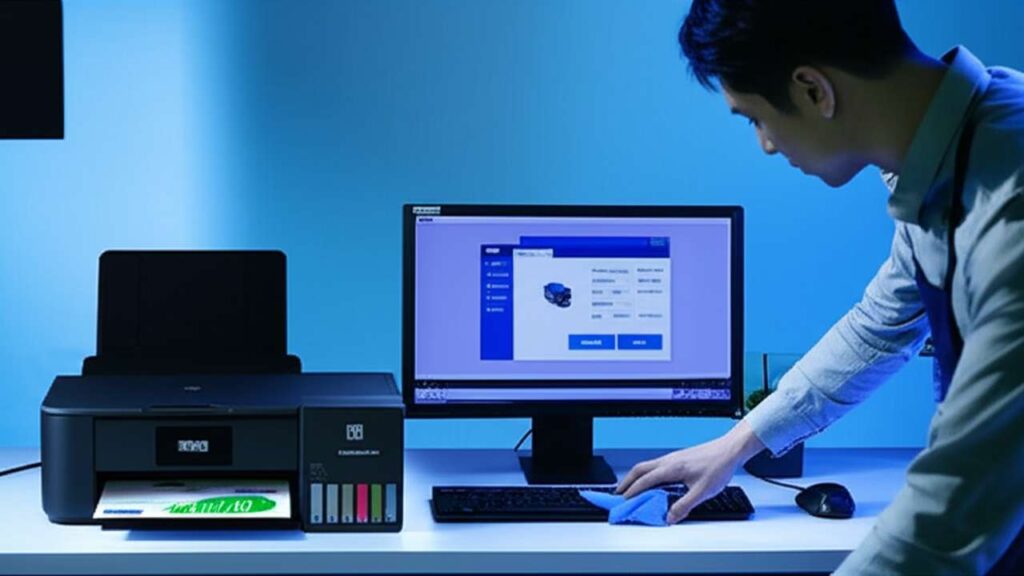
Follow this procedure carefully. Running a Power Cleaning cycle uses a considerable amount of ink, so you want to perform it correctly the first time. We will use the Epson printer software on your computer for the most reliable results.
Before You Begin: Quick Checks
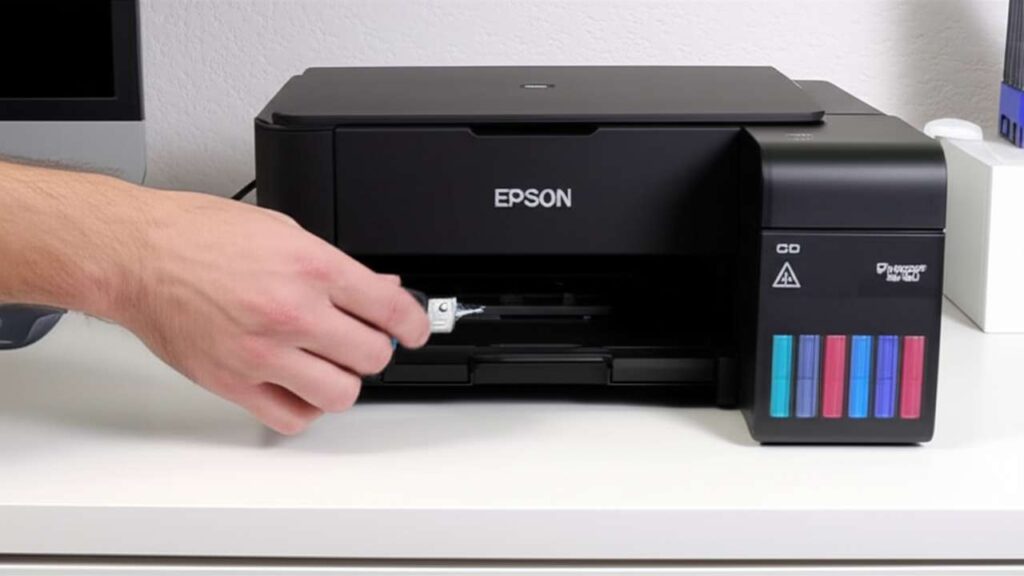
First, confirm a few basic things to avoid errors. Ensure you have filled the correct color ink into each corresponding tank. Double-check that all blue tank caps are securely snapped shut. Finally, make sure the printer’s main scanner unit is closed.
Step 1: Print a Nozzle Check Pattern
To begin a proper epson l3210 ink charging after refill, you need a baseline. Printing a nozzle check pattern shows you exactly which colors are having problems.
- Open the Epson printer software on your computer.
- Navigate to the “Maintenance” or “Utility” tab.
- Click “Nozzle Check” and then “Print.”
The printed page will show a grid of lines for each color. If you see any broken or missing lines, it confirms air is in the system and you need to proceed.
Step 2: Run the Power Cleaning Cycle
This is the core of the ink charging process. It will forcefully flush ink through the system, pushing out any trapped air.
| Step | Action | Why it helps | Time |
|---|---|---|---|
| 1 | In the Epson software’s Maintenance tab, find and click “Power Cleaning.” | This selects the high-intensity function needed to prime the ink lines. | 1 min |
| 2 | Read the on-screen warning about ink consumption and click “Next” or “Start.” | The software confirms you understand the process uses a lot of ink. | 1 min |
| 3 | Do not turn off the printer or open any covers while the process is running. | Interrupting the cycle can cause errors or leave the system unprimed. | 5–10 mins |
| 4 | Wait for the confirmation message on your screen that the cycle is complete. | The printer’s power light will stop flashing when it is finished. | 1 min |
Step 3: Verify with a Final Nozzle Check
After the Power Cleaning cycle is complete, the software will prompt you to print another nozzle check pattern. The grid should now show solid, unbroken lines for all colors. This confirms the air has been purged and your printer is ready.
What to Do If the First Ink Charge Doesn’t Work
Sometimes, a single cycle isn’t enough for very large air gaps. If the second nozzle check still shows minor breaks, do not immediately run another Power Cleaning.
First, turn the printer off and let it sit for at least 6 to 12 hours. This allows any remaining micro-bubbles to settle or dissolve, and ink can saturate the printhead naturally. After waiting, print one more nozzle check. If it is still flawed, you may run the Power Cleaning cycle one final time. If two cycles combined with a waiting period do not resolve the issue, you may have a more serious clog. Continuing to run the cycle will only waste ink and prematurely fill your printer’s maintenance box.
A Note on Safety and Warranty
Always ensure your printer is on a stable, level surface before starting any maintenance. While refilling and running cleaning cycles are standard user operations, be aware that using non-genuine Epson ink could potentially affect your warranty coverage if a problem arises. For persistent issues, reviewing a complete guide on the epson l3210 ink charging after refill or contacting support is the safest option.
Ultimately, performing a single, deliberate Power Cleaning cycle is the correct and most efficient method for a proper epson l3210 ink charging after refill. This action directly addresses the root cause of post-refill print defects by clearing air from the lines, saving you the frustration and wasted supplies that come from running multiple ineffective head cleanings.