

Epson L3210 Reset Ink Levels After Refill: The Ultimate Guide
Unlock your printer’s full potential after a simple top-up.
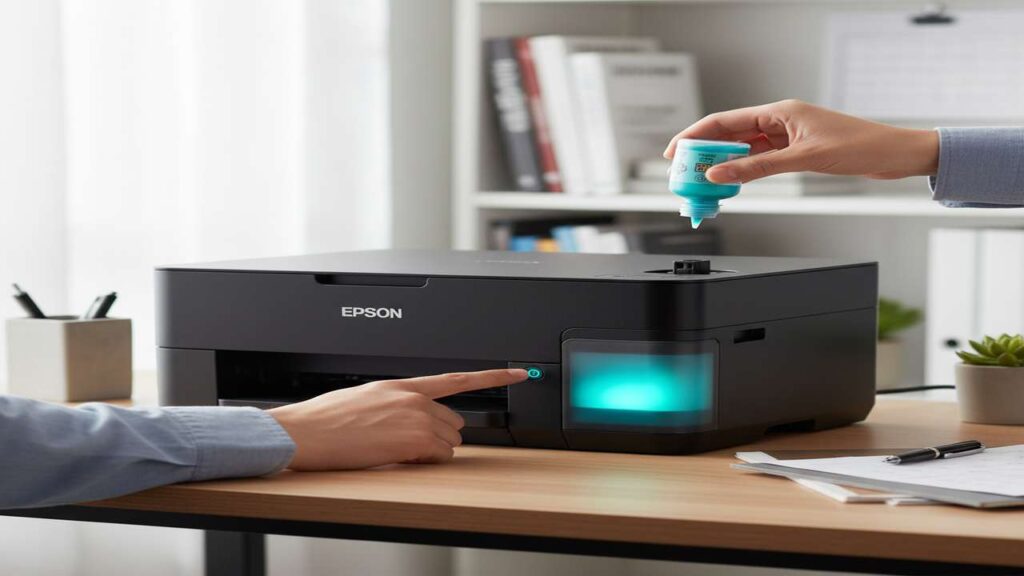
An epson l3210 reset ink levels after refill is a necessary manual step because the printer doesn’t automatically detect when you add new ink. It can be frustrating to see a low ink warning right after you’ve carefully filled the tanks, but the fix is quick and straightforward. This guide will walk you through the exact button-press sequence to correctly update your printer’s status.
- Understand Why a Manual Reset is Required: Learn how the L3210 tracks ink usage.
- Follow the Step-by-Step Reset Process: Use the printer’s control panel correctly.
- Verify the Reset Worked: Confirm the new ink levels on your computer.
- Troubleshoot Common Issues: Know what to do if the levels don’t update.
Table of Contents
- Why Doesn’t the L3210 Detect New Ink Automatically?
- How to Perform an Epson L3210 Reset Ink Levels After Refill
- Confirming the Ink Level Reset
- Troubleshooting: What if the Ink Levels Still Show Low?
Why Doesn’t the L3210 Detect New Ink Automatically?
Unlike cartridge-based printers, Epson EcoTank models like the L3210 don’t use physical sensors inside the ink tanks to measure the actual liquid level. Instead, the printer estimates ink levels by counting the number of pages printed and calculating the approximate amount of ink used for those jobs.
When you refill the tanks, the printer has no way of knowing you’ve added more ink. It continues its countdown based on its last calculation, eventually displaying a low ink warning or stopping printing altogether. The manual reset process is your way of telling the printer, “I’ve refilled the tanks, please reset your internal counter to full.”
How to Perform an Epson L3210 Reset Ink Levels After Refill
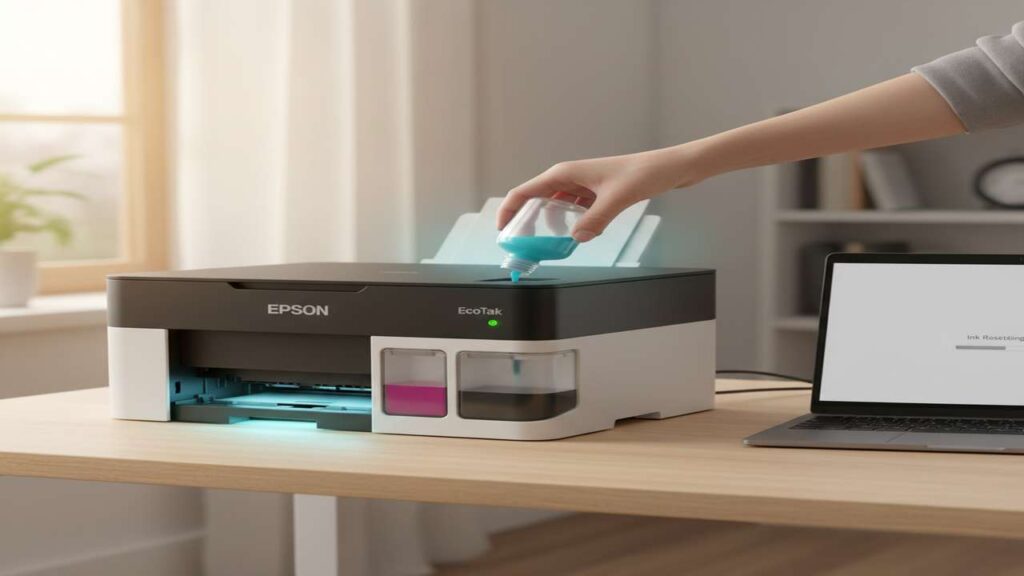
This physical reset procedure is simple and requires using the buttons directly on the printer’s control panel. Before you begin, ensure you have physically refilled the ink tanks with the correct color ink up to the upper line marker. Trying to reset without refilling can damage the printhead.
| Step | Action | Why it helps | Time |
|---|---|---|---|
| 1 | Power on your Epson L3210 printer if it is not already on. | The printer must be active to accept commands from the control panel. | 5 sec |
| 2 | Press and hold the Stop/Reset button for about 5 seconds. | This button is often marked with a triangle inside a circle. Holding it initiates the ink level reset sequence. | 5 sec |
| 3 | Release the Stop/Reset button when the power light begins to flash. | The flashing light confirms the printer is in the ink reset mode and ready for the next step. | 2 sec |
| 4 | Press the Stop/Reset button one more time, briefly, and then release it. | This final press confirms the action, telling the printer to reset its internal ink counters for all colors to their maximum level. | 2 sec |
| 5 | Wait for the printer to initialize. The power light will stop flashing and remain solid. | The printer is now processing the reset command. Once the light is stable, the process is complete. | 30-60 sec |
Safety & Warranty Check
Always use genuine Epson ink bottles designed for your L3210 to ensure optimal print quality and prevent potential damage. Using non-genuine ink could affect your printer’s warranty. Unplug the printer before performing any deep cleaning, but keep it powered on for this specific reset procedure.
Confirming the Ink Level Reset
After completing the panel reset, it’s wise to verify that the printer’s software recognizes the change. You don’t want to start a large print job only to be interrupted by a false low ink warning.
To check the status:
- Open the printer properties on your computer (via Control Panel on Windows or System Preferences on Mac).
- Navigate to the Maintenance or Utility tab.
- Click on Epson Status Monitor 3.
A window should appear displaying the ink levels for all four colors (Black, Cyan, Magenta, Yellow). They should now all appear as full. This visual confirmation means the epson l3210 reset ink levels after refill was successful.
Troubleshooting: What if the Ink Levels Still Show Low?
If the status monitor still shows low ink after you’ve performed the reset, don’t worry. This usually happens due to a simple timing mistake.
Re-Attempting the Epson L3210 Reset Ink Levels After Refill
The most common issue is not holding the Stop/Reset button long enough in the initial step, or releasing it too early. Power the printer off and on again to clear any pending commands. Then, carefully repeat the five-step process outlined in the table above, paying close attention to the timing and the flashing power light.
Check Physical Ink Levels
Ensure each tank was filled up to the top line. If a tank is only partially filled, the printer’s page count estimate might fall out of sync with the physical level more quickly, leading to premature warnings. As part of your routine printer care, always top up to the designated line. For more detailed guides, you may need a complete epson l3210 reset ink levels after refill.
If repeated attempts fail, there could be a firmware issue, though this is rare. Check the official Epson support site for any available firmware updates for your L3210 model.
gtr vver