
Proven Epson L3210 Smears on Paper Fix Guide
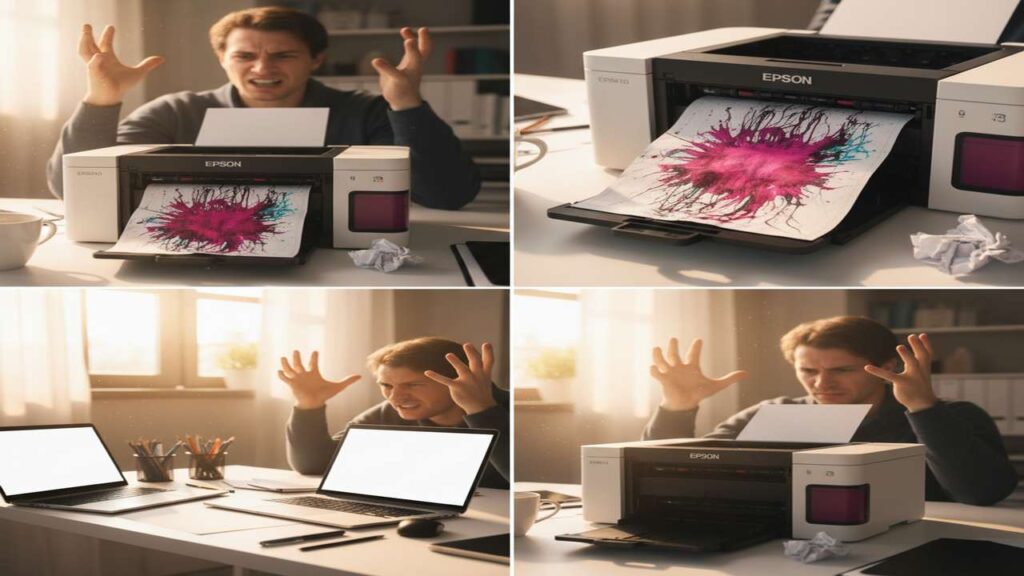
An epson l3210 smears on paper fix is often required when you see frustrating black or colored ink streaks ruining your important documents or photos. These smudges can appear suddenly, turning a crisp print into a messy disaster. Fortunately, this is a common issue that you can usually resolve at home in under 15 minutes with some basic cleaning and setting adjustments, saving you a trip to a repair shop.
This guide will walk you through the most effective solutions, from quick software checks to essential physical cleaning of your printer’s internal path.
Table of Contents
- Why Your Epson L3210 is Smearing Ink
- Quick Fix: Run a Nozzle Check and Head Cleaning Cycle
- The Ultimate Epson L3210 Smears on Paper Fix: Step-by-Step
- Troubleshooting Persistent Ink Smears
- Preventative Maintenance Summary Table
Why Your Epson L3210 is Smearing Ink
Ink smears are rarely a sign of a critical printer failure. Instead, the problem usually stems from a few simple, correctable causes. Understanding them helps you pinpoint the solution faster.
The most common culprits include:
- Dirty Platen or Rollers: Over time, a fine mist of ink, paper dust, and debris builds up on the internal surfaces that your paper touches, which then gets transferred onto new sheets.
- Incorrect Paper Settings: Using the wrong media type setting in the print driver can cause the printer to apply too much ink for the paper you’ve loaded, leading to incomplete drying and smearing.
- Clogged Print Head Nozzles: If a nozzle is partially blocked, it can spray ink unevenly, causing pooling and smudging as the print head moves across the page.
- High Humidity: Paper that has absorbed moisture from the air doesn’t absorb ink properly, making it much more likely to smear.
Quick Fix: Run a Nozzle Check and Head Cleaning Cycle
Before you begin any physical cleaning, let the printer’s built-in software do the first round of diagnostics. A clogged nozzle can cause ink to splatter, which looks like a smear.
First, run a nozzle check from your computer’s printer utility. If the printed pattern has gaps or faint lines, it confirms a clog. Proceed by running a head cleaning cycle—you may need to run it two or three times. After the cycles are complete, print another nozzle check pattern. If it’s clean, your problem might be solved. If not, continue to the physical cleaning steps below.
The Ultimate Epson L3210 Smears on Paper Fix: Step-by-Step
If the software-based cleaning didn’t work, it’s time for a gentle physical cleaning. This process is the most reliable way to achieve a permanent epson l3210 smears on paper fix.
Safety First: Before you start, turn off and unplug your Epson L3210 from the power outlet to prevent any electrical shock or damage to the printer.
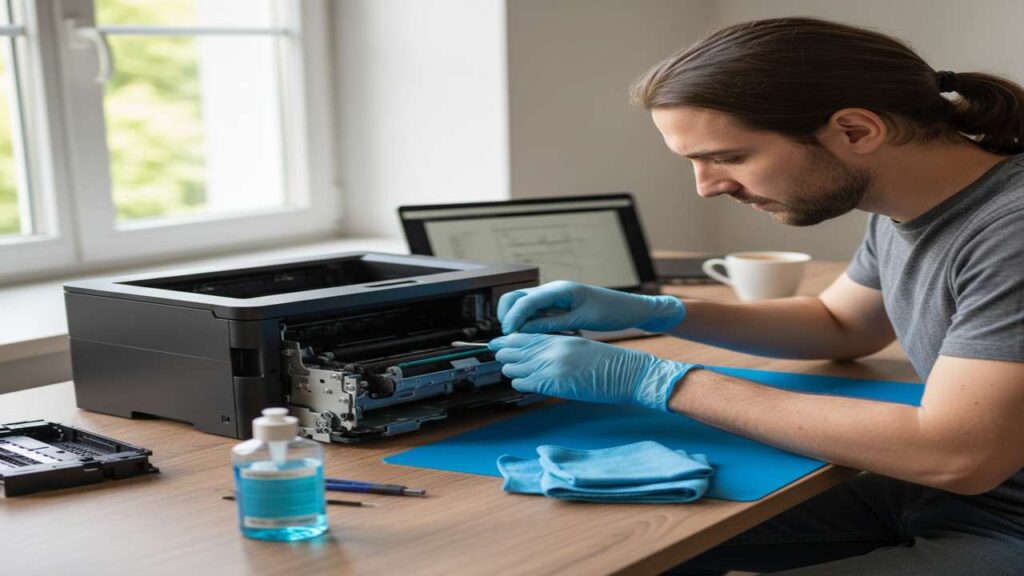
Step 1: Clean the Paper Path Rollers
The rollers that feed paper through the printer are a primary spot for dust and ink residue to accumulate.
Open the top cover and look inside for the visible gray or black rollers. Lightly dampen a clean, lint-free cloth with distilled water (do not use tap water). Gently wipe the surface of each accessible roller, rotating it with your finger to clean the entire circumference. Allow the rollers to air dry completely for a few minutes before proceeding.
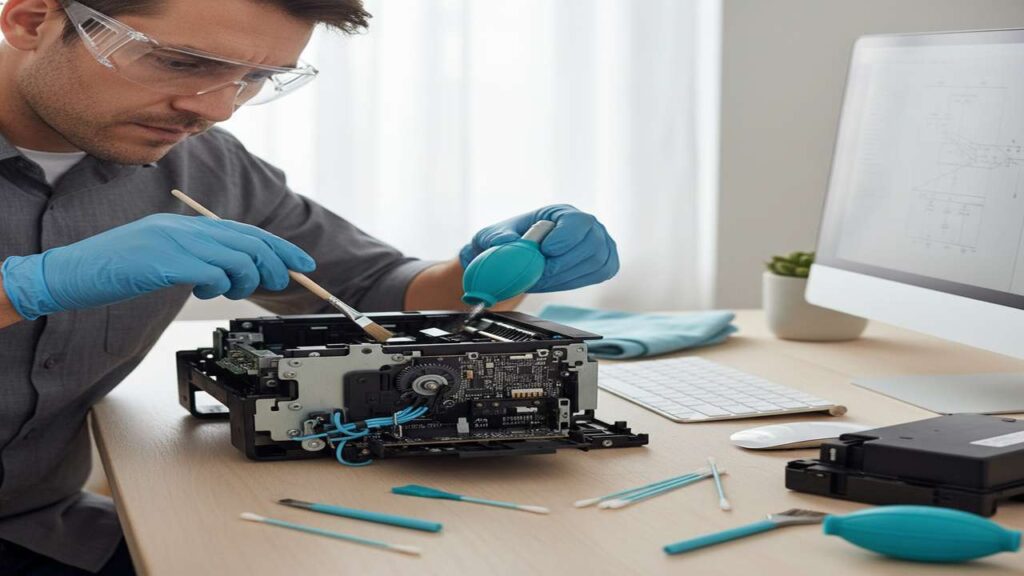
Step 2: The Critical Platen Clean for an Epson L3210 Smears on Paper Fix
The platen is the flat surface directly underneath the print head where the paper slides during printing. Ink mist builds up here and is the number one cause of smudges on the back or front of your pages.
With the printer still unplugged, use a lint-free cloth lightly moistened with isopropyl alcohol. Carefully wipe down the entire platen surface, paying close attention to any areas with visible ink build-up. The alcohol helps break down the dried ink effectively. Ensure the surface is completely dry before you plug the printer back in.
Step 3: Check Your Print Settings and Paper Type
An often-overlooked cause of smearing is a mismatch between your software settings and the physical paper in the tray. If you tell the printer you are using plain paper but have loaded glossy photo paper, it will apply the wrong amount of ink.
Before you print, open the print dialog box and go to “Properties” or “Preferences.” Under the “Media Type” or “Paper Type” setting, make sure you select the option that exactly matches your paper (e.g., “Premium Glossy,” “Matte,” “Plain Paper”). This ensures the printer uses the correct ink volume.
Troubleshooting Persistent Ink Smears
If you’ve completed the steps above and still see smudging, consider these environmental and advanced factors.
Humidity and Paper Storage
Paper is highly absorbent. If stored in a humid environment, it can become slightly damp, preventing ink from setting properly. Always store your paper in its original packaging in a cool, dry place. If your office is consistently humid, a small dehumidifier near the printer can make a significant difference.
Addressing Over-Inking Issues
Some high-quality print settings are designed to saturate the paper with ink. If you are printing a simple document, try selecting a “Standard” or “Draft” quality setting. This reduces the amount of ink used and speeds up drying time, which can prevent smears. For a comprehensive overview of managing your printer’s performance, explore our detailed guide on the epson l3210 smears on paper fix.
Preventative Maintenance Summary Table
Follow this quick checklist to resolve your issue and keep prints clean.
| Step | Action | Why it helps | Time |
|---|---|---|---|
| 1 | Unplug the printer. | Ensures your safety and prevents electrical damage. | 30s |
| 2 | Clean paper feed rollers. | Removes loose dust and old ink that can transfer to fresh paper. | 2 min |
| 3 | Clean the platen. | Eliminates the primary source of ink build-up under the paper. | 3 min |
| 4 | Verify print settings. | Guarantees the correct amount of ink is used for your paper type. | 1 min |
| 5 | Reconnect and test print. | Confirms that the cleaning and adjustments were successful. | 2 min |
By following these steps, you can confidently address the root causes of ink smudging. A clean paper path and correct settings are the keys to a successful epson l3210 smears on paper fix, ensuring your printer delivers the high-quality results you expect.