
Fix Your Laser Printer Repeating Image Issues
Eliminate dark streaks, spots, and recurring defects from your prints.
Experiencing a laser printer repeating image or persistent dark streaks on your printed documents can be incredibly frustrating. Instead of crisp, clean text and graphics, you’re left with pages marred by repeated patterns, dots, or lines. This common print quality problem indicates a specific component inside your laser printer is either dirty, worn, or damaged, causing the defect to transfer onto your paper at regular intervals.
This guide will help you diagnose the root cause of these recurring print issues. By understanding the mechanics of your laser printer and following simple troubleshooting steps, you can often identify and resolve the problem yourself. We’ll show you how to pinpoint the faulty part and take the necessary actions to restore your printer’s output quality.
Understanding Why Your Laser Printer Repeating Image Appears
When your laser printer repeating image or marks, it’s a clear sign that a cylindrical component is causing the issue. Laser printers rely on several rollers and drums to transfer toner to the paper. If one of these components has a blemish—be it a speck of dust, a scratch, or a buildup of toner—that defect will be picked up repeatedly as the component rotates.
The consistent spacing between the unwanted marks is the key to diagnosis. Each cylindrical part has a unique circumference. Therefore, a mark that appears every 50mm, for example, points directly to a component with a 50mm circumference. This principle allows for precise identification of the problem part, whether it’s the drum, developer roller, or fuser.
Pinpointing the Culprit: Measure Repeating Defects
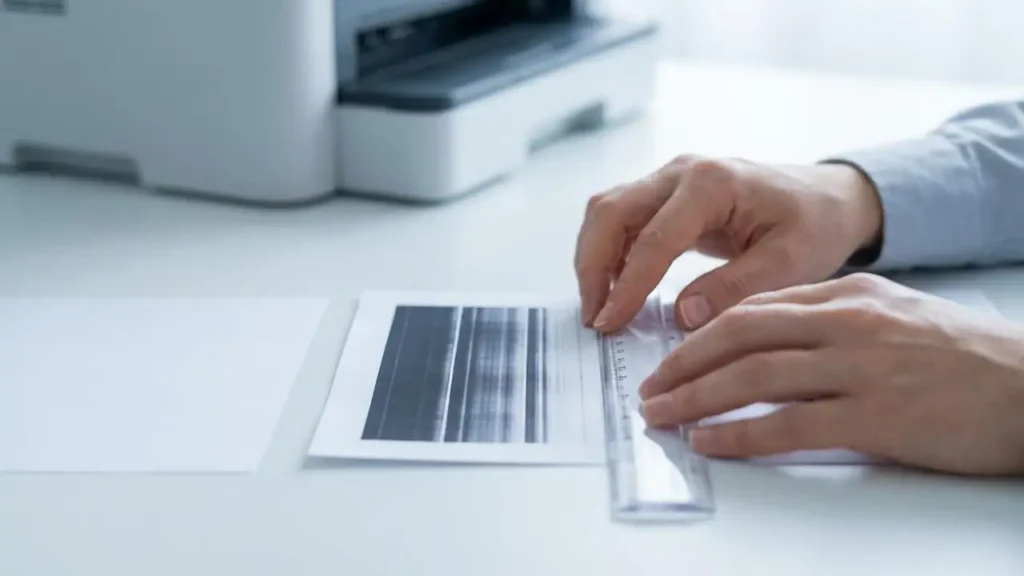
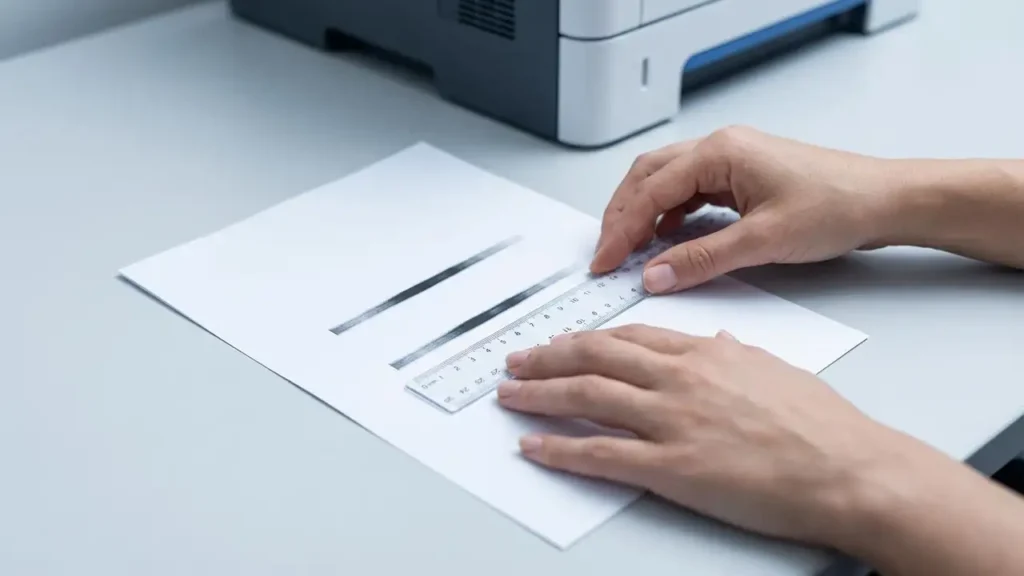
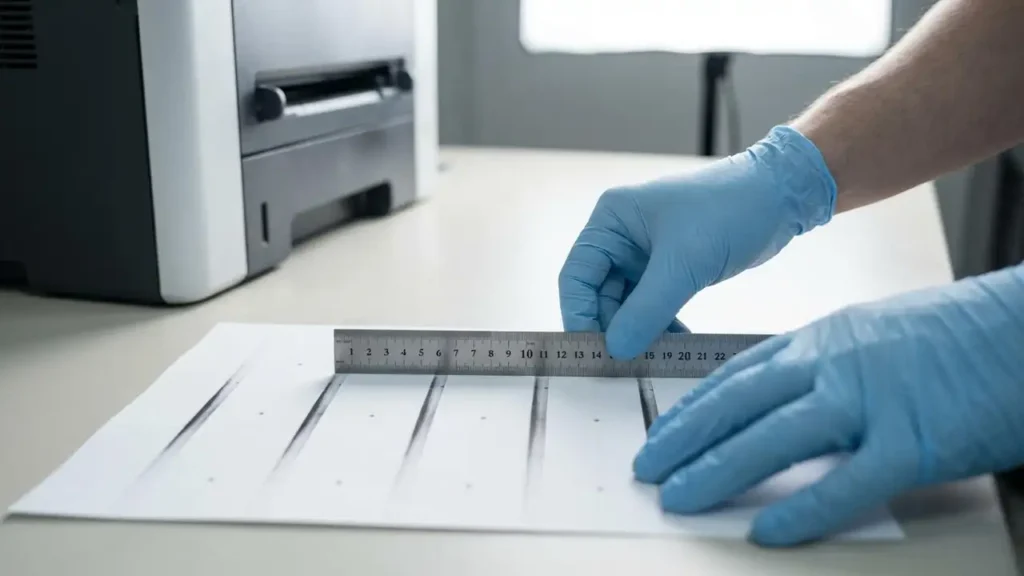
The most effective way to identify the source of your laser printer repeating image is to precisely measure the distance between the recurring marks. Take a freshly printed page exhibiting the defect and use a ruler to measure the exact distance (in millimeters) from the start of one defect to the start of the next identical defect. This measurement corresponds directly to the circumference of the faulty part.
Here’s a guide to common components and their approximate circumferences:
- 25–45 mm: This often points to the developer roller, which is frequently integrated within the toner cartridge itself. If you’re seeing single color dots or repeating patterns at this interval, inspect or replace the toner.
- 38–55 mm: Defects repeating at this distance typically indicate an issue with the transfer roller or the imaging drum unit. The imaging drum is a photosensitive cylinder crucial for creating the latent image.
- 75–95 mm: If your marks are spaced in this range, the fuser unit or the main imaging drum (especially in models where it’s a separate component) is the likely cause. The fuser unit uses heat and pressure to bond toner to the paper.
Some printer manufacturers offer a “Print Defects Guide” accessible through the printer’s control panel or software. This feature can print a test page with a ruler or diagnostic pattern, making it even easier to identify the specific part responsible for the recurring print issue. Checking your printer’s manual for a similar function can save you significant time.
Immediate Solutions: Cleaning and Inspection
Once you have an idea of the problematic component, you can try some quick fixes to resolve the laser printer repeating image before resorting to replacement. These steps focus on cleaning and visual inspection.
- Run a Cleaning Cycle: Many laser printers have built-in cleaning cycles designed to maintain print quality. Navigate to your printer’s control panel or software utility, look for “Maintenance,” “Tools,” or “Print Quality,” and run options like “Clean Drum,” “Clean Fuser Unit,” or “Calibrate.” This can sometimes dislodge dust or toner particles causing
dark spotsordark streaks. - Visual Inspection of Consumables: Carefully remove your printer’s toner cartridge and drum unit (if separate). Look for any obvious signs of damage, toner buildup, or debris on the surface of the green or blue-tinted cylindrical drum. Also, check the developer roller inside the toner cartridge for similar issues.
- Gentle Manual Cleaning: If you spot a visible mark, speck of dust, or toner residue on the drum or developer roller, try to clean it very gently. Use a dry, lint-free cloth (like a microfiber cloth used for eyeglasses). Crucially, never touch the drum surface with your bare fingers. Skin oils can leave permanent stains, exacerbating the problem and causing new
horizontal lines when you print.
Remember to always consult your printer’s manual for specific instructions on how to remove and handle internal components safely. Incorrect handling can damage sensitive parts.
When to Replace Components for Print Quality
If cleaning doesn’t resolve the recurring issues, or if you observe a physical scratch, gouge, or permanent stain on a cylindrical component, that part is likely damaged and needs replacement. A worn-out or damaged part will continue to cause a laser printer repeating image problem.
- Single Color Dots or Patterns: If the recurring dots or patterns appear in a single color (e.g., only blue dots, or only yellow streaks), the problem almost certainly lies within that specific color’s toner cartridge or its integrated drum/developer unit. Replacing the affected color cartridge is usually the solution.
- Black or Gray Lines Across the Page: When you are getting
dark streaks running the length of the pageorhorizontal lines when you printthat are black or gray, and particularly persistent, the main imaging drum or the fuser unit is often at fault. These components have a finite lifespan and wear out over time, leading todark spotsand print quality degradation. Check your printer’s maintenance kit status or component life indicators. Printer Repeating Spots/Lines Every X mmNot Resolving: If you’ve measured the repetition interval and tried cleaning, but the problem persists, it confirms the need for replacement. Order a genuine replacement part—either a new toner cartridge, a separate drum unit, or a fuser unit, depending on your diagnosis.
Safety and Warranty Considerations
Before opening your printer or handling internal components, always unplug the device from the power outlet to prevent electrical shock. Be extremely careful when touching any internal parts, especially the fuser unit, which can remain very hot even after the printer is turned off. Always refer to your printer’s user manual for specific safety precautions and handling instructions for consumables. Attempting repairs beyond basic cleaning or component replacement might void your printer’s warranty. If you are uncertain about any step, it is best to contact an authorized service technician.
FAQs on Fixing a Laser Printer Repeating Image
Confronting a laser printer repeating image can be bothersome, but with careful diagnosis and the right approach, it’s a manageable problem. By precisely measuring the distance between recurring defects and either cleaning or replacing the identified component, you can quickly restore your printer to its optimal performance. Don’t let these recurring marks ruin your documents; empower yourself with these steps and enjoy pristine prints once again.