3D Printer Maintenance Tools Deals: Ultimate Firmware Reset
Introduction
3d printer maintenance tools deals can save you from major headaches when your machine starts acting erratically due to corrupted firmware. When persistent software glitches, random layer shifts, or phantom thermal errors plague your prints, a simple power cycle often isn’t enough. These issues can stem from corrupted EEPROM data or a buggy firmware build. The ultimate solution is often a complete firmware flash and factory reset, a process that wipes the slate clean and restores your printer’s core programming. This guide provides an expert walkthrough of this advanced troubleshooting procedure, ensuring you can tackle it safely and effectively.
Table of Contents
- Tools & Parts
- Step-by-Step Instructions
- Technical Profile & Risk
- Safer Alternatives & No-Parts Fixes
- Deployment & Testing
- Common Mistakes to Avoid
- Storage, Backups & Maintenance
- FAQs
- Conclusion
Tools & Parts: Securing 3d printer maintenance tools deals
Before beginning a firmware flash, you must gather the correct software and hardware. The specific tools depend on your printer’s mainboard, but most modern printers use either a direct USB connection or an SD card for the process. Having the right kit on hand prevents delays and potential errors.
Software:
- Firmware File: The correct
.binor.hexfile for your exact printer model and mainboard version. Download this only from the manufacturer’s official website or a trusted community source like Marlin Firmware’s official GitHub. - Flashing Utility (if needed): Some printers require software like VSCode with PlatformIO, Arduino IDE, or a dedicated flashing tool (e.g., PrusaSlicer, Creality Slicer) to upload the firmware.
- Pronterface or similar host software: This allows you to send terminal commands (G-code) to the printer to verify settings and perform resets.
Hardware:
- USB Cable: A high-quality data transfer USB cable (not a charge-only cable) to connect your computer to the printer.
- MicroSD Card: A freshly formatted (FAT32) microSD card, typically 8GB or smaller, for printers that flash from the card.
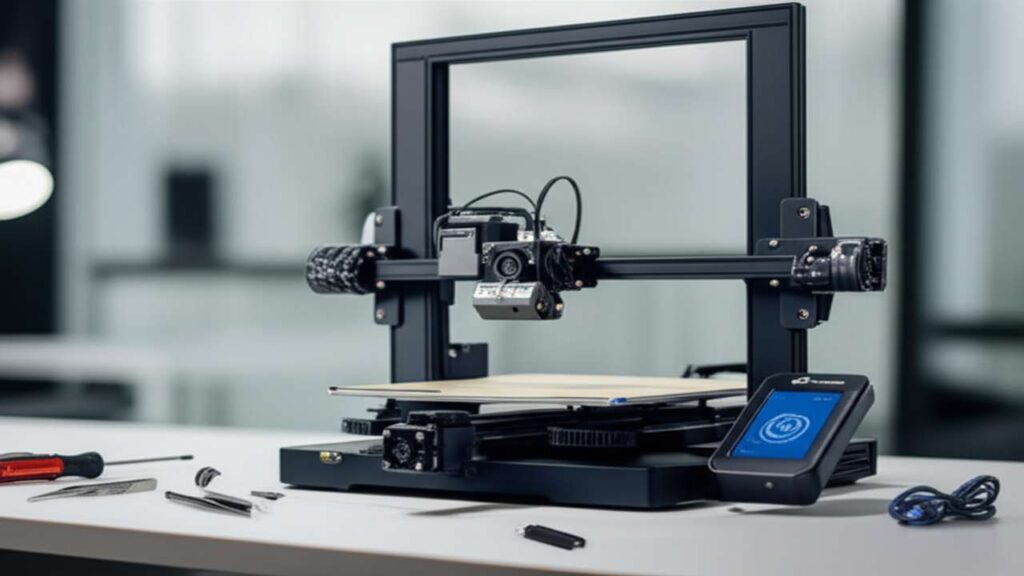
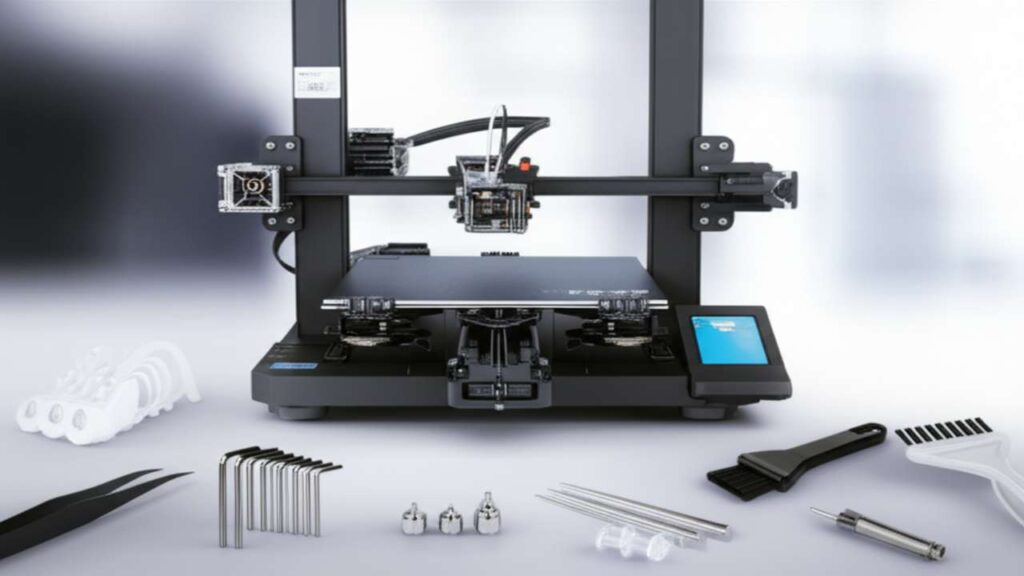
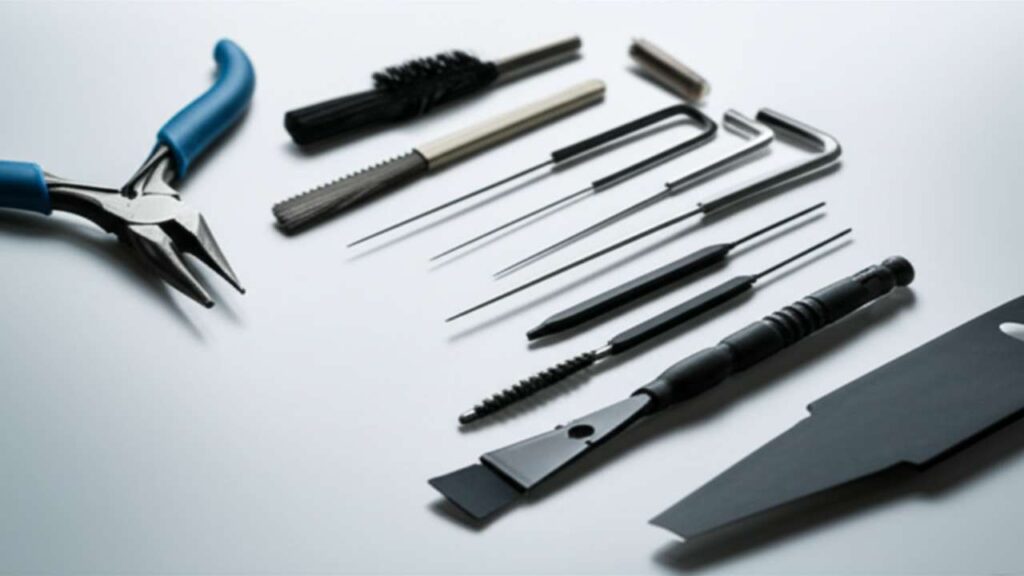
- Essential Kits: Good 3d printer maintenance tools deals often include necessary items like precision drivers for accessing the mainboard, calipers for calibration, and nozzle cleaning kits for post-flash testing. Top discounts on HOTO, Creality, and Wera brands make these kits affordable.
Step-by-Step Instructions
This procedure involves erasing your printer’s existing configuration. Follow each step carefully. Backing up your current settings is critical if you wish to restore them later.
| Step | Action | Why it helps | Time |
|---|---|---|---|
| 1 | Connect to the printer with host software (e.g., Pronterface) and run the M503 command. |
This command reports all current firmware settings to the terminal. | 5 mins |
| 2 | Copy the entire M503 output from the terminal window and save it as a text file on your computer. |
This is your only backup of custom settings like E-steps, offsets, and PID tunes. | 2 mins |
| 3 | Download the correct, official firmware file for your printer model and mainboard version. | Using the wrong firmware can “brick” your printer, making it unusable. | 10 mins |
| 4 | Follow the manufacturer’s specific procedure to flash the new firmware via USB or SD card. | Each printer brand has a unique method for initiating the firmware update. | 15 mins |
| 5 | After the flash completes, run the M502 command followed by M500 to load defaults and save them. |
This performs a factory reset, clearing any corrupt data from the old firmware. | 5 mins |
Step 1: Backup Your Current Configuration with these 3d printer maintenance tools deals
Before you erase anything, connect your printer to your computer. Open a host software program like Pronterface and establish a connection. In the terminal or command input box, type M503 and press enter. Your printer will respond with a long list of its current settings. This includes vital calibration data. Carefully copy this entire block of text and paste it into a new text file named something like “Printer_Backup.txt”. Save this file somewhere safe.
Step 2: Acquire the Correct Firmware
Navigate to your printer manufacturer’s official support or downloads page. Locate the firmware section and find the file that matches your exact printer model, hardware revisions, and any upgrades you may have (like a BLTouch or new hotend). Double-check that you are downloading the correct version. Using firmware for a different mainboard can permanently damage your device.
Step 3: Flash the New Firmware
The flashing method varies. Many modern Creality printers, for example, only require you to place the .bin file on a formatted microSD card and restart the printer. Others, like older Anet models, may need to be flashed over USB using the Arduino IDE. Always follow the specific instructions provided by your manufacturer for this critical step. Do not unplug or power down the printer during the flashing process.
Step 4: Perform a Factory Reset for your 3d printer maintenance tools deals
Once the new firmware is successfully installed, reconnect to the printer using your host software. The first command to send is M502. This command tells the printer to load the “hardcoded” default settings from the new firmware. Immediately after, send an M500 command. This saves those defaults to the printer’s memory (EEPROM), completing the reset. Your printer is now running a completely fresh, default configuration.
Technical Profile & Risk
Flashing firmware is an advanced procedure with inherent risks. The primary danger is “bricking” the mainboard, which occurs if the process is interrupted or if the wrong file is used. A bricked printer will not boot and becomes unresponsive. In most cases, it can be recovered by a skilled technician using specialized hardware, but for many users, it means replacing the mainboard. Always verify your firmware source and ensure a stable power supply during the update.
Safer Alternatives & No-Parts Fixes
Before committing to a full firmware flash, try less invasive solutions. Often, similar problems can be solved without such drastic measures.
- EEPROM Reset: Simply sending the
M502andM500commands can sometimes resolve configuration glitches without requiring a full firmware update. - Check Physical Connections: Intermittent errors can be caused by loose stepper motor cables, a faulty thermistor wire, or a loose endstop switch. A thorough physical inspection is always a good first step. For more details on physical adjustments, see our guide to calibrating your extruder.
- Re-slice the Model: A corrupted G-code file from your slicer can cause bizarre printing behavior. Try slicing the model again with default settings to see if the problem persists.
Deployment & Testing
After a successful firmware flash and reset, you must re-calibrate your printer. The factory defaults are a starting point, not a finished tune.
- PID Tune: Heat your nozzle and bed and perform a PID autotune to ensure stable temperatures.
- E-Step Calibration: Calibrate your extruder’s E-steps to ensure it is pushing the correct amount of filament.
- Z-Offset Configuration: If you use an auto-bed leveling probe, you must set your Z-offset again.
- Bed Leveling: Perform a thorough bed leveling procedure.
- Test Print: Print a calibration cube or a Benchy to verify that all systems are working correctly and dimensional accuracy is acceptable.
Common Mistakes to Avoid
- Using Incorrect Firmware: The single most common and dangerous mistake. Always triple-check the model, mainboard version, and features.
- Ignoring Backups: Failing to save your
M503output means you will have to re-calibrate every single setting from scratch. - Interrupting the Flash: A power outage or accidentally unplugging the USB cable during the update is a primary cause of bricked boards.
- Forgetting the Factory Reset: Flashing new firmware without running
M502andM500can leave old, corrupted data in memory, causing the original problem to persist.
Storage, Backups & Maintenance
Treat your firmware and configuration files like any other important data. Create a dedicated folder on your computer or cloud storage for your printer. Store the downloaded firmware files there, along with the “Printer_Backup.txt” file you created. Every time you make a significant calibration change, run M503 again and save a new, dated backup. This creates a history you can revert to if a future change causes issues.
FAQs
Q: Can a firmware flash fix mechanical problems?
A: No. Firmware manages the printer’s electronics and logic. It cannot fix a bent leadscrew, a clogged nozzle, or a worn-out bearing. Always rule out mechanical failures first.
Q: Will updating my firmware void my warranty?
A: It can. Some manufacturers consider user-installed firmware a modification that voids the warranty. Check your manufacturer’s policy before proceeding if your printer is still under warranty.
Q: I flashed the firmware, and now the screen is blank. What happened?
A: This is a common sign of a “bricked” printer, likely from using the wrong firmware file or an interrupted flash. Recovery may require advanced tools like an ST-Link programmer.
Conclusion
Performing a full firmware flash and reset is a powerful troubleshooting technique that can resolve deep-seated software issues. While it carries some risk, following a careful, methodical process minimizes danger and restores your printer to a known-good state. Having the right equipment is key; excellent 3d printer maintenance tools deals can provide the precision drivers and calipers needed for the subsequent recalibration. By backing up settings, verifying firmware, and testing thoroughly, you can confidently bring even the most problematic printer back to life.