How to Reset Chip on Ink Cartridge: The Ultimate Guide
How to reset chip on ink cartridge is one of the most common questions printer owners ask, especially after refilling. You’ve refilled your cartridge, but the printer still shows an “Empty” or “Low Ink” warning. This happens because most cartridges use a “smart chip” that doesn’t measure ink; it simply counts the pages printed. Once it hits a set limit, it reports “empty” regardless of how much ink is left.
This guide will show you the methods for how to reset chip on ink cartridge for major brands like Epson, Canon, HP, and Brother, covering physical tools, manual bypasses, and firmware solutions.
Method 1: Using a Physical Chip Resetter (The Most Reliable Method)
This is the most direct way how to reset chip on ink cartridge, especially for Epson printers. A chip resetter is a small, inexpensive tool designed specifically to reprogram your cartridge’s chip, setting its counter back to “full”.
Step-by-Step Guide:
- Remove the Cartridge: Take the “empty” ink cartridge out of your printer.
- Align the Pins: Locate the small, gold-colored contact points on the cartridge chip. Align the pins on your resetter tool with these contacts. The tool often has a plastic guide to ensure correct alignment.
- Press and Hold: Press the tool firmly against the chip for 3-5 seconds.
- Check the LED: The LED light on the resetter will typically flash red as it makes contact, and then turn solid green to signal a successful reset.
- Reinstall: Place the cartridge back in your printer. The ink level monitor should now read 100% full.
Important: Chip resetters are not universal. You must buy a tool specifically compatible with your printer brand and cartridge model (e.g., “Epson 212 chip resetter”).
Manual Methods: How to Reset Chip on Ink Cartridge by Brand
If you don’t have a resetter tool, some brands offer manual workarounds. These methods typically bypass the ink monitor rather than truly resetting the chip.
How to Reset Ink Cartridge Canon PIXMA (Bypass Method)
Canon offers the easiest way to bypass the ink monitor, which is often mistaken for a chip reset. This method disables the ink level detection, allowing you to print.
- Wait for the printer to display the “Ink Out” or “Empty” error message (e.g., Support Code 1730).
- Press and hold the printer’s “Stop,” “Stop/Reset,” or “Resume” button for 5-10 seconds. This button is almost always marked with a red triangle inside a circle.
- Release the button. The printer will disable the ink level monitoring for that cartridge and resume printing. You will need to repeat this for each color cartridge as it “runs out.”
How to Reset Chip on Brother Ink Cartridge (The Tape Trick)
The how to reset chip on ink cartridge method for most Brother inkjet printers is a simple physical hack. This is because Brother printers often use an optical sensor to check the ink level. This sensor shines a light through a small, clear window on the cartridge to see if it’s empty.
The fix is to simply cover this “clear plastic sensor window” with a small piece of black electrical tape. This blocks the sensor’s light, tricking the printer into thinking the cartridge is perpetually full. This trick also effectively bypasses the frustrating “Cannot Print in Black” error that occurs when a color cartridge is empty.
How to Reset HP Ink Cartridge Without Chip Resetter
Resetting an HP chip is notoriously difficult, as the printer often remembers the cartridge’s serial number. However, two methods have worked for some users:
- The Power Cycle Method: This attempts to clear the printer’s internal memory, which is said to store the last 5 cartridge IDs.
- Remove all ink cartridges from the printer.
- Turn the printer off and on five times in a row, waiting about 20 seconds between each cycle.
- Reinstall the refilled cartridges.
- Note: Many users report this method is not effective on newer HP printers.
- The Tape Trick (Older Models): For older cartridges (like HP 61, 63, etc.), a complex “tape trick” exists. This involves covering specific electrical contacts on the chip in a precise sequence to confuse the printer’s memory. This is different from the Brother optical trick and requires a specific diagram for your cartridge model.
Frequently Asked Questions
Advanced Solutions for How to Reset Chip on Ink Cartridge
“No Chip” Cartridges: The Manual Chip Transfer
When shopping for compatible cartridges, you may see them sold “with chip” or “without chip.”
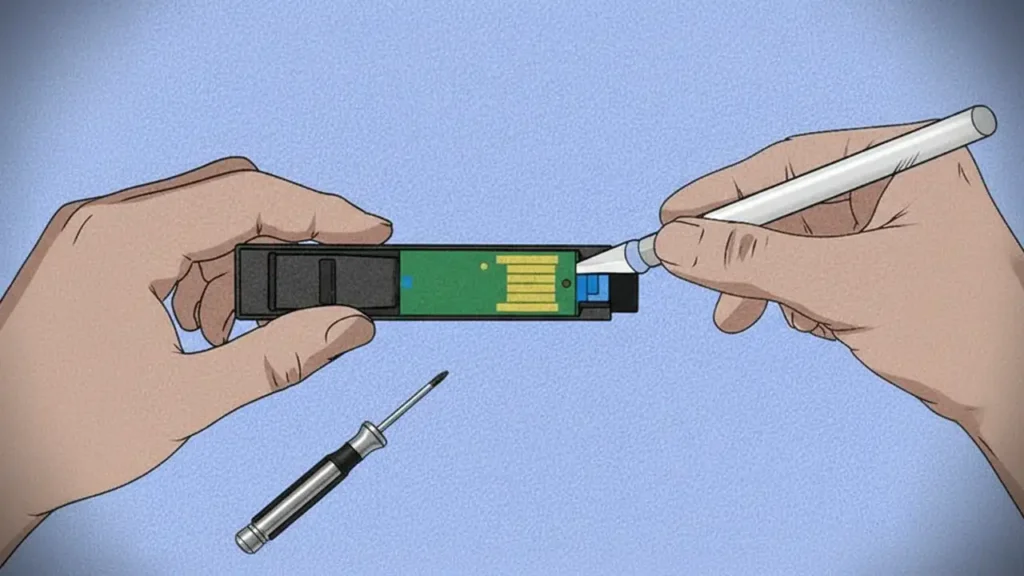
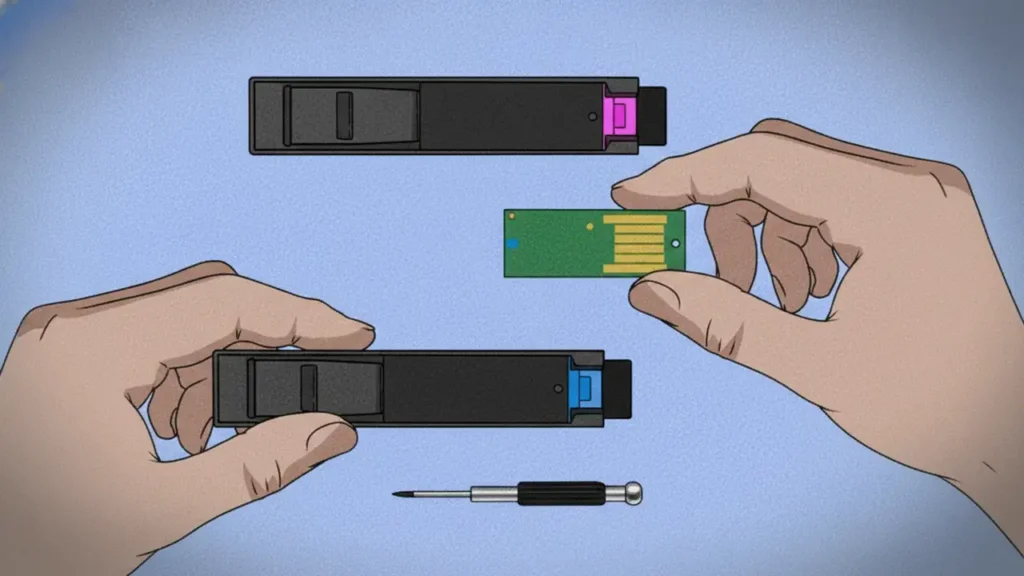
- “No Chip” Cartridges are cheaper because they are just the plastic shell.
- To use them, you must perform a manual chip transfer. This involves physically removing the chip from your old, original (OEM) cartridge (often with a sharp tool) and attaching it to the new “no chip” cartridge.
- The Catch: The printer will still read the chip as “Low Ink” or “Empty” because you are using the old chip. You must simply ignore or “snooze” this warning. You will lose all ink level monitoring and must watch your print quality to know when the cartridge is physically empty.
Permanent Bypass: Chipless Firmware
The most advanced solution for how to reset chip on ink cartridge is to install chipless firmware. This is a third-party software patch that modifies your printer’s operating system. Once installed, the printer is programmed to always show 100% ink levels, completely ignoring the chip. This is a permanent solution and is very popular for users with Continuous Ink Supply Systems (CISS).
Warning: Do Not Confuse with WIC Reset Utility
When searching for Epson reset software, you will find the “WIC Reset Utility”. This will not reset your ink cartridge chip. This tool is for resetting the “Waste Ink Pad Counter,” an internal counter that locks the printer after a set number of cleaning cycles. This is a completely different problem.