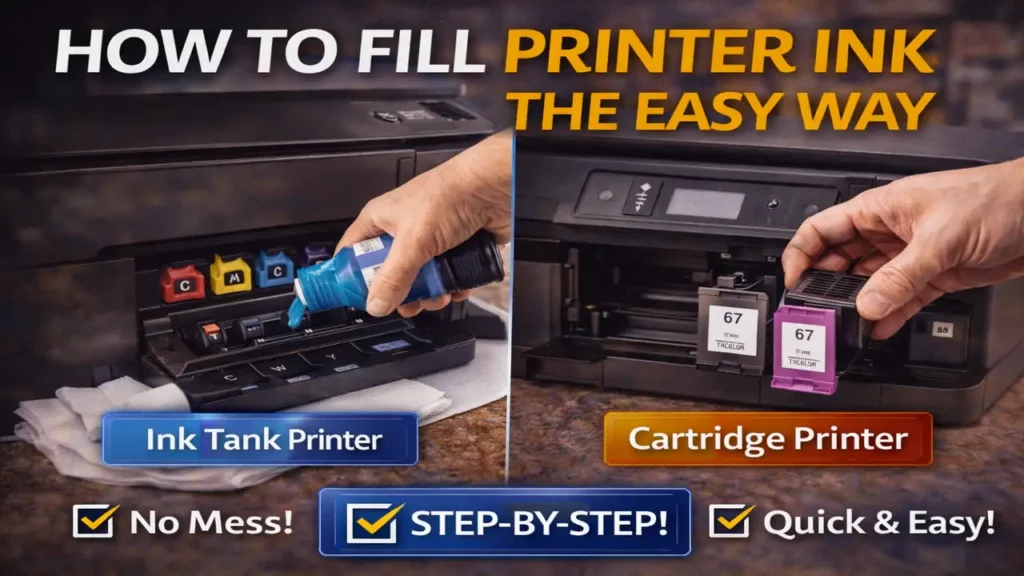
How to Fill Printer Ink the Easy Way
Learning how to fill printer ink sounds simple, but many people get confused because not all printers use the same system. Some printers use refillable ink tanks, while others use cartridges that are usually replaced instead of manually refilled. That is why the easiest and safest method depends on the type of printer you have.
If you want to know how to fill printer ink without making a mess or damaging the printer, the first step is to identify whether your printer uses ink bottles, refill tanks, or standard cartridges. Once you know that, the process becomes much easier and far less stressful.
Before You Start, Check Your Printer Type
The most important step in how to fill printer ink is knowing what kind of printer you own. This matters because the refill process is different for each design.
Most home printers fall into one of these groups:
- ink tank printers that are designed to be refilled with bottled ink
- cartridge printers that use replaceable ink cartridges
- some cartridge systems that can technically be refilled, but are not designed to make that easy
This is where many people make mistakes. They search for how to fill printer ink, then follow refill advice meant for a tank printer when their printer actually needs cartridge replacement.
So before doing anything else, check the model name on the printer and confirm whether it uses tanks or cartridges.
Buy the Correct Ink First
Once you know your model, get the correct ink for it. This step is critical. Using the wrong ink can cause print quality problems, clogging, color issues, or even long-term damage.
If your printer uses refillable tanks, buy the correct bottle set made for that model series. If it uses cartridges, buy the correct replacement cartridges. In some cases, people say they want to “fill” the printer when what they really need is to replace the empty cartridge.
A big part of how to fill printer ink safely is not guessing. Always match the ink type and color exactly to your printer model.
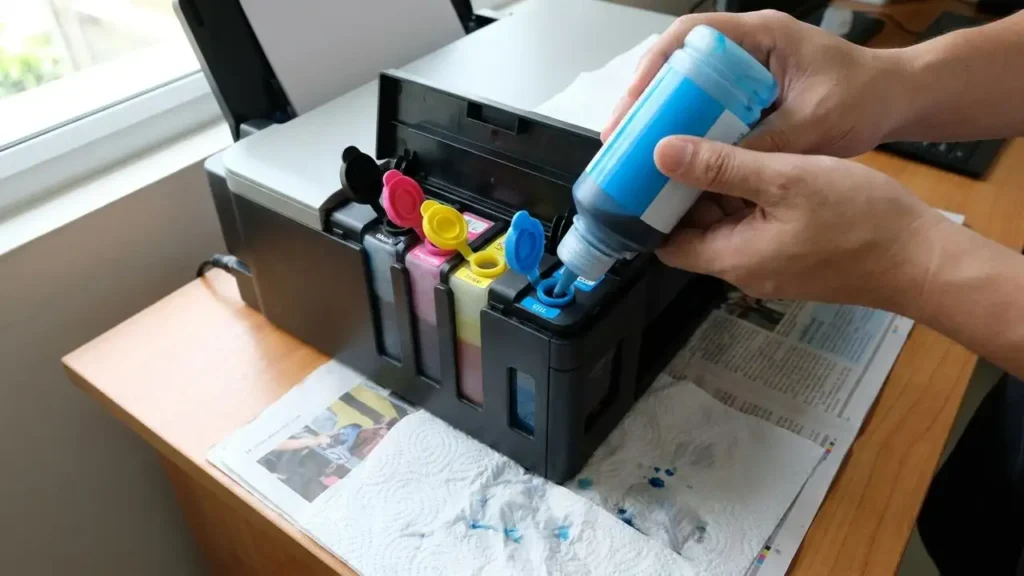
Prepare a Clean Workspace
Ink can stain easily, so set up your workspace before opening anything. Put down paper towels, old newspaper, or a protective sheet. Keep tissues nearby in case of small drips.
This may seem like a small detail, but it makes how to fill printer ink much easier. A clean and organized setup reduces mistakes, keeps the printer cleaner, and helps you focus on the refill process instead of worrying about spills.
If possible, work on a flat stable surface with good lighting. That makes it easier to see tank openings, cartridge slots, and color labels clearly.
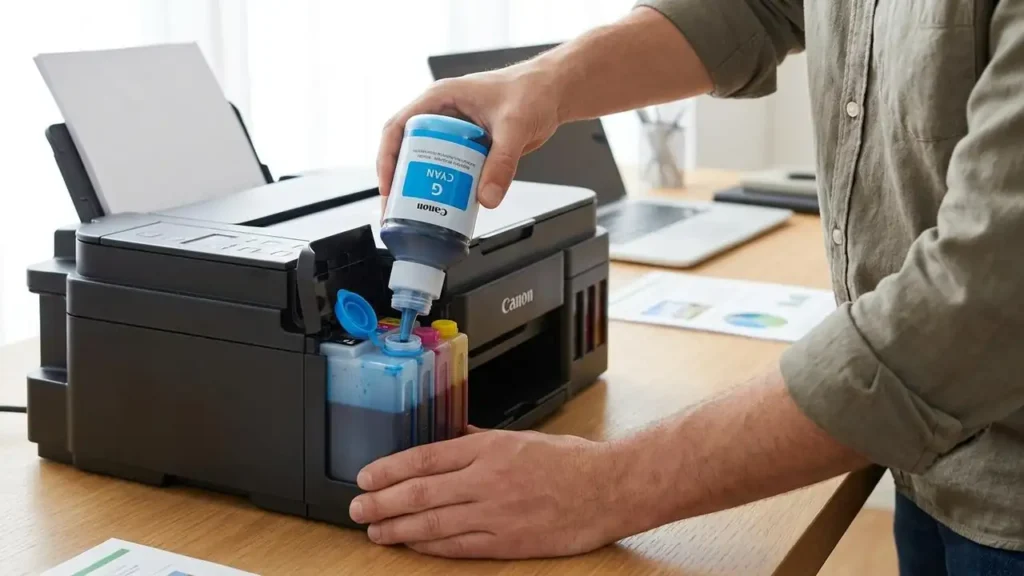
How to Fill Printer Ink in an Ink Tank Printer
If your printer uses refillable tanks, this is usually the easiest version of how to fill printer ink.
Open the printer’s ink tank cover and locate the correct color tank. Make sure you are opening the right one before pouring anything. Black, cyan, magenta, and yellow must go into their matching tanks only.
Open the correct tank cap, then open the ink bottle carefully. Many modern bottle systems are designed to reduce spills and only fit the matching color port. Slowly fill the tank to the recommended level. Do not overfill it. Once the tank is filled, close the cap securely and wipe away any small drips.
After filling all required colors, close the printer cover and let the printer complete any ink charging or recognition process if prompted. Some models may ask you to confirm that ink was refilled.
This is the cleanest and most practical method of how to fill printer ink because the printer is built for it.
How to Fill Printer Ink in a Cartridge Printer
This part is where people often misunderstand the process. With most cartridge printers, the easiest solution is not manual ink injection. It is replacing the empty cartridge with a new one.
Open the printer, wait for the cartridge carrier to move into position, then remove the empty cartridge carefully. Avoid touching the copper contacts or nozzles. Insert the new cartridge into the correct slot until it clicks into place.
In this situation, how to fill printer ink really means changing the ink cartridge rather than pouring ink into the printer itself. That is the safer and simpler option for most users.
Some cartridges can be manually refilled with syringes, but that is usually messier, less reliable, and more likely to create print quality or recognition issues. For beginners, replacement is usually the easiest path.
Handle Ink and Cartridges Carefully
Whether you are working with tanks or cartridges, gentle handling matters. Do not shake ink bottles aggressively. Do not press hard on cartridges. Do not touch print nozzles or electrical contacts.
A lot of printer problems start not because the user chose the wrong steps, but because they handled the parts too roughly. Part of learning how to fill printer ink is learning how to avoid creating a second problem while fixing the first one.
If a small amount of ink gets on the outside, wipe it gently. Do not push debris into the openings.
Run a Test Print After Refilling
Once the ink has been filled or the cartridge replaced, print a test page. This step is important because it confirms that the printer recognizes the ink correctly and that all colors are printing.
If the output looks faint, streaky, or incomplete, run a nozzle check or print head cleaning cycle from the maintenance menu. This is common after refilling, especially if air entered the system or the printer sat empty for too long.
A test print is a key part of how to fill printer ink because it verifies that the job is actually finished.
Store Extra Ink Properly
If you buy extra bottles or cartridges, store them in a cool, dry place away from direct sunlight. Keep them sealed until needed. This helps prevent drying, leakage, or reduced print quality later.
This is especially useful if you print often and like to keep spare supplies ready. A good storage habit makes future refills easier and helps you avoid last-minute ink emergencies.
Common Mistakes to Avoid
One of the biggest mistakes in how to fill printer ink is using the wrong color in the wrong tank. Another common mistake is overfilling the tank or touching sensitive cartridge parts.
People also make problems worse by trying to refill cartridges that are clearly damaged, dried out, or incompatible with manual refill. In those cases, replacing the cartridge is usually the better choice.
Another mistake is skipping the test print and assuming everything is fine. Even if the printer accepts the ink, the print quality still needs to be checked.
Frequently Asked Questions
Understanding how to fill printer ink becomes much easier once you know whether your printer uses tanks or cartridges. For ink tank printers, careful bottle refilling is usually the right method. For cartridge printers, replacement is often the easiest and cleanest solution. If you take your time, use the correct ink, and run a test print afterward, the whole process can be simple and trouble-free.