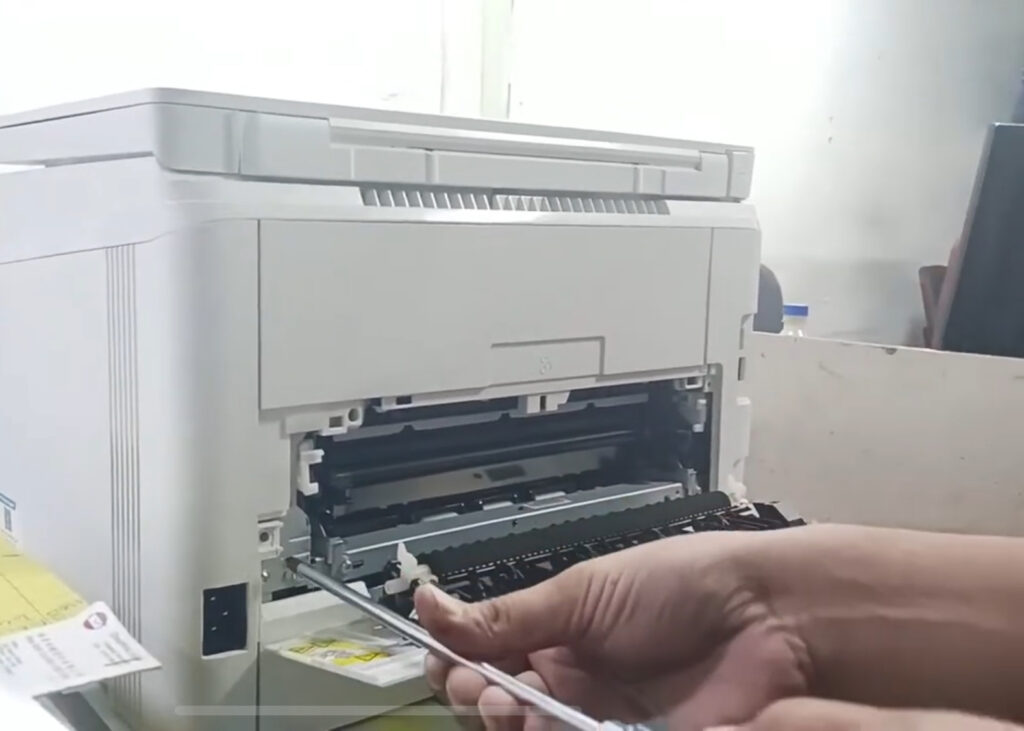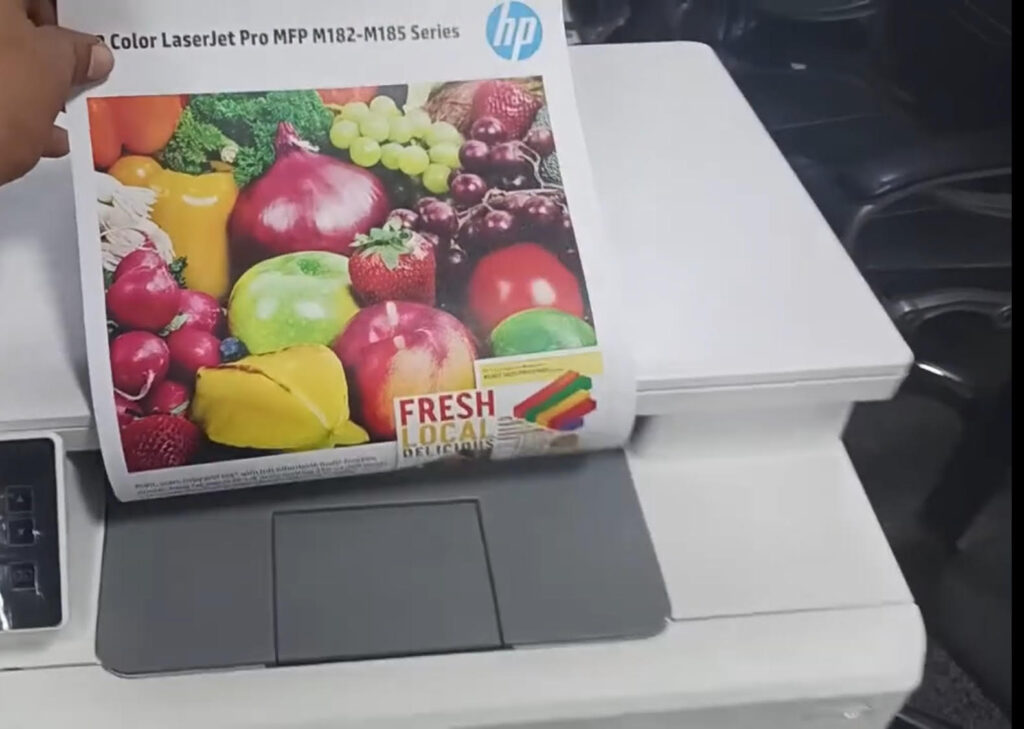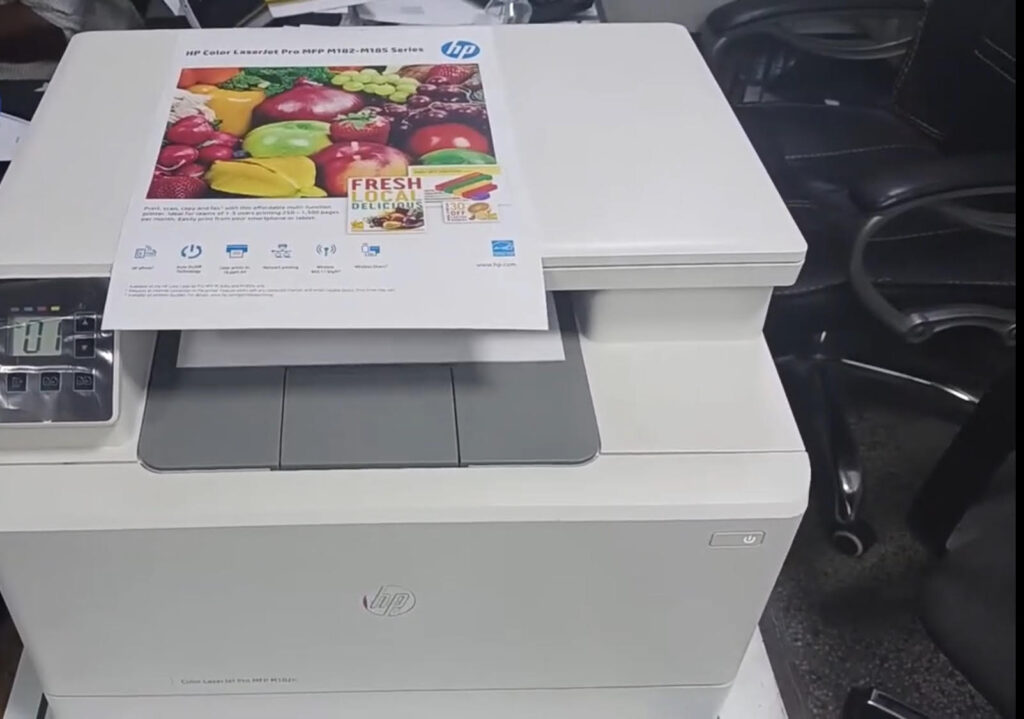
Today, we will delve into a detailed guide on enhancing the print quality of your HP Color LaserJet Pro MFP M182n printer. By following the steps outlined below, you can ensure that your prints are crisp and vibrant, just as you desire.
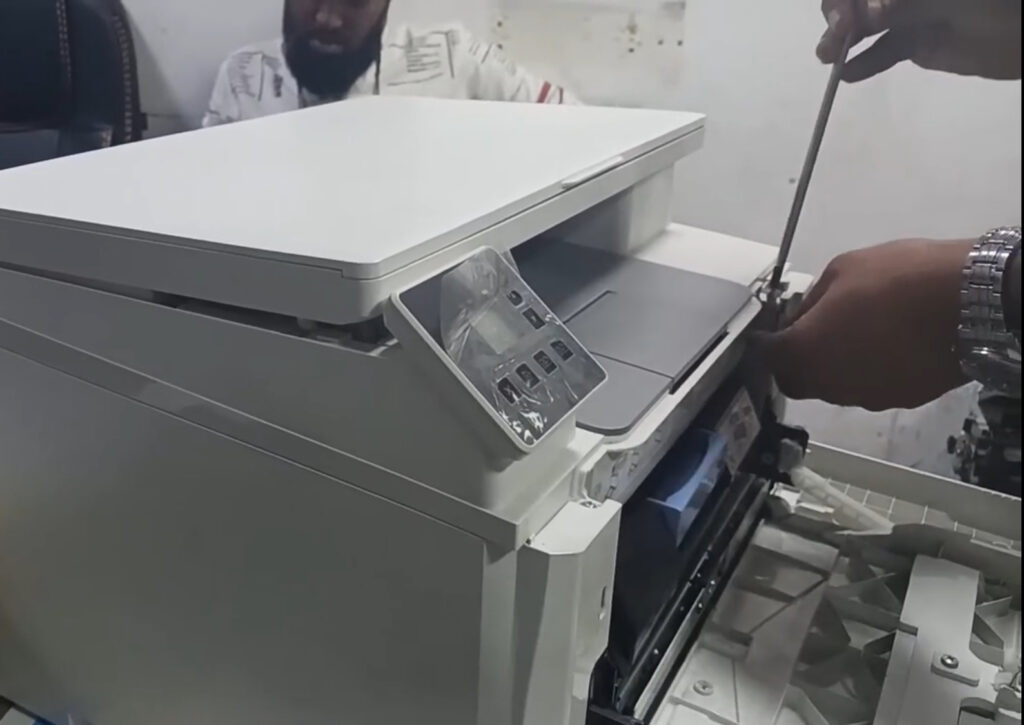
Cleaning the Laser Unit for Optimal Print Quality
To start off, we need to address the issue of light print, which often stems from a dusty laser unit. By carefully disassembling the laser unit and cleaning it with a soft cloth, such as pure cotton or velvet, you can eliminate any debris that may be hindering the print quality.
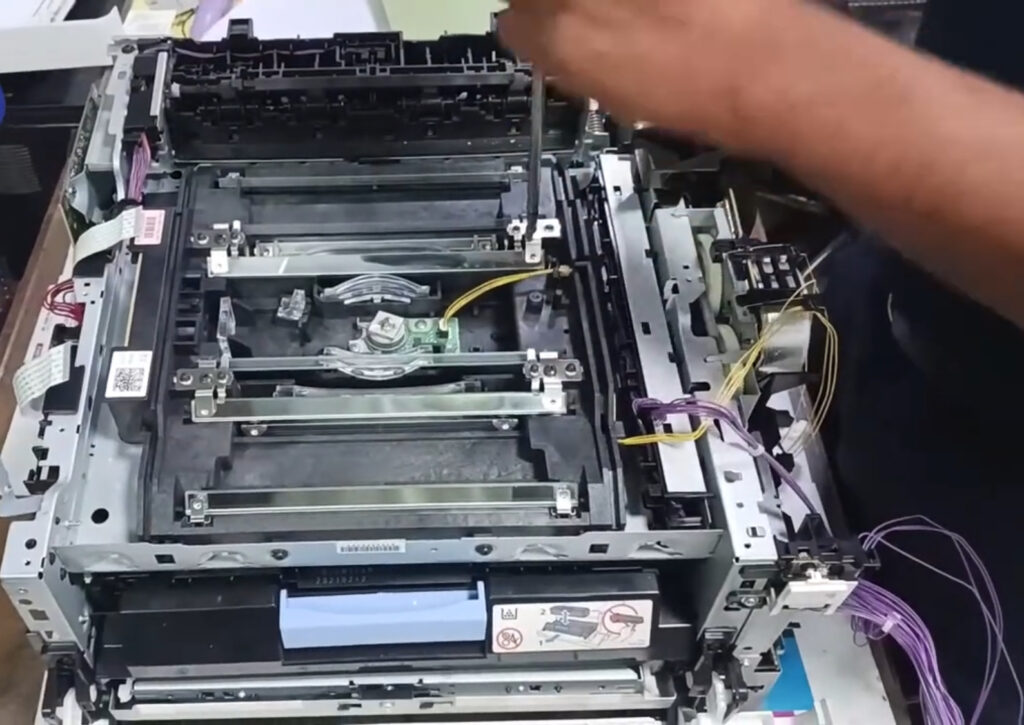
Cleaning the Glasses for Individual Color Precision
Next, it’s crucial to clean the four types of glasses ,black, cyan, magenta, and yellow ,to ensure accurate color representation in your prints. Pay attention to the position and alignment of these glasses to achieve optimal results.
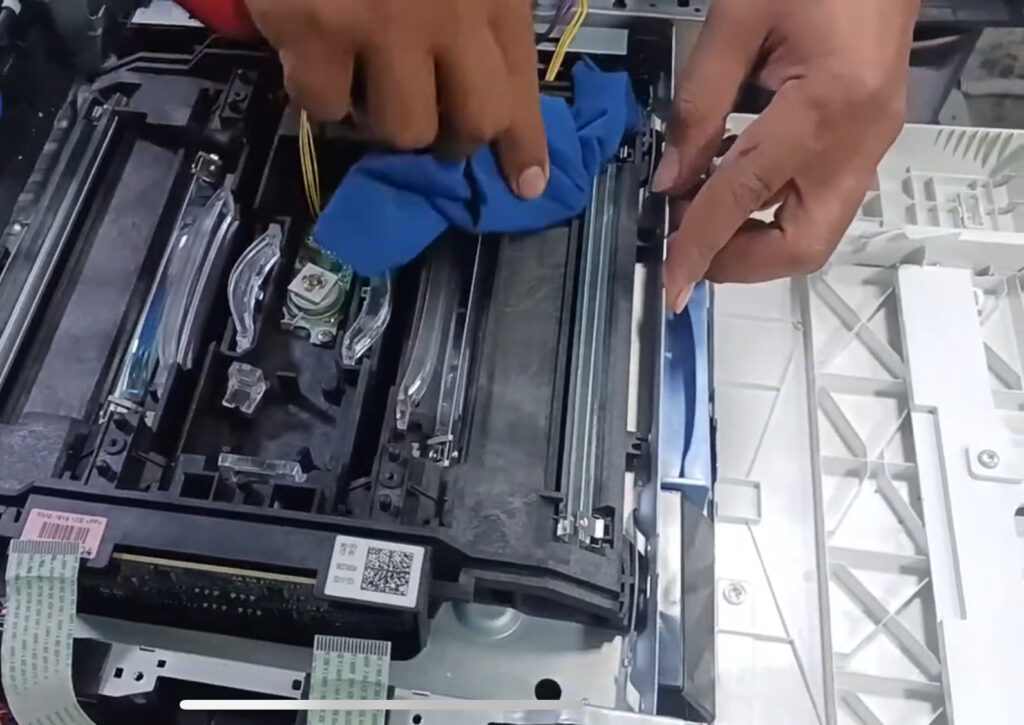
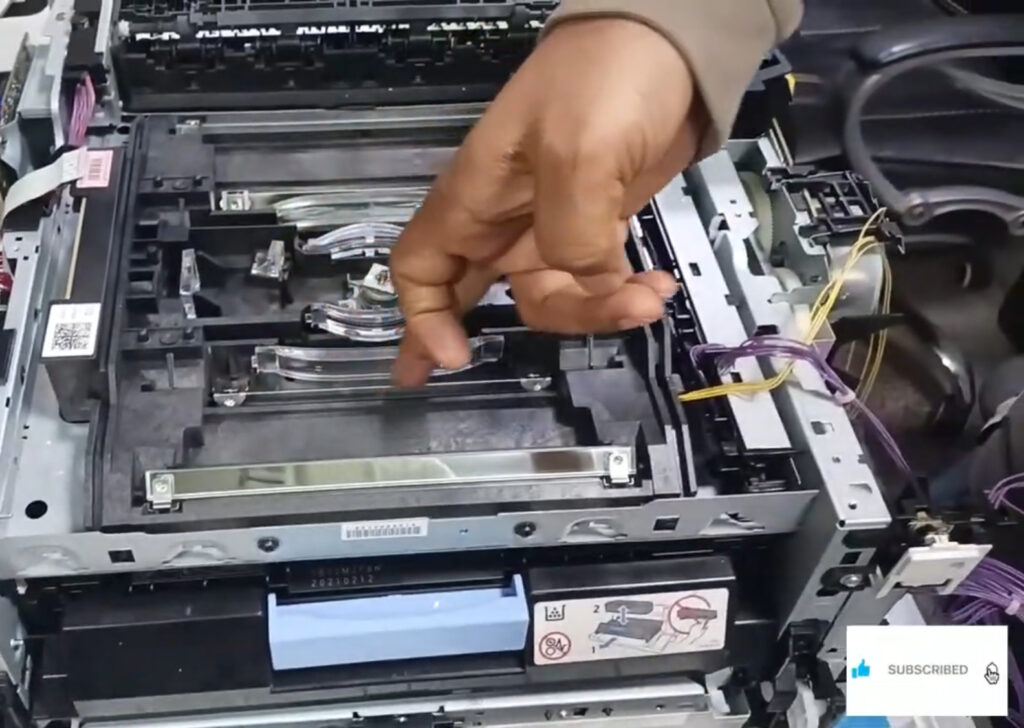
Setting Up the Laser Unit Correctly
After cleaning the glasses, carefully set up the laser unit by aligning the glasses and securing them in place with the appropriate screws. Once the unit is reassembled, ensure that the cover is closed and all cables are correctly connected.
Demonstrating Print Quality Through a Computer
As the HP Color LaserJet Pro MFP M182n printer lacks a large control panel, a laptop or personal computer can be used to monitor and print the supply status. By accessing the control panel apps and HP devices toolbox, you can generate reports to verify the print quality improvements.
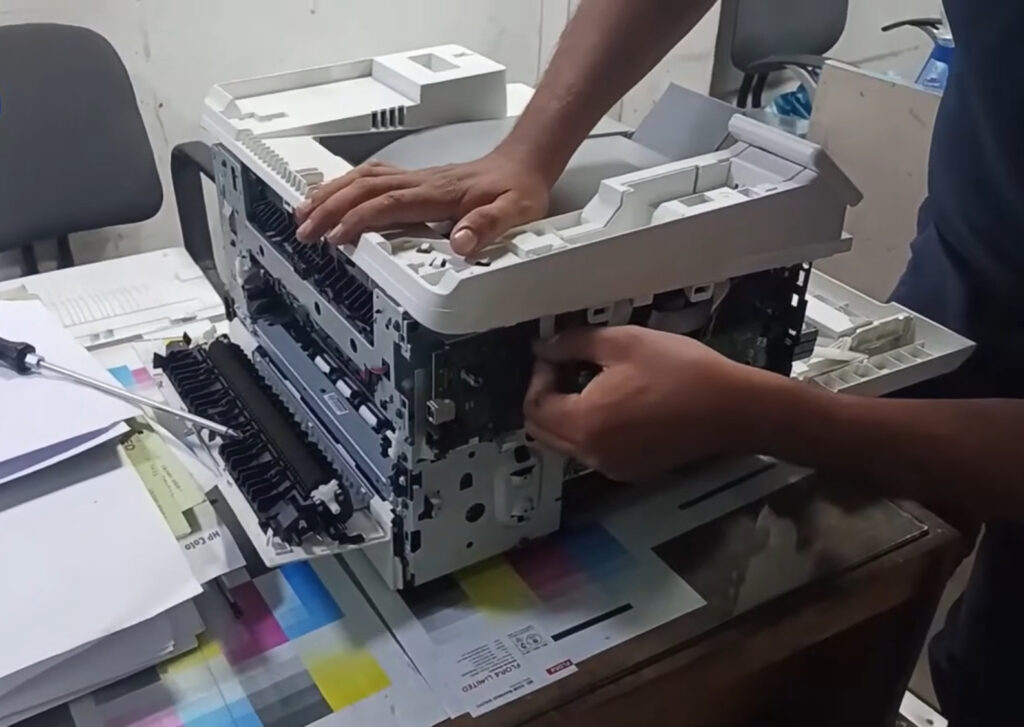
Conclusion
By following these steps to clean the laser unit, glasses, and set up the printer correctly, you can significantly enhance the print quality of your HP Color LaserJet Pro MFP M182n printer. Remember to stay attentive to detail and regularly maintain your printer for consistent and top-notch results. Thank you for tuning in to this technical guide, and don’t forget to subscribe for more insightful content.
To communicate directly with us, please contact us from here


