Is your printer producing streaks, faded prints, or missing text? It may be time to clean your printhead. A dirty printhead can negatively impact print quality, but with proper maintenance, you can ensure your printer runs efficiently and lasts longer.
Can you clean a printhead manually? How do you pick the best printhead cleaning kit? Continue reading to discover essential ink-saving tips and learn how to clean your printhead for optimal performance and consistent print quality.
What Is a Printhead?
A printhead is a critical component in your printer, responsible for holding the ink cartridges and transferring ink or toner onto paper. Over time, ink can dry out and clog the printhead, leading to printing issues. Regular cleaning is essential to prevent clogging and maintain top-tier print quality, whether you use inkjet or laser cartridges.
When Should You Clean the Printhead?
If you start seeing streaks, faded text, or missing ink spots in your prints, especially after periods of inactivity, this could be a sign of a clogged printhead. Even if your ink cartridges are full, clogged nozzles can cause these issues. Running a nozzle check is an easy way to diagnose these problems early and avoid significant print quality issues down the line.
How to Clean Your Printhead via Your Computer
Want to clean the printhead without getting your hands dirty? Follow these simple steps to clean it directly from your computer:
- Click the “Start” button on your computer.
- Access the Control Panel and navigate to the “Printers and Scanners” section.
- Right-click your printer and select Properties to check ink levels and printer status.
- Tip: If your ink cartridges are full but the prints are smudged or fuzzy, it’s time to clean the printhead.
- Go to Printing Preferences and select the Service tab.
- Click Printer Services and select Clean Printheads to initiate the automatic cleaning process.

How to Manually Clean a Printhead
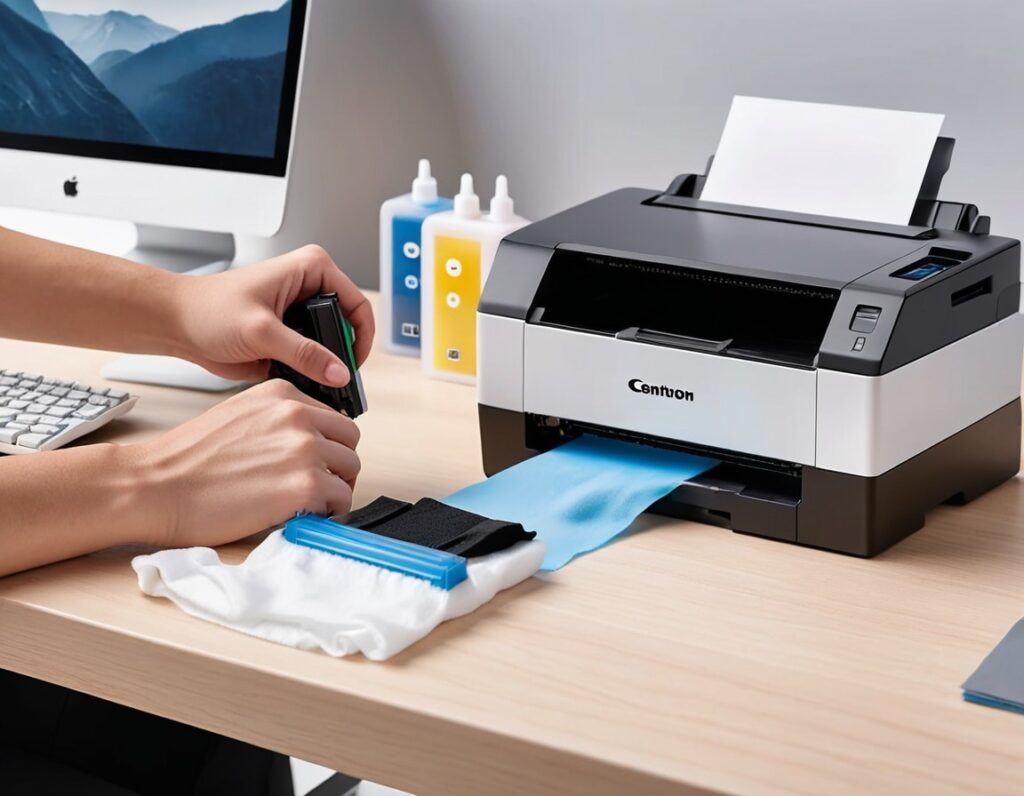
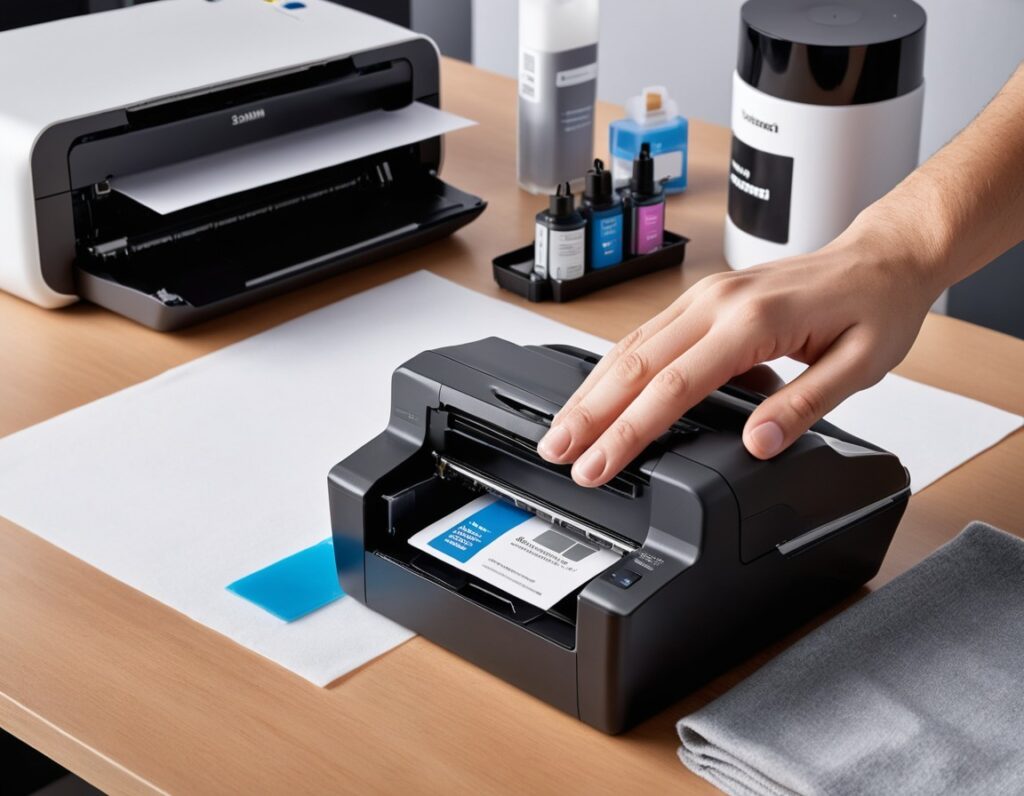
Yes, you can clean your printhead manually! Manual cleaning can be a great option if you’re still experiencing issues after cleaning via the software. Follow these steps carefully to improve print quality and extend the life of your printer:
1. Prepare Your Printer:
- Turn on the printer and open the access panel.
- Wait for the cartridge carriage to move to the center, then unplug the printer.
2. Remove and Clean Ink Cartridges:
- Gently remove the ink cartridges and clean the contacts with a lint-free cloth. Avoid touching the nozzles directly.
- If needed, use a small amount of bottled water on a cotton swab to clean the contacts and allow them to dry fully before reinserting.
3. Clean the Printhead:
- Gently wipe the printhead contacts with a lint-free cloth.
- If necessary, use bottled water on a cotton swab to clean any dried ink buildup.
- Let the printhead dry completely before reinserting the cartridges and plugging the printer back in.
Why Is Printer Maintenance Important?
Think of printer maintenance like maintaining a car—if you neglect regular care, it will eventually break down. Cleaning your printhead at home can prevent major problems and keep your printer in excellent working condition. Regular maintenance helps avoid costly repairs and ensures the highest print quality by addressing minor issues before they escalate.
What If Cleaning Doesn’t Solve the Problem?
In some cases, multiple cleaning attempts may be necessary to fully resolve printhead issues. If the problem persists, it might be time to seek professional help.
At Printer Repairs Centre, our certified technicians are equipped to diagnose and fix any printhead-related problems. We service all major printer brands, including Canon, Epson, Kyocera, and Samsung. Offering same-day repair services across Sydney, Parramatta, Blacktown, and Alexandria, we help minimize your printer downtime. Contact us today to schedule a repair or learn more about our maintenance services.

