laser printer streaks fix — drum vs fuser vs transfer
laser printer streaks fix is the fastest path to clean pages again. Use this laser printer streaks fix walkthrough to identify whether the culprit is the drum, the fuser, the transfer system, or the cartridge itself—then apply the exact remedy with minimal parts and downtime.
laser printer streaks fix — quick diagnostic map
Most streaks fall into four buckets:
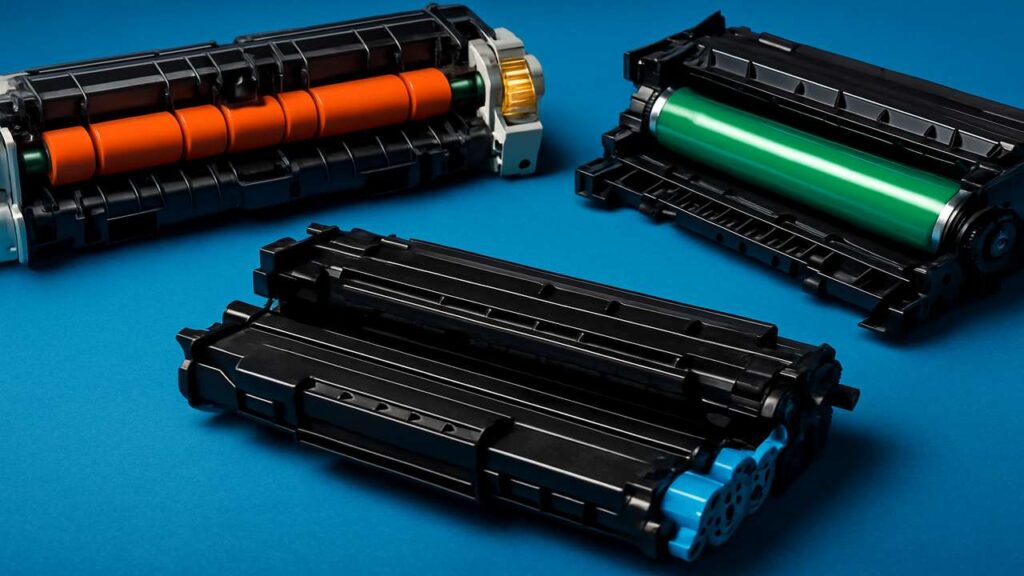
Drum (OPC/PCU): repeating gray/black bands or ghost images at a consistent distance down the page.
Fuser (heat/pressure rollers): shiny, smeared, or offset toner that rubs off; defects appear after the fuser.
Transfer system (belt/roller): pale bands, colored lines (on color devices), or repeating light bars across full width.
Cartridge/developer/toner: dirty background, scatter, or one color consistently weak.
The 10-second tests that separate causes fast
Rub test: Gently rub a fingertip or clean tissue over a streak. If toner smears or comes off, suspect the fuser (low heat/pressure or contaminated sleeve).
Half-stop test: Send a print and open a door to halt the page mid-path. Inspect the unfused image:
Streak already present → problem before fusing (drum/transfer/cartridge).
Streak appears only after fusing → problem is the fuser.
Mirror-side test (duplex off): Print the same image twice. If the pattern repeats with identical spacing, think rotating part (drum/fuser/transfer roller).

Identify by spacing pattern (rule-of-thumb distances)
These repeating distances help pinpoint which cylinder is printing the defect (values are approximate; measure center-to-center between identical marks):
OPC drum: ~94–96 mm (3.7–3.8 in)
Fuser pressure/heat roller: ~75–80 mm (3.0–3.2 in)
Transfer roller: ~56–60 mm (2.2–2.4 in)
Charge/developer rollers (some models): ~60–75 mm (2.4–3.0 in)
If your measured spacing matches one of these, service that subsystem first.
Drum-side fixes (when the spacing screams “drum”)
Don’t touch the green/blue drum surface; keep it away from bright light.
Remove the cartridge/PCU and gently rotate it: look for toner buildup lines.
Clean the primary charge contact and the drum wiper blade edge (use a lint-free swab; never scrape).
If ghosting or bands persist, the drum/wiper is worn—replace the drum unit (or the cartridge if integrated).
On color printers, isolate by swapping positions (e.g., move the cyan unit to magenta); if the defect follows the unit, you’ve confirmed the source.
Fuser-side fixes (when toner rubs off or looks glossy/smeared)
Power off and let the printer cool before touching the fuser (very hot).
Inspect the fuser sleeve/film for scratches, melted patches, or toner glaze; clean lightly with a dry lint-free cloth (no solvents).
Verify paper type settings—using “Plain” for heavy paper lowers fuser energy and causes smear. Set the correct media weight.
Persistent smear or repeating shiny bars at fuser spacing = replace the fuser assembly.
Odd noise plus streaks often means worn fuser bearings/gears; replacement is the fix.
Transfer system fixes (belt/roller artifacts)
On color devices with an intermediate transfer belt (ITB), look for faint lines across full width or pale bands.
Carefully clean the ITB surface with a soft, dry, lint-free cloth; never use alcohol on the belt.
Check the transfer roller (mono devices): if it’s soaked with toner or has flat spots, replace it.
Run a calibration/align cycle after cleaning or parts replacement to normalize charge and color laydown.
If streaks align with belt rotation and cleaning doesn’t help, the belt’s cleaning blade may be worn—replace the ITB unit.
Cartridge/toner/developer fixes
Gently rock the toner cartridge side-to-side to level toner.
If you see peppery scatter or gray background, try a different cartridge—cheap refills can leak or carry poor-charge toner.
For component cartridges (drum separate from toner), ensure the developer unit isn’t overfilled or clumped; replace if aged.
Confirm the electrical contacts on the cartridge and in the printer are clean and springy.
Paper path & environment (the hidden saboteurs)
Humid paper causes blurry edges and fuse failures; store reams sealed and select the right media type.
Clean registration and exit rollers with a slightly damp (water) lint-free cloth; dry fully.
Remove label residue or paper scraps around the fuser entrance—common source of edge streaks.

Prevention that actually works
Use quality media and correct media type in the driver/panel.
Replace consumables (drum, transfer roller/belt, fuser) on their real duty cycles—don’t stretch too far past life.
Keep the device dust-free; vacuum around intakes and paper drawers (printer off).
Disable unnecessary auto-sleep cleanings if your model allows; excessive cycles wear wiper blades.
Troubleshooting by symptom
Dark vertical band, repeats at ~95 mm → drum/wiper issue.
Toner rubs off with fingertip → fuser heat/pressure or wrong media type.
Light horizontal bars across the page → transfer belt/roller path.
Speckled background/dirty gray → toner quality or developer contamination.
Streak starts mid-page after a jam → residue near fuser entrance; clean path and sleeve.
FAQs
Can I clean a drum with alcohol?
No. Alcohol can damage the drum coating. Use only a dry, lint-free swab around edges; replace a worn drum.
Is it safe to wipe the fuser?
Only when cool, and dry cloth only. If the sleeve is damaged or glazed heavily, replace the fuser.
Why do streaks come back after a few days?
A worn wiper blade or transfer component can temporarily improve after cleaning, then relapse. Replacement is the lasting fix.
Do driver settings really matter for streaks?
Yes—wrong media type lowers fuser energy and mimics hardware failure. Match the paper you’re using.
Quick checklist
Rub test ⇒ smear = fuser; clean/replace
Half-stop test ⇒ pre- or post-fuser source identified
Measure repeat distance ⇒ drum/fuser/transfer matched
Clean contacts, path, and (if applicable) ITB surface
Replace worn drum/wiper, fuser, or transfer roller/belt
Calibrate and print a test page to confirm
Conclusion
A reliable laser printer streaks fix starts with three moves: the rub test, the half-stop test, and spacing measurement. Those pinpoint whether you’re dealing with drum, fuser, transfer, or cartridge. Clean what’s salvageable, replace the worn component, set the correct media type—and your pages return to crisp, even fill.

