The Ultimate Epson L3210 Ink Pad Replacement Guide
This complete walkthrough provides safe, proven steps to get your printer working again when the dreaded “Ink Pad End of Life” error appears.
- Understand what the ink pad does and why it fails.
- Follow a safe, step-by-step physical replacement process.
- Learn the critical step of resetting the printer’s internal counter.
- Troubleshoot common issues that can occur after the service.
The epson l3210 ink pad replacement guide is your solution to a common and frustrating printer issue that often locks the device completely. When your printer displays a message like “A printer’s ink pad is at the end of its service life,” it means the component that collects waste ink is full. Instead of paying for a costly service call, you can perform this maintenance yourself with the right instructions and a little patience.
This guide breaks down the entire process, from gathering your tools to the essential final step of resetting the internal waste ink counter. Following these steps carefully will resolve the error and extend the life of your Epson L3210.
Table of Contents
- Understanding the Ink Pad’s Role
- Safety and Preparation
- Step-by-Step Physical Replacement
- Critical Final Step: Resetting the Counter
- Common Post-Replacement Issues
Understanding the Ink Pad’s Role
Every time your Epson L3210 performs a cleaning cycle or a borderless print, it purges a small amount of ink to keep the printhead clear. This waste ink isn’t reused; instead, it’s routed through internal tubes to a set of absorbent pads located in a maintenance box, usually at the base of the printer.
Over thousands of pages, these pads become saturated. The printer doesn’t physically sense this; it estimates the pad’s fullness based on an internal software counter. When this counter reaches a preset limit, the printer halts all functions to prevent an ink spill, triggering the error message.
Safety and Preparation
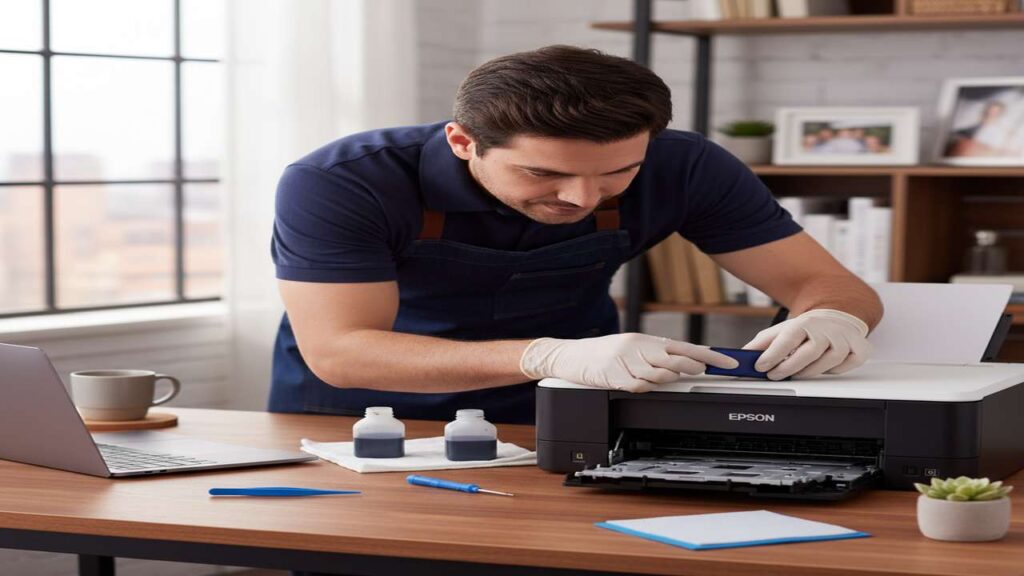
Before starting, it is crucial to prepare your workspace and gather the necessary tools. This ensures a smooth process and prevents damage to your printer or property. Wear old clothes, as waste ink can stain permanently.
Essential Tools
- A new, compatible replacement ink pad or maintenance box for the Epson L3210.
- A Phillips head screwdriver.
- Disposable gloves to protect your hands from ink.
- Paper towels or a cloth to clean up any spills.
- A small plastic bag or container to dispose of the old, saturated pad.
Printer and Workspace Prep
Unplug your printer from both the power outlet and the computer before you begin any disassembly. This is a critical safety step. Lay down newspaper or a protective mat on your work surface to catch any potential ink drips. Give yourself plenty of light and space to work comfortably.
Step-by-Step Physical Replacement
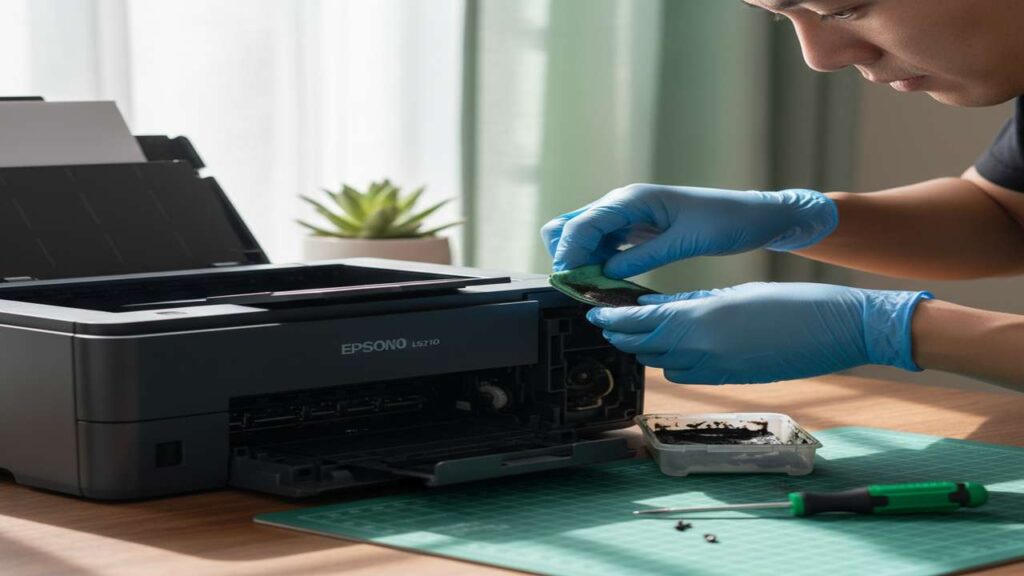
This section of the epson l3210 ink pad replacement guide covers the physical hardware swap. Handle the old ink pad carefully, as it will be full of liquid ink.
| Step | Action | Why it helps | Time |
|---|---|---|---|
| 1 | Locate and Open the Maintenance Box | Turn the printer around to find a small panel on the back or bottom, secured by one Phillips screw. Remove the screw and the cover. | 2 min |
| 2 | Remove the Saturated Ink Pad | Wearing gloves, carefully lift the plastic maintenance box out. Note how any small tubes are connected before gently detaching them. | 1 min |
| 3 | Clean the Compartment | Use a paper towel to carefully wipe away any excess ink from inside the compartment where the maintenance box was seated. | 1 min |
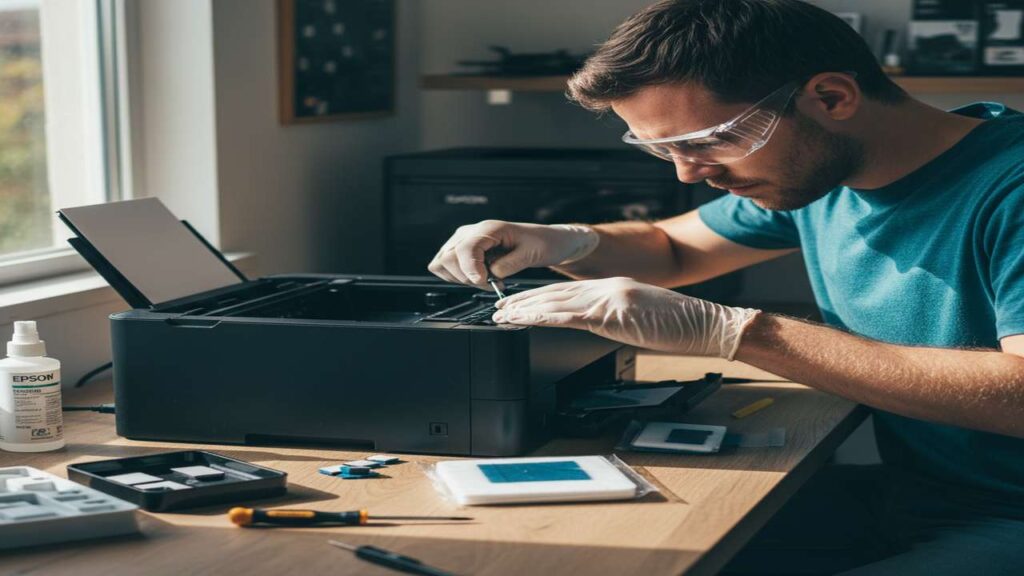
| 4 | Install the New Ink Pad | Place the new ink pad or maintenance box into the compartment. If you disconnected any tubes, carefully reattach them to the new unit. | 2 min |
| 5 | Reassemble and Power On | Secure the cover with the screw you removed earlier. Plug the printer back into the power outlet and turn it on. The error will still be present. | 1 min |
Critical Final Step: Resetting the Counter
Simply replacing the physical pad is not enough. Your printer’s internal software counter is still at its maximum limit and needs to be told that a new pad has been installed. Without this reset, the error message will not disappear, and the printer will refuse to operate.
This reset is performed using specific software, often called an Epson Adjustment Program or a third-party reset utility. You must connect your printer to a computer via a USB cable to run the software successfully. This is the most important part of our epson l3210 ink pad replacement guide.
Using the Reset Utility
After downloading a compatible reset utility for the L3210, the general process is straightforward. First, ensure no other print jobs are pending. Then, launch the program, select your printer model, and navigate to the “Waste Ink Pad Counter” section. There will be an option to check the counter’s current value and another to initialize or reset it. Follow the on-screen prompts to complete the reset. You may need to restart the printer afterward. For more details on this software, see our instructions on the Epson reset tool.
Common Post-Replacement Issues
Sometimes, issues can arise even after following the instructions. Here are a few things to check if the error persists.
Troubleshooting Your Epson L3210 Ink Pad Replacement Guide
- Reset Confirmation: Did the software provide a confirmation message that the counter was successfully reset? If not, try running the utility again.
- USB Connection: Reset utilities require a stable USB connection. A wireless connection will not work for this type of service task.
- Correct Model: Double-check that you used a reset utility specifically designed for the Epson L3210 model.
By completing both the physical swap and the software reset, you have successfully serviced your printer. This complete epson l3210 ink pad replacement guide empowers you to handle the maintenance yourself, saving both time and money. For any other complex errors, you can always rely on our expert epson l3210 ink pad replacement guide.