
Fix Printer Element Not Found Error on Windows 11
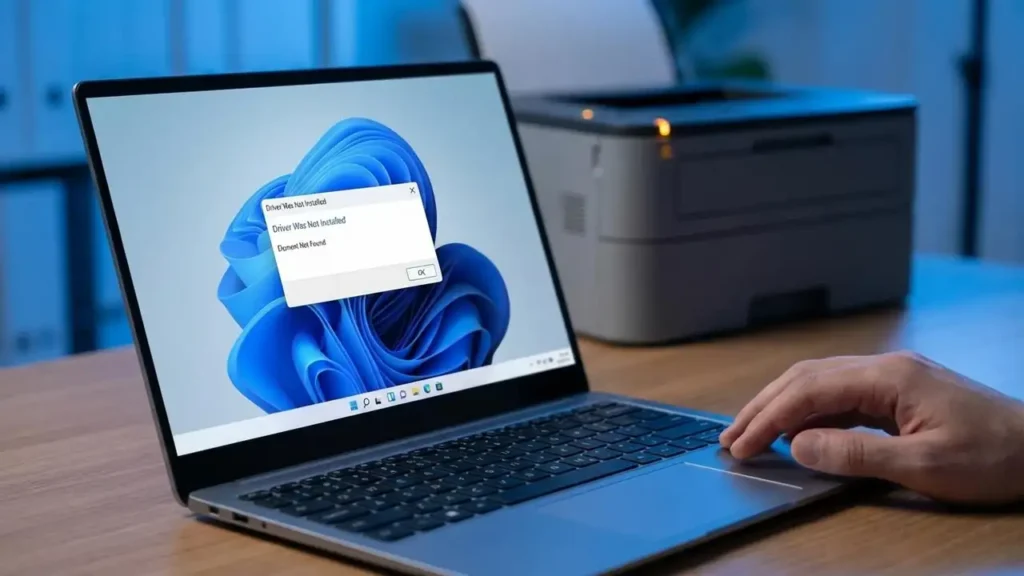
Encountering the printer element not found error on your Windows 11 system can halt printing operations, preventing successful driver installation. This specific message, indicating that the “Printer Driver Was Not Installed,” requires targeted troubleshooting. Begin addressing this issue by utilizing your operating system’s integrated diagnostics. A simple system reboot often resolves transient conflicts, setting the stage for further steps if needed.
The “element not found” notification typically appears when your computer struggles to locate or correctly implement the necessary files for your printer’s operation. This can stem from corrupted system components or issues with the driver packages themselves. Windows 11 users, particularly those with HP printers, may frequently experience this, often linked to V4 driver packages.
Resolving this requires a systematic approach, starting with basic system checks and moving towards more intricate driver management and manual installation methods. The goal is to establish a stable environment for the printer driver to integrate properly with your Windows 11 setup. Following these steps can help overcome the persistent printer element not found error.
Initial Steps for Printer Element Not Found Error Resolution
Start your troubleshooting journey with straightforward, built-in Windows 11 tools to address the printer element not found error. These initial actions can often resolve underlying software glitches or configuration issues without extensive technical intervention.
- Run the Printer Troubleshooter:
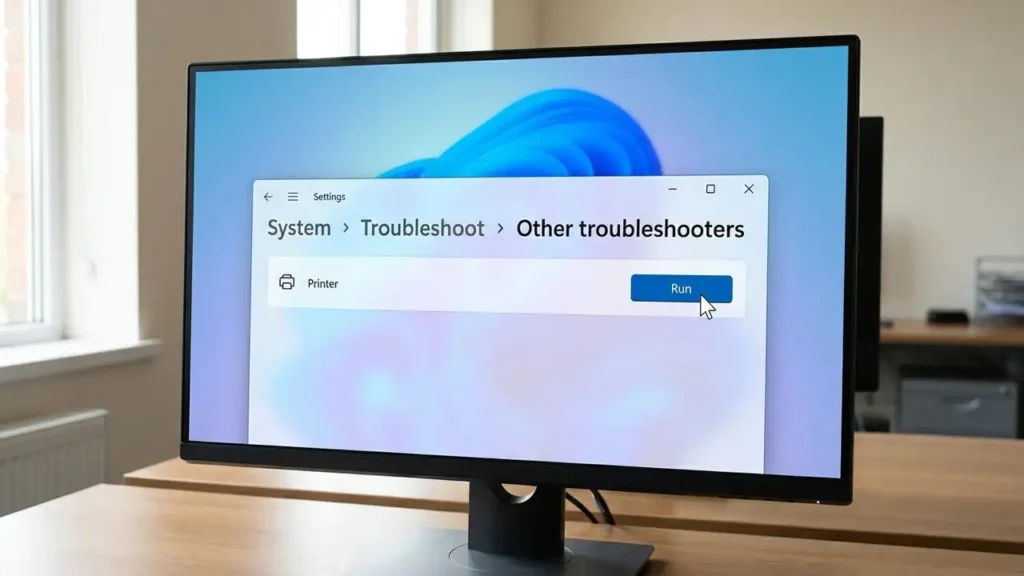
Your Windows 11 system includes diagnostic tools designed to identify and fix common peripheral problems. Access the system settings to locate the troubleshooter for printing devices. This utility can automatically detect and attempt to correct issues preventing driver installation or proper function.- Navigate to Settings, then System, and select Troubleshoot.
- Choose “Other troubleshooters” and then initiate the Printer troubleshooter.
- Restart Your Computer:
After running the troubleshooter, a complete system restart is crucial. Rebooting your Windows 11 machine can clear temporary files, refresh system processes, and allow any changes made by the troubleshooter to take full effect. This step alone can sometimes eliminate the printer element not found error if it was caused by a minor software anomaly. - Remove and Reinstall the Printer:
If the error persists, completely remove the problematic printer from your system’s device list. This ensures a clean slate for reinstallation. Once removed, a fresh installation attempt can bypass previous corruption or configuration errors.- Go to Settings, then Bluetooth & devices, and select Printers & scanners.
- Locate your printer, select it, and choose the option to Remove the device.
- Restart your personal computer after removal.
- Attempt to reinstall the printer following the usual procedure, checking if the driver installation now proceeds without the “element not found” message.
Advanced Driver and System Checks
When basic troubleshooting doesn’t resolve the printer element not found error, deeper system diagnostics and driver management become necessary. These steps target potential corruption within the operating system files or problematic driver installations.
Addressing the Printer Element Not Found Error with Command Prompt
The command prompt offers powerful tools for repairing system files that might be contributing to driver installation failures. Running these commands as an administrator ensures they have the necessary permissions to scan and repair critical Windows components.
- Utilize System File Checker (SFC):
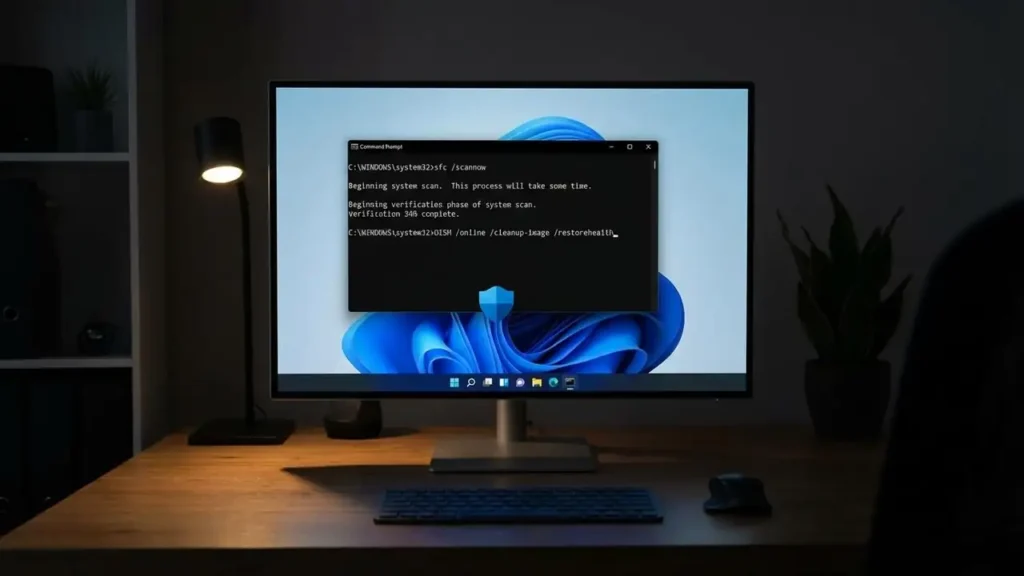
Open the Command Prompt with administrative privileges to run the System File Checker. This tool scans for and repairs corrupted Windows system files, which could be preventing proper driver installation.- Search for “cmd” in the Windows search bar, right-click “Command Prompt,” and select “Run as administrator.”
- Type
sfc /scannowand press Enter. Allow the scan to complete.
- Deploy Deployment Image Servicing and Management (DISM):
Following the SFC scan, run the DISM tool to further address potential image corruption. DISM can repair deeper system image issues that SFC might miss, providing a healthier environment for driver installations and potentially resolving the printer element not found error.- In the same elevated Command Prompt, type
dism /online /cleanup-image /restorehealthand press Enter. This process may take some time.
- In the same elevated Command Prompt, type
- Clean Corrupt Driver Packages:
For HP printers, the printer element not found error in Windows 11 25H2 is frequently caused by old or damaged V4 driver packages. It’s crucial to remove these to prevent conflicts. Thepnputilcommand allows for the deletion of driver packages.- From an elevated Command Prompt, use
pnputil /delete-driverto remove problematic HP V4 driver packages. You might need to identify the specific package names first. Exercise caution to only remove drivers related to the problematic printer.
- From an elevated Command Prompt, use
- Install V3 Drivers (for HP Printers):
After cleaning up problematic V4 drivers, installing V3 drivers is recommended for HP printers. V3 drivers often exhibit better compatibility with Windows 11, reducing the likelihood of encountering the printer element not found error. Download these directly from your printer manufacturer’s official support website.
Service and Manual Installation Options
If the error persists, focus on managing core printing services and exploring alternative installation methods. Sometimes, a stalled print spooler or issues with automatic device detection can be the root cause.
- Restart Print Spooler Service:
The Print Spooler service manages all print jobs and interactions between your computer and the printer. If this service is stuck or corrupted, it can lead to driver installation failures. Restarting it can often resolve such issues.- Open the Services application by typing
services.mscin the Windows search bar and pressing Enter. - Locate “Print Spooler” in the list of services.
- Right-click on “Print Spooler,” select “Stop,” and then right-click again and select “Start.”
- Open the Services application by typing
- Manually Install Printer as TCP/IP Device:
If standard driver installation methods continue to fail, consider manually adding your printer as a TCP/IP device. This method bypasses some automatic detection and driver installation processes, allowing for a more direct connection. Ensure your printer has a static IP address for this method.- Consult your printer’s manual or manufacturer’s support to configure it for TCP/IP network printing and obtain its IP address.
- In Windows, go to the “Printers & scanners” section in Settings and look for an option to “Add a printer or scanner manually” or “Add a device” and select the TCP/IP option.
- Download Latest Drivers from Manufacturer:
Always prioritize downloading the very latest drivers directly from your printer manufacturer’s official website. Generic drivers provided by Windows Update might not always be the most stable or compatible, especially with specific Windows 11 builds. Ensure you select the correct operating system and printer model when downloading.
Addressing the printer element not found error systematically by following these steps can help restore your printer’s functionality. Remember to restart your system after making significant changes to ensure all modifications are applied correctly.
Frequently Asked Questions
Final resolution of the printer element not found error often comes from a combination of these targeted actions. By systematically addressing potential issues, from simple restarts to deep driver package management, you can restore your printing capabilities on Windows 11.