brother replace drum after reset — sensor & counter
brother replace drum after reset is the fix you need when the warning comes back right after you reset, or it won’t clear at all. Use our brother replace drum after reset walkthrough to align the door sensor, clean the corona, and make sure the drum counter actually stores the reset so you can print without nag screens.
brother replace drum after reset — what’s really happening
The message is driven by two things:
-
A drum counter in the printer’s memory (what you reset).
-
A door/cover sensor that tells the printer the reset sequence is valid.
If the sensor doesn’t register “cover opened/closed,” the counter won’t write, and the warning reappears. A dirty or unseated drum can also keep the device in a bad state.
Do these quick checks first
-
Power cycle correctly: Turn off, unplug 60 seconds, plug in, then retry the reset.
-
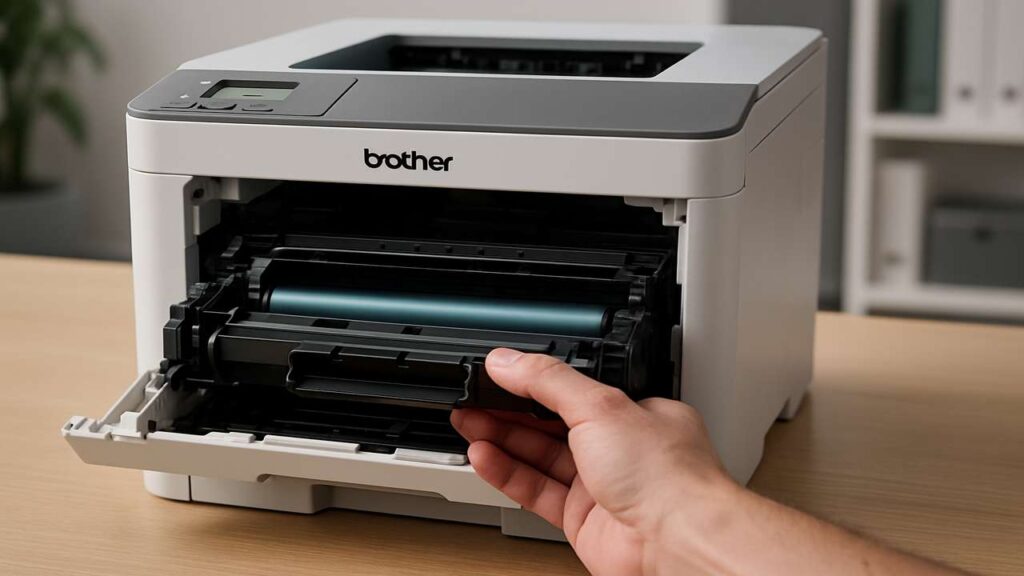
Seat the drum/toner as one unit: Remove the assembly, shake the toner gently side-to-side, click it firmly into the drum, and reinstall until you feel a solid latch.
-
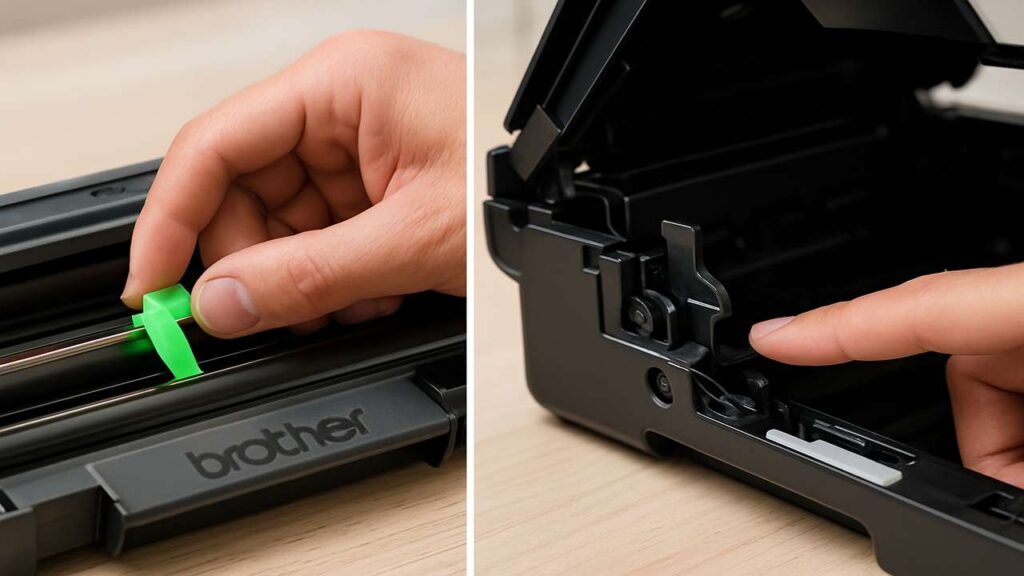
Clean the corona wire: Slide the green tab left-right 10 times, park it at the home triangle. Forgotten corona cleaning triggers poor charge readings that keep the alert around.
-
Look at the door switch: With the cover open/close, the screen should change instantly. If it doesn’t, the door sensor is misaligned or sticky.
How to reset the drum counter (covers most models)
-
Models with display (HL/DCP/MFC): Open the front cover → on the panel find Settings > Machine Info/Device > Reset Parts (or Drum) → confirm Reset → close the cover.
-
Models with “Options/Clear” prompt: Open the front cover → press Options or Clear/Back → select Replace Drum? → choose Yes → close the cover.
-
No-display “GO” button models: Open the front cover → hold GO until all LEDs light → release → close the cover.
If your model uses separate color drums, repeat for each color listed.
Pro tip: Always perform the reset with the front cover open when the device asks. Closing too early prevents the write to memory.
If the warning returns immediately
-
Door sensor alignment: The tiny plastic flag near the hinge can stick. Gently nudge it; it must spring freely. A stuck flag = no “cover close” event.
-
Dirty contacts: Wipe the metal pads on the drum and the matching spring contacts in the printer with a lint-free cloth. Oil or oxide here causes flaky detection.
-
Wrong/old drum: Confirm the exact drum series (e.g., DR-7xx/DR-22xCL). A mismatched or end-of-life drum will keep the counter logic unhappy.
-
Firmware sanity: Very rarely, re-applying the same firmware build clears a partial state. Do this only after the mechanical checks above.
When the message clears but print looks bad
-
Gray background or spots: Corona not parked/home, or the wiper edge is tired—clean again and print 5–10 pages to settle.
-
Repeating bands at drum circumference: The drum surface is worn—replace the drum unit.
-
Light pages after reset: The toner is low or compacted—swap a known-good cartridge or level it gently.
Sensor & counter — the reliable routine to make it stick
-
Open front cover; remove drum/toner.
-
Clean corona (10 slides), clean contacts, reseat toner into drum.
-
Reinstall; leave cover open.
-
Run the drum reset from your model’s method (panel/Options/GO).
-
Close the cover; wait for Ready.
-
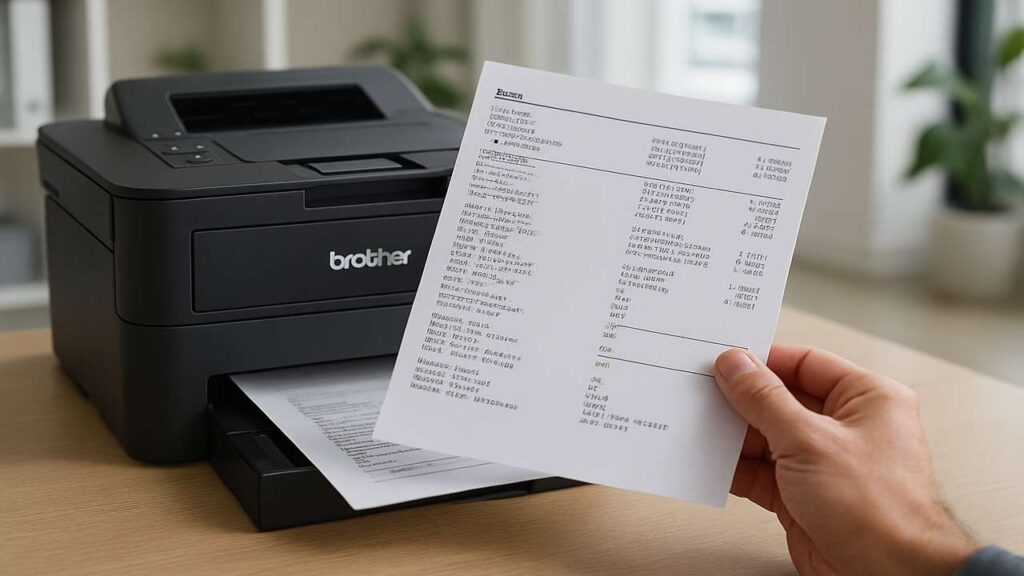
Print a status/config page to confirm the drum life shows new/OK.
Prevent the comeback
-
Replace drums on schedule—stretching thousands past life wears the wiper and confuses counters.
-
Keep the device dry and dust-free; humidity and toner dust accelerate corona contamination.
-
Train users to pull the whole assembly (toner + drum) together—don’t yank the toner alone, which stresses the drum latch.
-
Disable auto-firmware updates during heavy jobs; apply updates on a test device first.
FAQs
Why must the cover be open to reset?
Because the printer watches the door sensor to verify a service action. No open/close, no saved reset.
I replaced the drum but the message stayed. Is the drum bad?
Not necessarily. Most often the reset wasn’t stored (door sensor), or contacts are dirty. Do the routine above first.
Do I reset for color drums one by one?
Yes—models with separate drums require a reset per color listed on the panel.
Can I keep printing with the message on?
Sometimes, but you’ll risk poor quality or shutdowns. Clear the cause and reset properly.
Will cleaning the corona wire hurt anything?
No—sliding the built-in tab is standard maintenance. Just return it to the home marker when done.
Quick checklist
-
Drum + toner seated as a unit
-
Corona cleaned; contacts wiped
-
Door sensor changes status instantly
-
Reset performed with cover open, then closed after confirm
-
Status page shows fresh drum life; test print is clean
Conclusion
A stubborn brother replace drum after reset warning is almost always a sensor-and-procedure problem, not a fatal part failure. Clean and reseat, verify the door sensor, run the reset at the right moment, then confirm on a status page. Lock in that routine and your Brother will stop nagging—and start printing clean, stable pages.