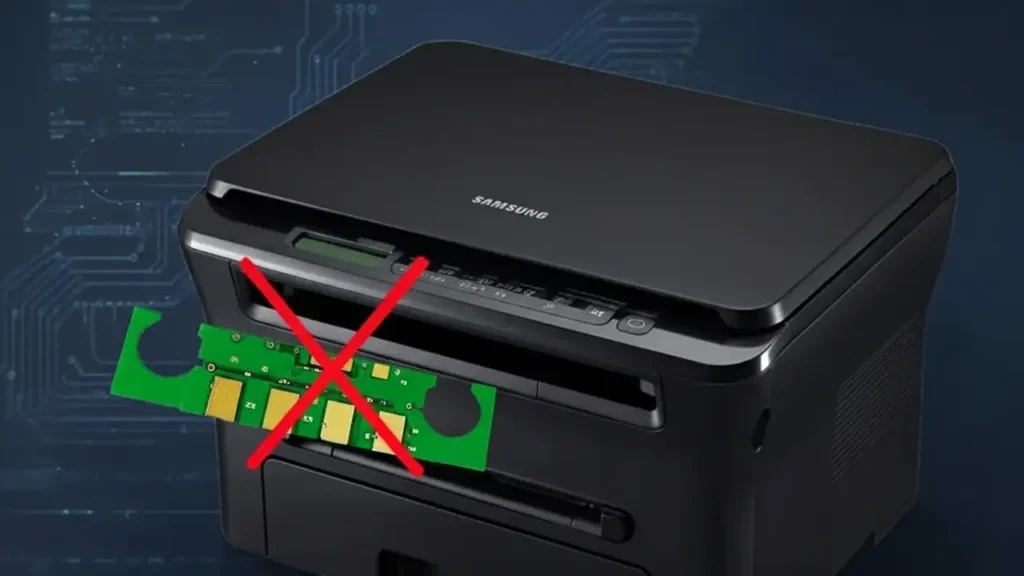
Reset Samsung SCX 4300 — what it is and when to use it
Reset Samsung SCX 4300 is the fix many users look for right after refilling the toner and seeing the red light or “Replace/Install toner” messages even though there’s toner inside. The SCX-4300 platform uses a toner cartridge with a yield chip that tracks page counts. When that chip reports “end of life,” the printer can block printing until it detects a “fresh” supply. This guide walks you through the lowest-risk solutions first—chip replacement and stability checks—then explains the service-menu reset sequence that many technicians use on the SCX-4300, along with important cautions so you don’t brick your device.
How the chip and counter actually work
The printer looks at:
-
The toner chip on the cartridge (stores a page budget and status), and
-
An internal counter in the printer’s controller.
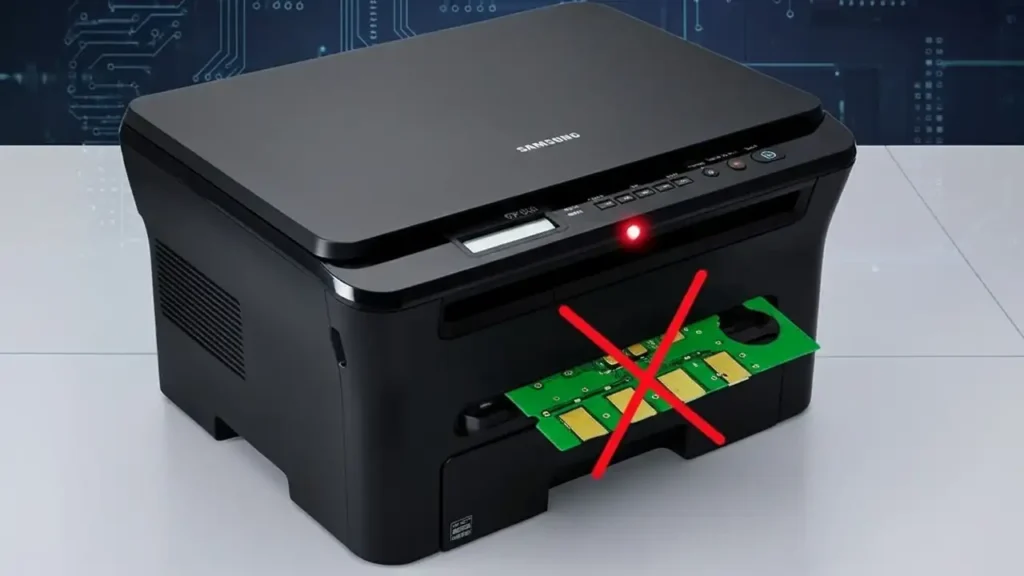
At typical office coverage (~5%), the chip reaches its budget and flags “empty/end of life.” If you just refill physically without addressing the chip/counter, the printer may still refuse to print. That’s why a “reset” isn’t about toner level—it’s about what the controller believes.
Before you start — quick checklist (2–3 minutes)
-
Plug the SCX-4300 directly into a wall outlet (avoid overloaded power strips).
-
Use a short, known-good USB 2.0 cable on a rear motherboard port.
-
Reseat the cartridge and clean chip contacts with a dry, lint-free swab.
-
If possible, print a Configuration/Status page to note firmware version.
-
Confirm you refilled with compatible toner for this model; wrong formulations cause backgrounding and streaks.
Method A — Replace the toner chip (recommended first)
The simplest and most reliable fix after a refill is to install a new, region-correct chip for the SCX-4300 cartridge.
Steps
-
Power off and unplug the printer.
-
Remove the toner and replace the chip (match orientation; avoid touching contacts).
-
Reinstall, power on, and print a status page.
-
If the LED turns green and status shows “ready/full,” you’re done.
Why this works: The device trusts the chip’s state. A fresh chip resets the page budget and clears “end-of-life” blocks.
Method B — Official firmware update/reload (stability step)
If the device behaves oddly (hangs, doesn’t initialize, LEDs misbehave), do a clean official firmware update for your exact model/region.
Tips
-
Connect via direct USB, keep the PC awake, and don’t interrupt power.
-
After the automatic restart, print a configuration page.
Firmware refresh won’t bypass a spent chip—but it removes glitches that can look like counter locks.
Method C — SCX-4300 service-menu reset sequence (technician workflow)
Many SCX-4300 units allow clearing counters through the TECH service menu, then accepting a cartridge without relying on the old chip.
Important: Proceed carefully. Wrong inputs or power loss during updates can leave the printer unresponsive. Perform these steps at your own risk, on stable power only.
1) Enter the TECH menu
On the printer panel press: <MENU> <COPY> <LEFT> <RIGHT> <MENU> <RIGHT> → the LCD should show TECH.
2) Flash upgrade path (Local)
-
Press <MENU> again → DATA SETUP.
-
Navigate to FLASH UPGRADE → choose LOCAL → OK.
-
From the connected PC, run the vendor’s official loader (or your maintenance utility) over USB to complete the local flash routine if required by your maintenance plan.
-
Wait for the printer to restart automatically.
3) Clear counters
Re-enter TECH as above → CLEAR COUNTERS → CLEAR ALL CNT → OK.
-
Wait until the red light appears and then turn the printer off.
4) Chip handling
-
If you plan to rely on counter logic only, remove the old toner chip (or keep it out if your workflow expects chip-less operation after counters are cleared).
-
Alternatively, install a new chip and keep counters cleared so both signals agree.
5) Power on & test
Turn the SCX-4300 back on and print a Status/Configuration page, then a test page. If the device reports ready and prints normally, the reset succeeded.
If the printer doesn’t respond for a long time, power-cycle once. You may need to reinstall the driver on the PC.
Method D — About third-party “firmware reset” tools (read before you try)
You’ll find utilities that claim to permanently bypass chips/counters for a fee. While some users report success, understand the trade-offs:
-
Bricking risk: A mismatch in versions or a power cut during flashing can leave the printer unbootable.
-
Policy/legal concerns: Circumventing usage controls may violate local rules or vendor terms.
-
Version fragility: Tools are model/firmware-specific; small mismatches can fail.
-
No vendor support: If it goes wrong, recovery is on you.
Practical advice: Prefer new chip + official firmware + service-menu clear. Treat third-party patchers as a last resort only.
What to expect after a successful reset
-
With a new chip, the LED returns to green and the device prints until the new page budget is consumed.
-
After service-menu clearing, the controller’s counters restart; behavior depends on whether a chip is present and how your unit’s firmware treats chip-less operation.
-
After an official firmware reload, general stability improves; if the red LED persists, the chip (or its contact) is still the blocker.
Troubleshooting (fast answers)
-
LED still red after chip swap → Check chip orientation/seat, clean contacts, verify region. Try another supplier.
-
Prints a few pages then locks again → Defective chip or contact bounce; reseat or replace.
-
No response to panel/prints → Verify wall power; try a short rear USB cable; test from another PC.
-
Poor quality after reset → Run Cleaning; confirm toner formulation matches SCX-4300; wrong powder causes backgrounding/light text.
-
Service menu won’t appear → Re-enter the key sequence slowly; ensure the panel isn’t in another sub-menu.
Frequently Asked Questions
Best practices to avoid future lockouts
-
Keep spare, region-correct chips with your refill supplies.
-
Don’t mix different toner formulations in one shell.
-
Store cartridges in a cool, dry place; humidity affects charging behavior.
-
Print a Configuration page monthly and note counters/firmware in your records.
Step-by-step summary (printable)
-
Wall power → direct USB → reseat toner → clean contacts.
-
Replace the chip (lowest risk).
-
If unstable, update official firmware.
-
Use TECH menu: FLASH UPGRADE (Local) if needed → CLEAR ALL CNT.
-
Decide on chip handling (remove or replace), power on, and test print.
Download Link
Reset Samsung SCX 4300 Download