Printer Not Printing: 10 Essential Fixes
Stop frustrating print job errors and get your documents out with these straightforward troubleshooting steps.
It’s a common, infuriating problem: you hit print, but nothing happens. Your printer remains stubbornly silent, or perhaps it displays an error message you don’t understand. Whether you’re facing a blank page, a blinking light, or just a complete lack of response, a printer not printing can halt your workflow. This guide will walk you through ten essential checks and fixes that can resolve most common printing issues without needing a technician. We’ll cover everything from basic connections to software glitches, empowering you to get your printer back online.
Verify Power and Physical Connections
The most common reason a printer not printing is simply that it isn’t properly connected or powered on. Before diving into complex software solutions, always start with the basics. Ensure the printer is plugged into a working power outlet and that the power switch is on.
Check the data cable connecting your printer to your computer, typically a USB cable. Make sure it’s securely plugged into both devices. If you’re using a network printer, confirm that the Ethernet cable is firmly seated in the printer and the network port, or that the Wi-Fi connection is active and stable. A loose cable or an unnoticed power interruption can easily cause your printer to stop responding.
Confirm Wi-Fi and Network Status
For wireless printers, connectivity is often the culprit when a printer not printing issue arises. Your printer needs to be on the same Wi-Fi network as your computer or device to communicate. Check the printer’s control panel for Wi-Fi status indicators. If they show an error or disconnection, you may need to re-run the Wi-Fi setup process.
Restarting your router and modem can often resolve temporary network glitches that might be preventing your printer from connecting. Ensure your computer is also connected to the same Wi-Fi network. Sometimes, even a slight router misconfiguration or an IP address conflict can cause communication problems, leading to a printer not printing scenario.
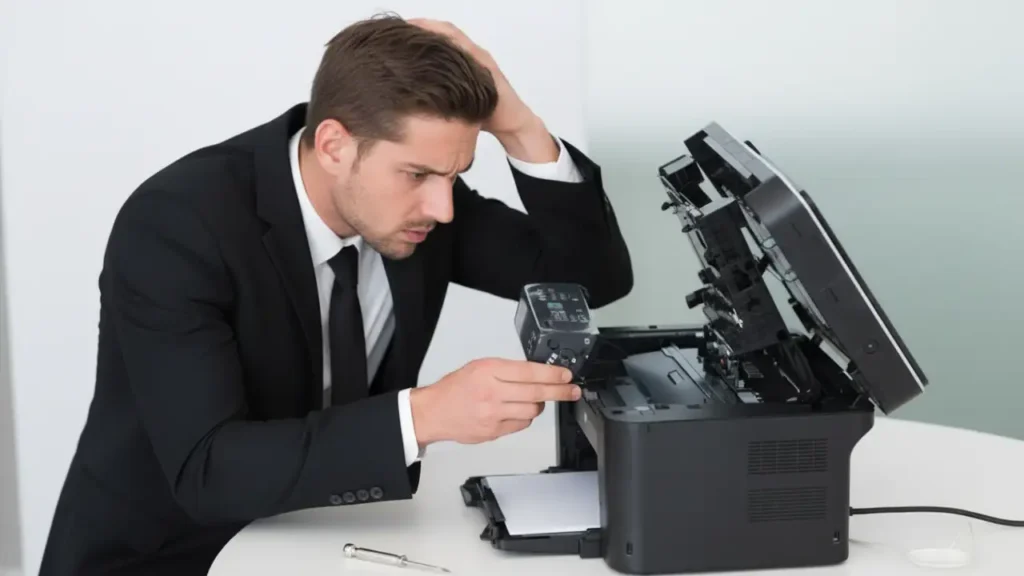
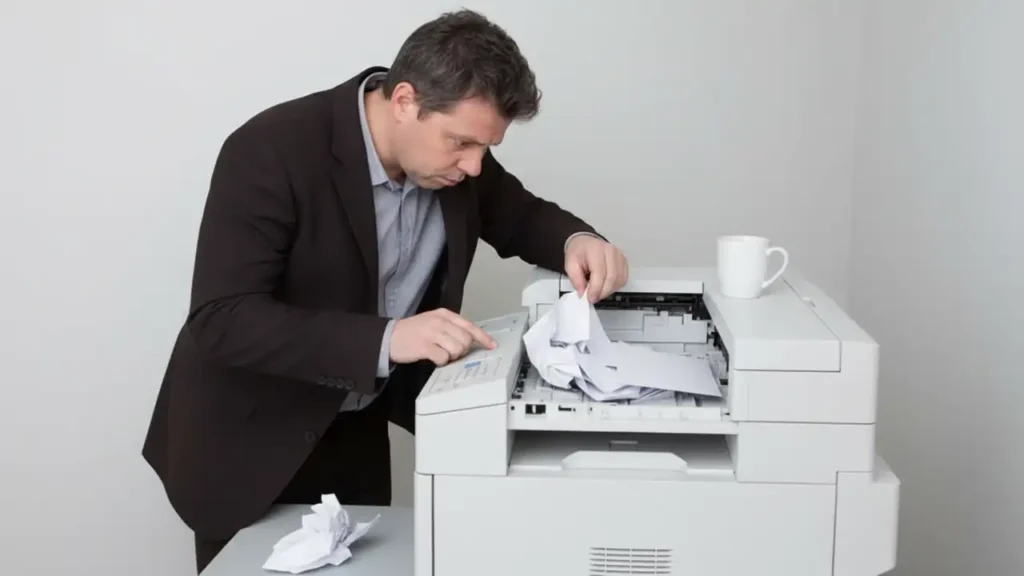
Clear Paper Jams and Reload Paper Tray
Paper jams are a frequent annoyance and a primary cause of a printer not printing. Even a small piece of paper caught in the rollers can stop the entire printing process. Carefully open all accessible printer doors and trays to locate and remove any jammed paper.
When removing paper, pull it gently and evenly to avoid tearing it, which can leave small scraps behind. After clearing a jam, close all covers securely and ensure the paper tray is loaded correctly with fresh, unwrinkled paper. Re-align the paper guides in the tray snugly against the paper stack. A misaligned tray or damp paper can also lead to feed issues.
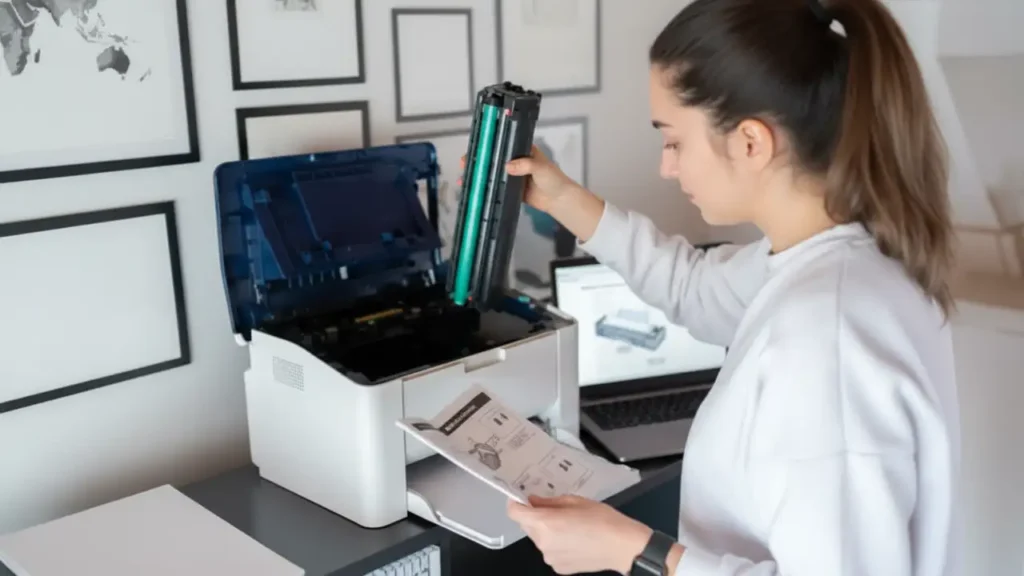
Check Ink or Toner Levels
Running out of ink or toner is an obvious, yet often overlooked, reason your printer not printing. Most modern printers will display a low ink or toner warning on their screen or through their software. Even if the printer seems to be attempting to print, insufficient consumables will result in blank pages or incomplete prints.
Open your printer’s software utility on your computer to check the exact ink or toner levels. If one or more cartridges are empty or critically low, replace them with genuine or compatible replacements. Ensure that new cartridges are installed correctly and that any protective seals or tapes have been removed. Sometimes, a printer not printing is simply waiting for new supplies.
Clear the Print Queue
Sometimes, a stalled or corrupted print job can block all subsequent documents from printing. This “stuck” job creates a backlog in the print queue, preventing new tasks from being processed. Clearing this queue is a crucial step when your printer not printing situation persists.
To clear the print queue, navigate to your operating system’s printer settings. On Windows, this is usually found under “Printers & Scanners” in the Settings app or Control Panel. Select your printer, then click “Open queue.” In the queue window, you can cancel individual documents or select “Printer” > “Cancel All Documents.” On macOS, you’ll find this in “System Preferences” under “Printers & Scanners,” where you can select your printer and see its queue.
Select the Correct Printer
It might sound simple, but users often try to print to the wrong device, especially when multiple printers are installed on a system. If you’ve recently installed a new printer or the default has changed, your computer might be sending print jobs to an inactive or incorrect printer. This will obviously result in a printer not printing issue from your perspective.
When you go to print a document, look carefully at the printer selection dialog box. Ensure that the printer you intend to use is highlighted or selected. If you’re unsure, check your printer’s properties to confirm it’s set as the default printer. Sometimes, software updates or driver installations can inadvertently change your default printer, so this is always worth a double-check.
Restart Your Computer and Printer
The classic IT solution, “turn it off and on again,” often works wonders for many technical glitches, including a printer not printing problem. A simple restart can resolve temporary software conflicts or communication errors between your computer and printer.
First, shut down your printer completely. Then, restart your computer. Once your computer has fully rebooted, power your printer back on. Wait for the printer to initialize and connect to your network (if applicable) before attempting to print again. This process refreshes all system resources and can clear out any minor errors that were blocking print jobs.
Run a Printer Self-Test Page
Most printers have a built-in self-test function that prints a diagnostic page directly from the printer, bypassing the computer and its software. This is an excellent way to determine if the issue lies with the printer itself or with the connection/computer. Running a self-test is a key step in troubleshooting a printer not printing issue.
The exact method for running a self-test varies by manufacturer and model. Consult your printer’s manual or search online for instructions specific to your model. Typically, it involves pressing and holding a combination of buttons on the printer’s control panel. If the self-test page prints successfully, the problem is likely with your computer, drivers, or connection. If it fails, the printer itself may have a hardware issue.
Update or Reinstall Printer Drivers
Printer drivers are small software programs that allow your operating system to communicate with your printer. Outdated, corrupted, or incompatible drivers are a very common cause for a printer not printing correctly. Keeping your drivers up-to-date is crucial for optimal printer performance.
Visit the official support website of your printer manufacturer (e.g., HP, Canon, Epson, Brother). Navigate to the support or downloads section and search for your specific printer model. Download the latest drivers designed for your operating system. You can usually update drivers through your operating system’s device manager or printer settings. If updating doesn’t work, try uninstalling the existing drivers completely and then reinstalling the fresh download.
Check Printer Status and Error Messages
If your printer is showing blinking lights or displaying an error code on its screen, pay close attention to it. These messages are designed to help you identify the specific problem that’s causing the printer not printing issue. Common codes relate to paper jams, low ink, door open errors, or hardware malfunctions.
Consult your printer’s user manual or the manufacturer’s support website to decipher any error codes or blinking light patterns. The manual will provide detailed explanations and suggested solutions for each specific error. Addressing the root cause indicated by the error message is often the fastest way to get your printer working again.
Safety and Warranty Considerations
Before performing any internal checks, such as clearing paper jams or replacing consumables, always disconnect the printer from the power outlet to prevent electric shock. Avoid touching sensitive internal components like the drum unit in laser printers or the print head in inkjet printers, as they can be delicate and susceptible to damage from fingerprints or static electricity. Tampering with internal components or attempting unauthorized repairs may void your printer’s warranty. If you are uncomfortable with any troubleshooting steps or suspect a serious hardware fault, contact an authorized service provider or the manufacturer for assistance.
Frequently Asked Questions
Getting Your Printer Back on Track
Dealing with a printer not printing can be frustrating, but by systematically working through these ten checks, you can often identify and resolve the problem yourself. From simple power and cable confirmations to clearing print queues and updating drivers, these steps cover the most common issues. Remember to consult your printer’s manual for model-specific instructions and always prioritize safety. With a little patience, you can typically get your printer back to producing documents reliably.