
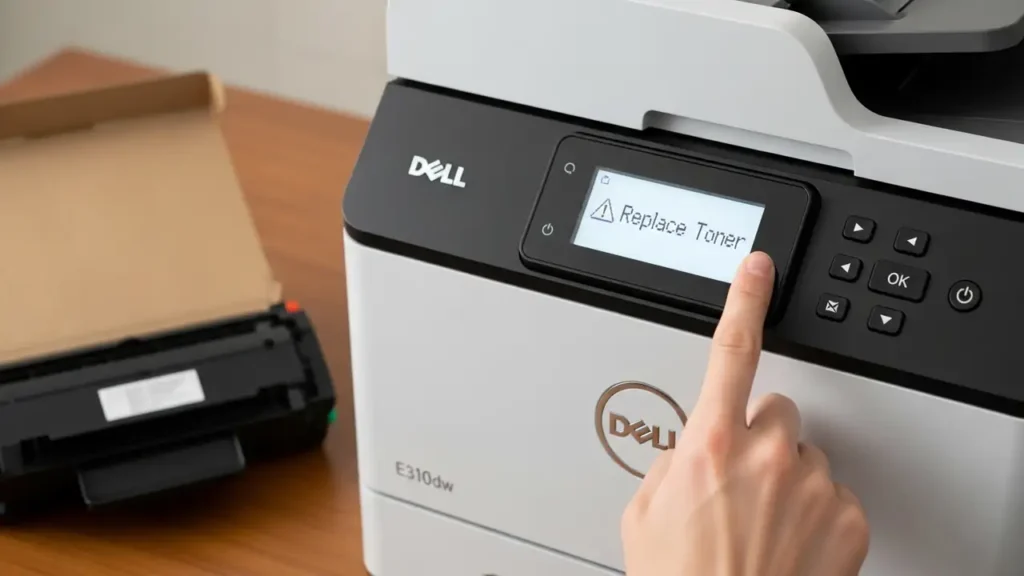
Troubleshooting Dell E310dw: Persistent ‘Replace Toner’ Message
Encountering a persistent “Replace Toner” notification on your Dell E310dw printer can interrupt printing tasks and cause frustration. Even after installing a new toner cartridge, this message may remain, indicating that the device’s internal counter or sensors haven’t registered the change. This guide provides a series of systematic troubleshooting steps to address and resolve this common issue, from basic physical checks to a comprehensive settings reset that can clear cached memory.
The Dell E310dw requires specific actions to clear the toner message, especially if it’s struggling to recognize non-OEM, starter, or even new official toner. By carefully following these procedures, you can override the counter and restore full functionality to your printer. We will start with fundamental checks of the toner and drum assembly before moving into the printer’s internal menu for deeper resets.
Initial Hardware Inspection for Your Dell E310dw
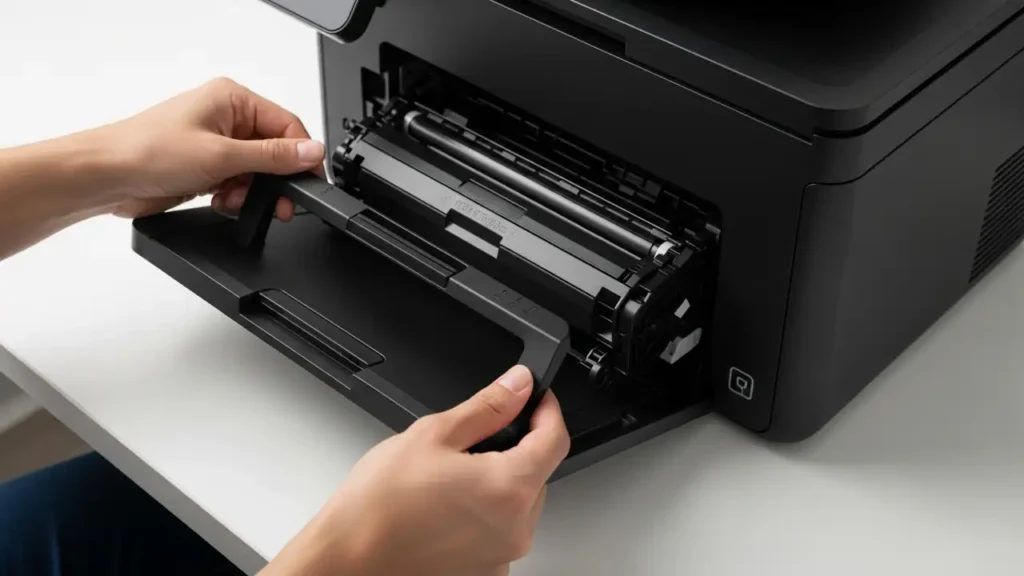
Before attempting any software-based resets, it is crucial to ensure that the toner cartridge and drum unit are correctly installed and free from any obstructions or dust. A loose connection or minor debris can prevent the printer from properly recognizing the components, leading to the “Replace Toner” alert. This initial step is often overlooked but can quickly resolve many printer-related warnings.
- Open the printer’s front cover completely to access the internal components.
- Carefully remove the combined toner and drum assembly from the printer’s interior.
- Inspect the toner cartridge within the drum unit. Confirm it is securely seated and has audibly clicked into its designated position.
- Using a dry, lint-free cloth, gently clean any toner dust or debris that may be present on the internal electrical contacts of both the printer and the toner/drum assembly. These contacts are vital for communication between the components.
- Reinsert the entire toner and drum assembly back into your Dell E310dw printer. Make certain it slides in smoothly and locks firmly into place.
- Close the front cover completely. Ensure it latches securely, as the printer will not function correctly if the cover is even slightly ajar.
If the “Replace Toner” message persists after these physical checks, proceed to the next set of troubleshooting steps, which involve resetting the printer’s internal counters and settings. The physical installation is a common point of failure for this particular printer warning.
Addressing the Replace Toner Notification
Sometimes, the Dell E310dw may not automatically detect a new toner cartridge, especially if it’s a non-OEM brand or a starter cartridge designed for initial printer setup. In such cases, the printer’s internal toner counter needs a manual reset. This section details how to perform specific resets aimed at clearing the toner life errors directly. These steps are critical when the printer incorrectly believes the toner is empty.
- Perform a Toner/Drum Life Error Reset: This specific reset is often effective for persistent “Replace Drum” or toner life notifications.
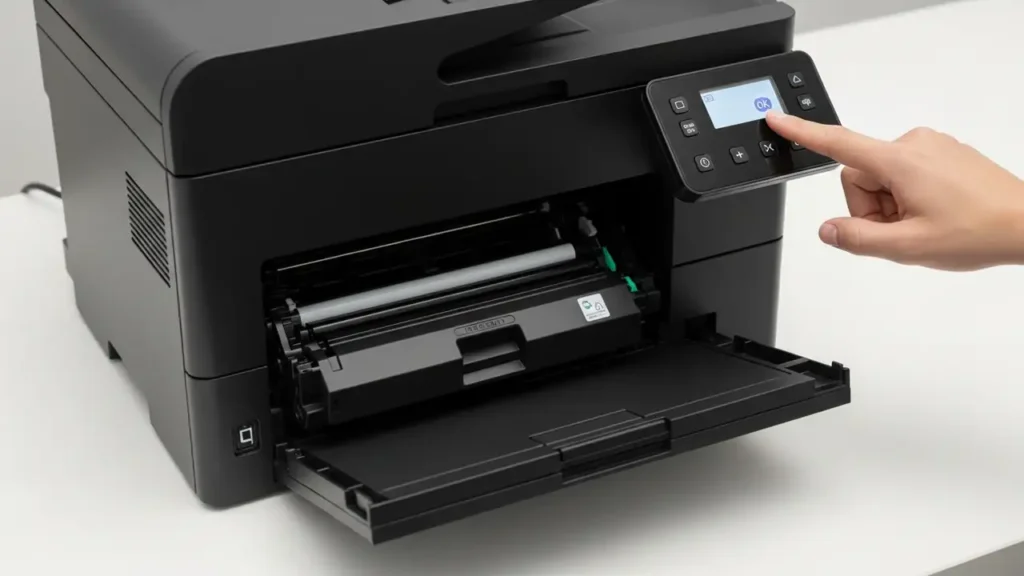
- Open the front cover of your Dell E310dw printer.
- While the cover is open, locate the “OK” button on the printer’s control panel.
- Press and hold the “OK” button for approximately two seconds.
- The printer’s display should then prompt you to confirm the reset. Use the up arrow key or press ‘1’ (depending on your specific display prompt) to confirm the reset operation.
- Close the front cover firmly once the reset is confirmed.
- Evaluate Toner Cartridge Type: If the message still persists, consider the type of toner cartridge you are using. Starter toner cartridges, which typically come with a new printer, occasionally fail to trigger the sensor reset properly. If you are using a starter cartridge, replacing it with a full-capacity, retail toner cartridge might resolve the persistent error. This is a crucial distinction for your Dell E310dw as some cartridges behave differently with the sensor.
Resetting Your Dell E310dw Settings
When basic checks and specific toner life resets don’t clear the “Replace Toner” message, a more comprehensive reset of the printer’s internal settings may be necessary. This process helps clear any old, cached memory that might be causing the printer to incorrectly display the error. By returning the device to its default configuration, you can often resolve stubborn issues that stem from corrupted settings or sensor discrepancies. This procedure can be considered a deeper form of reset for your Dell E310dw.
Executing a Dell E310dw Default Reset
This procedure will reset most of your printer’s configurable settings to their factory defaults. Ensure you note down any custom network settings or preferences before proceeding, as they will need to be reconfigured afterward. This is a powerful step to ensure the Dell E310dw starts with a clean slate regarding its operational parameters.
- Access the Menu: Begin by pressing the “Menu” button on the control panel of your Dell E310dw. This will bring up the main menu options.
- Navigate to Admin Menu: Using the arrow keys, scroll through the menu options until you locate “Admin Menu”. Press the “Checkmark” button to select it.
- Enter Maintenance: Within the Admin Menu, navigate to “Maintenance” and press the “Checkmark” button to enter this section.
- Initiate Reset Defaults: Scroll to find the “Reset Defaults” option. Press the “Checkmark” button to select it.
- Confirm Action: The printer’s display will likely show a confirmation prompt, such as “Are You Sure?”. Press the “Checkmark” button again to confirm your decision and proceed with the reset.
- Printer Restart: After confirmation, your Dell E310dw will automatically restart. This restart is essential for the printer to apply the newly reset default settings. Allow it to complete the power cycle without interruption.
After the printer restarts, check the display for the “Replace Toner” message. If the message has cleared, the default settings reset was successful in resolving the issue. If the message persists, it indicates a more entrenched problem, potentially requiring professional service if all troubleshooting steps have been exhausted.
Final Considerations for Your Dell E310dw
After performing all the suggested troubleshooting actions, your Dell E310dw should ideally be free from the “Replace Toner” error. It is important to always use genuine toner cartridges when possible, as compatible or refurbished cartridges, while often more affordable, can sometimes lead to detection issues with the printer’s sensors. The printer’s firmware might be optimized for original supplies, affecting how it recognizes and clears error messages.
If the issue remains unresolved, or if you encounter other error messages after performing these resets, consider contacting technical support. They may be able to provide further diagnostics specific to your printer’s internal status. Always ensure the printer is powered off and unplugged before performing any physical maintenance to prevent electrical hazards. This cautious approach ensures the longevity and safe operation of your Dell E310dw.