
fuser error HP p2015 can stop your HP LaserJet P2015 from printing at the worst time. This guide explains what the fuser does, why the printer shows Overheat (code 68), Low Heat (code 62), or Open Heat (code 60), and how to diagnose and fix each error safely—step by step—without hurting the printer or yourself.
What the fuser does (quick primer)
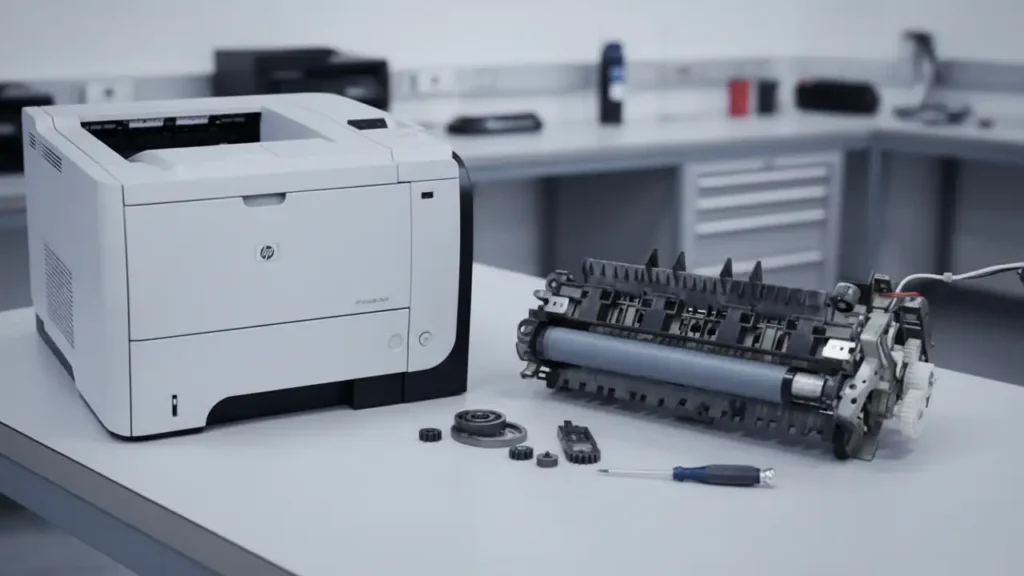
The fuser unit is located near the paper-exit area. Its job is to heat and press the toner into the paper so the print won’t rub off. The main parts are:
-
Heater/Lamp (heating element) to generate heat
-
Thermistor to read surface temperature
-
Thermostat/thermal fuse for safety cutoff
-
Heat/pressure rollers to apply heat and pressure
Because the fuser runs hot (up to ~180°C), always power off and let the printer cool before touching anything.
Typical symptoms of a faulty fuser
-
Toner rubs off when you gently scratch the print (poor fusing)
-
Wrinkled, crinkled, or torn pages near the exit
-
Repeating ghosting patterns at ~82–92 mm intervals (roller/sleeve issues)
-
Printer refuses to print and shows messages like Over Heat, Low heat, Heating error, or Fuser error in the status window/utility
Quick safety and tools
Safety first: Power off, unplug the AC cable, and let the fuser cool for 20–30 minutes.
Helpful tools: Phillips screwdriver, lint-free cloth, isopropyl alcohol (for light cleaning), compressed air, and a basic multimeter (for continuity checks if you’re comfortable).
Fast checks before disassembly (often solve it quickly)
-
Power cycle properly: Turn the printer off, unplug for 60 seconds, then plug directly into a wall outlet (avoid power strips with many devices).
-
Cable and environment: A weak or fluctuating AC source can trigger heat errors. Ensure a stable wall outlet.
-
Driver/queue reset: Clear any stuck/corrupt print jobs and try a small test page.
If errors persist, proceed with targeted fixes by error type below.
Fixing Low heat error (code 62)
This means the fuser is not reaching the expected temperature quickly enough.
Step-by-step
-
Cycle power & retest: Many intermittent low-heat cases recover after a clean power cycle.
-
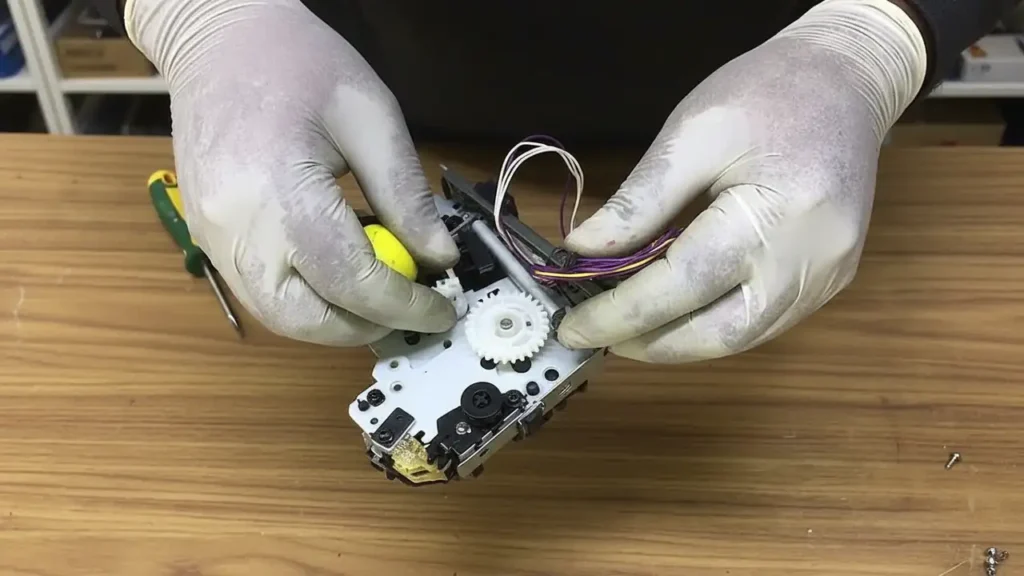
Inspect fuser contacts: Remove the fuser assembly carefully. Check edge contacts for dust/oxidation. Clean gently (dry cloth or a tiny bit of isopropyl on contact surfaces). Reseat firmly.
-
Check thermistor face: A dirty thermistor can misread temperature. If accessible, very gently wipe the thermistor surface (no scraping).
-
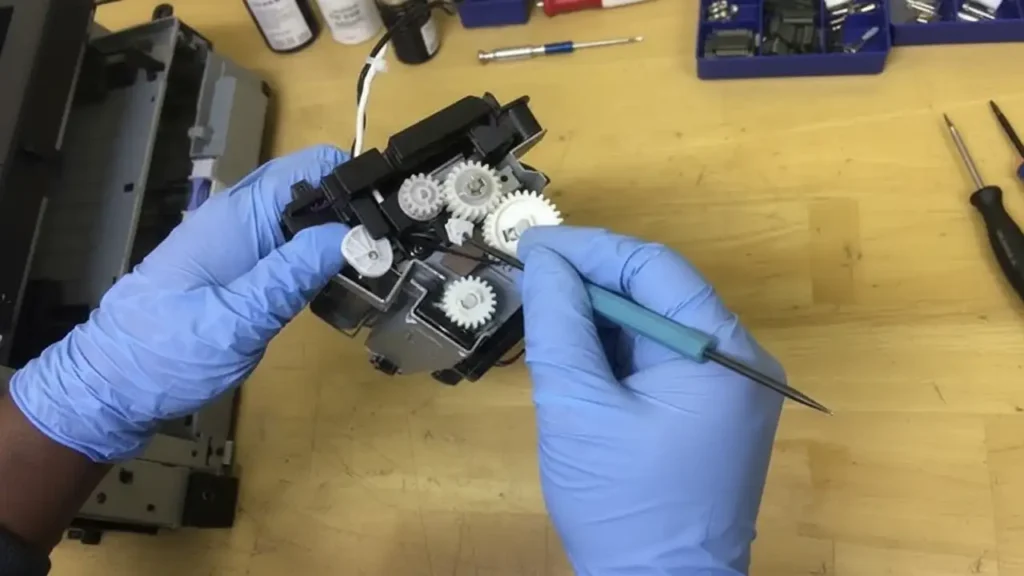
Check pressure/heat rollers: Worn gears, broken springs, or a damaged pressure roller can prevent proper heat transfer. If you see cracks, deep scratches, or a sticky sleeve, plan for replacement.
-
Continuity checks (optional for skilled users): With the fuser removed and cooled, use a multimeter to check continuity of the heater element. If it’s open (no continuity), the heater is likely failed and the fuser assembly should be replaced.
-
Reassemble and test: Reinstall the fuser and run a test print. If the error returns, replace the fuser assembly with a P2015-compatible unit.
When to replace: Persistent low heat after cleaning/reseating usually means a failing heater, thermistor drift, or worn mechanics—replacement is the reliable fix.
Fixing Open heat error (code 60 / “ENGINE FUSER ERROR”)
Open-heat means the system detects that temperature isn’t rising (or a safety path is open). Common causes: an open thermostat/thermal fuse, a broken heater lamp, or a bad connection.
Step-by-step
-
Remove and inspect the fuser: Look for loose/burnt connectors.
-
Thermostat check: With the unit cool, a healthy thermostat typically reads continuity (closed). If it’s open even when cool, it has tripped or failed. Some trip from overheat and should re-close after cooling; if it doesn’t, it’s defective.
-
Cold-shot test (optional): Carefully cool the thermostat with inverted air-duster spray and recheck continuity. If it closes and then works reliably once reinstalled, you may be okay—otherwise, plan to replace the faulty part or the entire fuser.
-
Heater continuity: If the thermostat is fine, test continuity across the heater/lamp. If open, the heater is blown and the fuser must be replaced.
-
Reassemble and test: If connections and parts test fine but the error persists, replacement of the fuser assembly is the practical route.
Frequently Asked Questions
Fixing Overheat error (code 68)
Over-temperature is detected (e.g., >~230°C for several seconds). Causes include a shorted heater control, a stuck relay/triac on the DC-controller, a dirty/misreading thermistor, or a thermostat that didn’t open in time.
Step-by-step
-
Immediate power-off: Unplug the printer to prevent heat damage.
-
Let it cool fully: Don’t touch the fuser until it’s safe.
-
Inspect thermistor: A dirty or misaligned thermistor can misread high temps. Clean gently and ensure it sits flush against the roller surface.
-
Visual check: Look for melted plastic, scorching, or distorted sleeves. If present, replace the fuser—do not reuse overheated components.
-
Reassemble and test. If overheat returns instantly, the issue might be upstream (control circuit). In most field cases, replacing the fuser assembly resolves it; if not, professional board-level service may be required.
Print-quality and exit-path checks (often overlooked)
-
Ghosting every ~82–92 mm suggests a fuser sleeve/roller surface problem. Replacement fixes it.
-
Wrinkles or accordion-folds near the exit often indicate pressure-roller issues or exit-path obstructions. Inspect exit sensors and path guides while the fuser is out.
-
Toner rubbing off means insufficient heat/pressure/contact—recheck thermistor cleanliness and roller condition.
When to replace the fuser vs. repair parts
-
Replace the entire fuser if you find: cracked sleeve, deep roller damage, burnt connectors, open heater, or a thermostat that won’t reset.
-
Repair is reasonable when: contacts were dirty/loose, the thermistor only needed cleanup, or springs/gears were mis-seated.
Preventive tips for longer fuser life
-
Plug the printer directly into a stable wall outlet (avoid overloaded strips).
-
Keep the exit area dust-free; vacuum lightly around vents.
-
Don’t pull jammed paper backward through the fuser; follow the jam path arrows.
-
Use media within spec (weight/finish) so the fuser doesn’t overwork.
Quick troubleshooting flow
-
Power cycle and use a stable outlet → 2) Inspect/clean and reseat fuser contacts → 3) Clean thermistor face → 4) Test again → 5) If errors continue, replace the fuser assembly.
Final notes
Working on a fuser involves high temperatures and exposed wiring. If you’re unsure about electrical checks, skip the multimeter steps and go straight to reseating/cleaning or replacing the fuser assembly.