
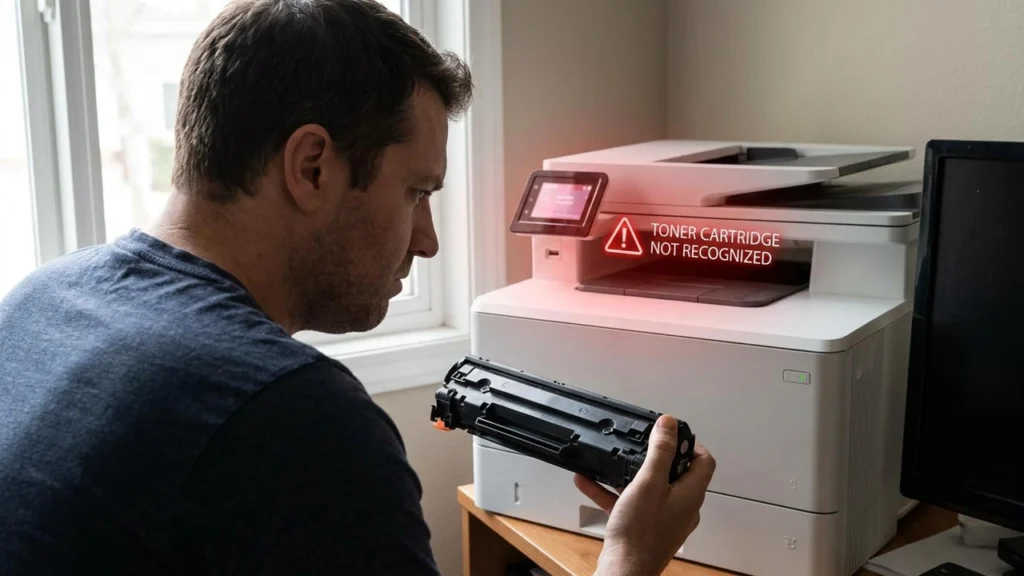
If you are staring at your screen trying to Fix Non-HP Chip Detected Error, you didn’t buy a defective product. You might have just fallen victim to a silent, automated firmware update designed to lock you out of your own device.
The dreaded “Supply Problem,” “Non-HP Chip Detected,” or “Cartridge Policy” error screen has left thousands of home office owners and businesses staring at a useless piece of hardware. But why is this happening now, and more importantly, how do you bypass it without forcing yourself to buy overpriced original toner?
Here is the raw, technical truth behind what is happening to your printer and the exact blueprint to Fix Non-HP Chip Detected Error and reclaim your hardware today.
The Secret Weapon: What is HP’s “Dynamic Security”?
To understand the fix, you must understand the enemy. Printer manufacturers use a predatory feature called Dynamic Security. This is software embedded in your printer’s firmware that communicates directly with the microchip (Toner Chip) on your cartridge.
When you install a third-party or compatible toner, the printer checks the chip’s encryption keys. If HP rolls out a silent firmware update over your local Wi-Fi, it changes the printer’s internal “lock,” rendering older compatible chips completely useless overnight.
Technical Note from Experts: This isn’t a mechanical or hardware failure. Your toner is completely full, and your components are fine. It is an intentional software barrier implemented to force OEM (Original Equipment Manufacturer) usage and eliminate third-party competition.
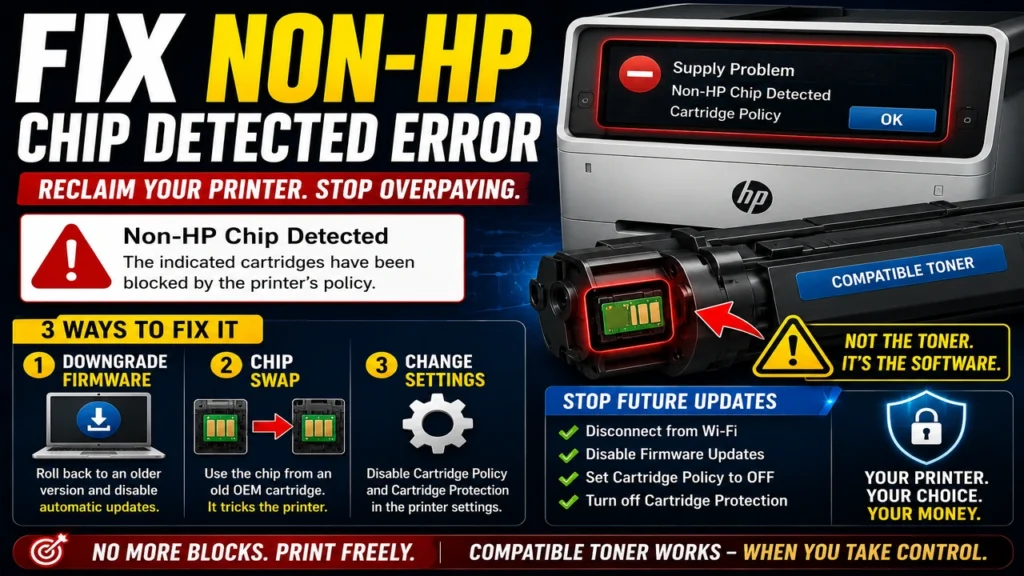
Direct Answer: How to Fix Non-HP Chip Detected Error Instantly
If your machine is currently blocked and refusing to print, you have three primary ways to restore full functionality, ranked from the most permanent to the easiest workaround:
1. Downgrade Your Printer’s Firmware (The Permanent Fix)
The most definitive way to Fix Non-HP Chip Detected Error is to roll back your printer’s brain to an older version before the aggressive update was pushed.
-
Step 1: Disconnect your printer from the local Wi-Fi network immediately to stop further automatic updates.
-
Step 2: Download the older firmware version (typically from late 2024 or early 2025) onto your PC from a trusted technical archive site.
-
Step 3: Use a physical USB cable to connect your PC directly to the printer and run the firmware installer.
-
Step 4: Once downgraded, go to the printer’s control panel settings, locate Firmware Updates, and change the setting to “Never Check” or “Disable Updates.”
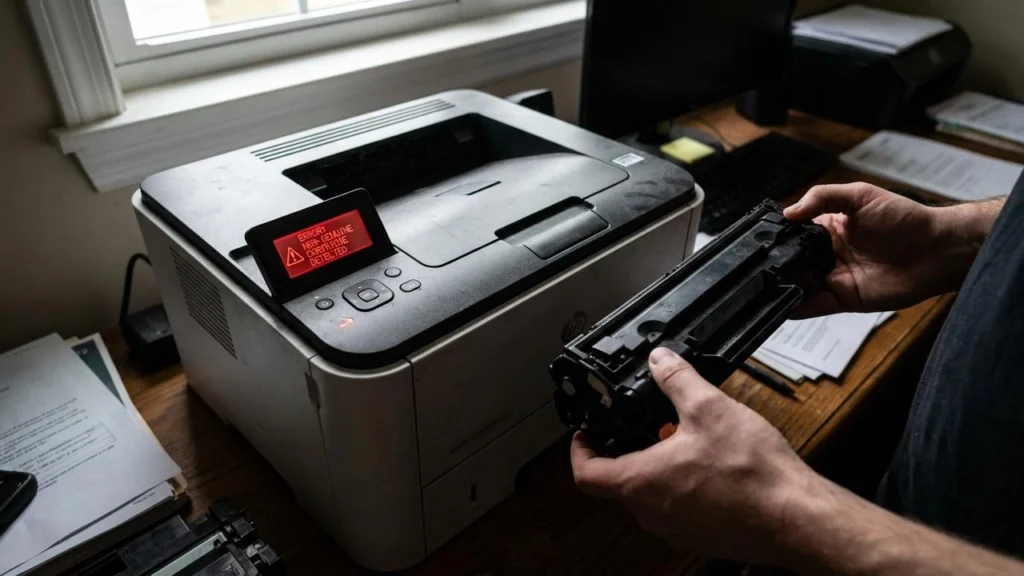
2. Physical Chip Swapping
If you have an old, empty original HP cartridge laying around, do not throw it away! Its chip holds the correct cryptographic signature that the printer recognizes.
-
Using a small pair of flush cutters or a specialized chip removal tool, gently slide the OEM chip out of its plastic slot.
-
Slide it into the exact same orientation on your new compatible cartridge.
-
The Catch: Your printer will read the cartridge as “Low” or “Empty,” but it will not block you from printing.
Chip Compatibility Matrix: Affected Models (2025–2026)
| Printer Series | Aggressive Firmware Version | Solution Type |
| HP LaserJet Pro M404 / M428 | v2422A or higher | Firmware Downgrade / Auto-Update Disable |
| HP Color LaserJet Pro M255 / M283 | v2506B | Chip Swap required if downgrade is locked |
| HP LaserJet Tank 1504 / 2504 | All recent updates | Disable “Cartridge Policy” in Web Server (EWS) |
Pro-Tips to Future-Proof Your Printer Settings
To ensure you never have to deal with this issue again, change these settings inside your printer’s Embedded Web Server (EWS) immediately:
-
Type your printer’s IP address into any internet browser connected to the same network.
-
Navigate to the System or Security tab.
-
Look for Supply Settings or Cartridge Policy.
-
Switch Cartridge Policy from Authorized Only to Off.
-
Turn off Cartridge Protection to stop the printer from marking the chip permanently.