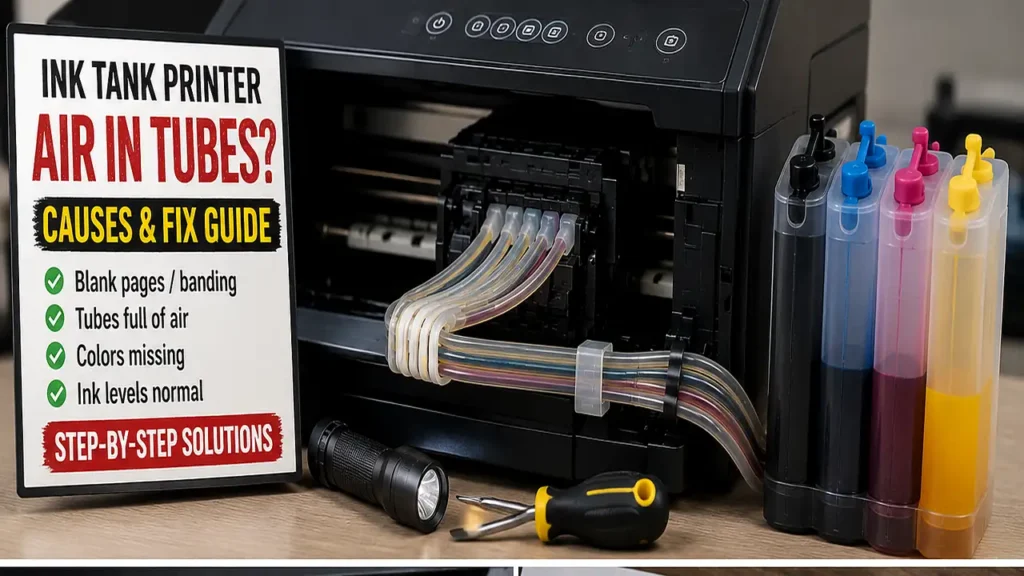
Air inside an ink tank printer’s delivery tubes can cause blank pages, faded colors, and severe horizontal banding, even when the ink reservoirs appear full. This guide explains how to distinguish an ink tank air lock from nozzle clogs, blocked vents, pump faults, and printhead failure.
Executing an Ink Tank Printer Air in Tubes Fix is a highly searched diagnostic requirement among users servicing Continuous Ink Supply System (CISS) platforms.
Standard cleaning cycles may not generate enough sustained negative pressure to re-prime a severely air-filled ink path. By systematically evaluating transport locks, applying brand-specific software flushing, and understanding advanced hardware architecture, technicians can safely restore a continuous ink path and re-establish stable ink delivery.
This comprehensive technical manual details a structured troubleshooting protocol, prioritizing manufacturer-supported methods and model-specific interventions.
Safety Warning and Official Stance: Manufacturer guidance generally begins with checking ink levels, running a nozzle test, and using model-specific cleaning or ink-flush utilities. Some platforms then recommend reseating or replacing the printhead or contacting service. Manual syringe priming is not a standard manufacturer-supported procedure. These modifications may affect reliability or support eligibility. Proceed at your risk.
Prerequisites and Differential Diagnosis
To align with professional servicing standards, visual confirmation is required before altering the ink system. Seeing blank pages with full ink tanks does not automatically confirm an air lock.
Differential Diagnosis Table
| Observed Symptom | Possible Causes | Initial Action |
| Large persistent air gaps | Low ink operation, open vent, transport issue, ink-path leak | Check levels, vents, and locks |
| Tubes appear full but one color is missing | Clogged nozzles, electrical head fault, weak capping pump | Run nozzle check and cleaning |
| No visible ink movement during cleaning | Vent blockage, kinked tube, pump/capping-station fault | Inspect model-specific ink path |
| Unexpected color mixing | Cross-contamination, wrong ink, leaking chamber or head | Stop printing and inspect hardware |
Recommended Tool Setup
-
A flashlight for internal cavity and tube inspection.
-
Lint-free cleanroom swabs (do not use paper towels near encoder strips or electrical contacts).
-
The exact manufacturer service manual for your specific printer model.
Supported Printer Architectures
This diagnostic methodology applies to several modern CISS inkjet platforms. Each brand manages ink delivery differently.
| Printer Family | Typical Ink Architecture | Important Note |
| Epson EcoTank | Internal tube path with model-specific intermediate chambers | Dampers may not be user-accessible |
| HP Smart Tank | Internal CISS with replaceable or serviceable heads on many models | Verify the exact head design |
| Canon MegaTank | Internal CISS with model-specific FINE heads | Maintenance procedures vary significantly |
| Brother DCP-T/MFC-T | Internal refill-tank ink path | Avoid operating below the minimum line |
Preparing for an Ink Tank Printer Air in Tubes Fix
Unlike traditional top-mounted cartridges, ink-tank printers transport ink through flexible tubes into an intermediate ink chamber, damper, printhead inlet, or replaceable printhead assembly, depending on the model.
If the printer is left dormant, transported improperly, or operated with depleted tanks, air replaces the liquid ink. The goal of ink-path priming is to completely purge the air without introducing excess pressure that could rupture internal membranes or flood the carriage.
Phase 1: Visual Inspection and Safety Verification
The first step in resolving interrupted ink flow is ruling out physical obstructions and safely verifying the presence of air.
-
Power on the printer. Follow the model-specific manual to place the carriage in its inspection or printhead-access position.
-
Critical Safety: Wait until all movement stops, then power off and unplug the printer before touching tubes or internal parts.
-
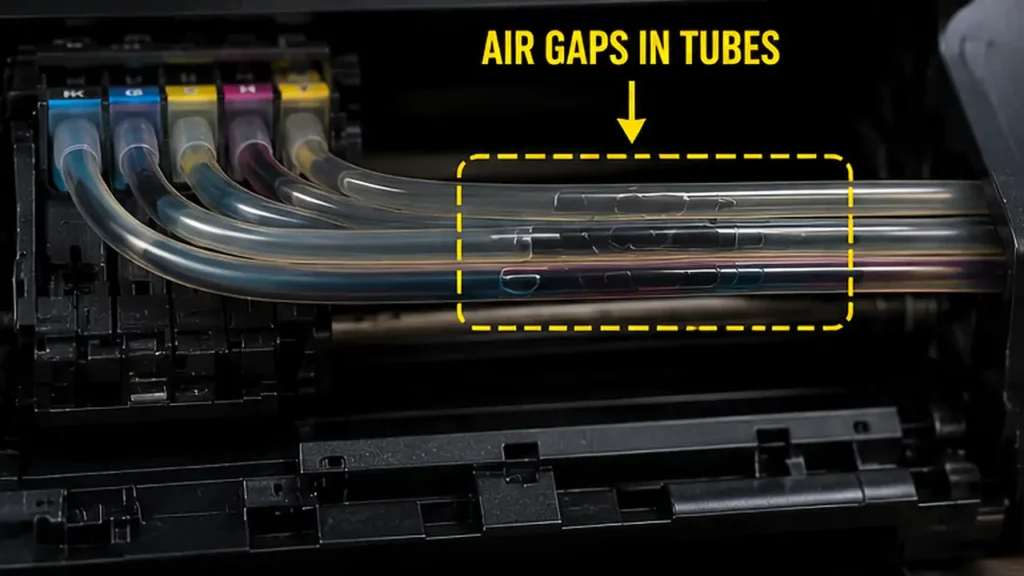
If the tubes are visible without disassembly, inspect them with a flashlight. Look for large, empty gaps where liquid ink should be.
-
Verify that tank caps, vent mechanisms, and transport locks are positioned exactly as specified in the printer manual.
-
If your exact model includes an ink valve, transport lock, or tube choke, confirm that it is in the printing (unlocked) position.
Phase 2: Brand-Specific Cleaning and Ink-Flush Utilities
If hardware valves are open and air in ink tubes is confirmed visually, you must utilize the automated ink flush utility specific to your printer’s brand. Do not use a generic approach.
Epson (EcoTank)
-
Navigate to the Maintenance menu and select Power Cleaning.
-
Ensure tanks are at least one-third full before starting.
-
Epson strongly advises waiting a full 12 hours before repeating a Power Cleaning.
HP (Smart Tank / Ink Tank)
-
Access the HP Smart app or printer software and select Printhead Cleaning.
-
Proceed through the available cleaning levels (Level 1, 2, etc.).
-
HP often recommends waiting approximately 30 minutes before re-evaluating or initiating subsequent heavy cleans.
Canon (MegaTank)
-
Navigate to the Maintenance menu. Begin with a standard Cleaning, followed by a Deep Cleaning if the issue persists.
-
If air remains, execute an Ink Flush.
-
Ensure you have adequate remaining ink. On supported models, verify maintenance cartridge capacity before initiating an Ink Flush, as waste absorber systems vary.
Brother (DCP-T / MFC-T)
-
Confirm that every tank remains above the minimum fill line, then run the model-specific printhead cleaning procedure.
Phase 3: Model-Specific Manual Priming Assessment
If software flushing fails, an advanced diagnostic protocol involves direct hardware intervention.
Manual syringe priming should only be performed using a procedure written for the exact printer and printhead assembly. The access point, vacuum direction, maximum safe suction, and carriage-release method vary extensively by model.
Manual priming procedures should be published separately for each printer architecture. Until an exact model-specific procedure is available, do not disconnect tubes, dampers, printheads, or ink-path fittings. Attempting generic hardware priming can tear membranes, flood the carriage, or introduce fatal cross-contamination.
If you lack the specific service manual, follow the manufacturer’s procedure for cleaning, reseating, testing, or replacing the printhead, or contact service.
Phase 4: Ink Delivery Verification and Nozzle Check
Completing the physical diagnostic requires verifying that stable ink delivery has been restored and that the nozzles are firing correctly.
-
Inspect the carriage for any accidental ink drops. Use a dry, lint-free swab to clean plastic surfaces only.
-
If ink reaches an FFC (Flat Flexible Cable) connector or logic-board contact, stop reassembly immediately. Disconnecting and cleaning contaminated electrical connections requires a model-specific service procedure.
-
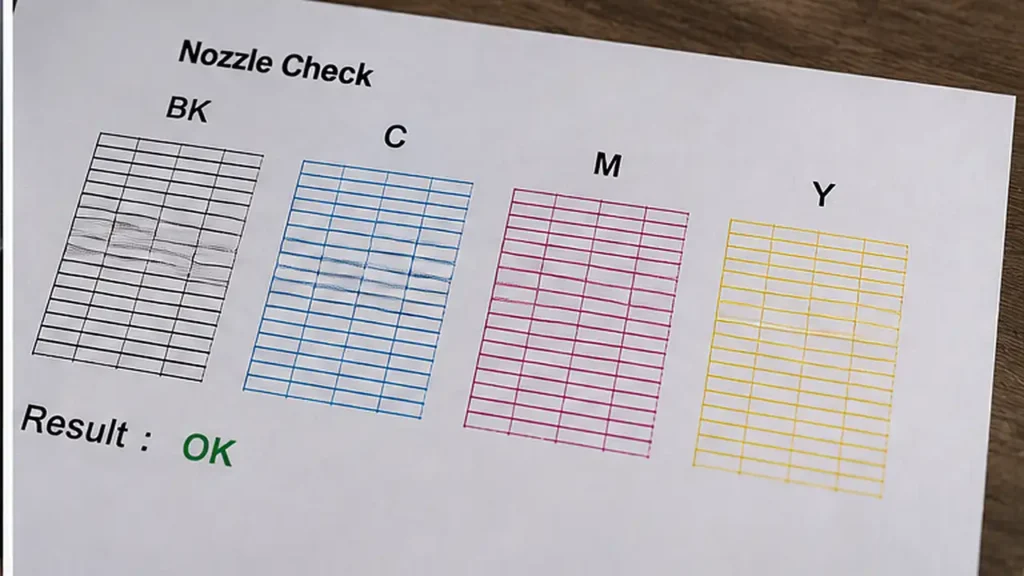
Plug the printer in, power it on, and execute a standard Nozzle Check or Print Quality Diagnostic Page.
-
Evaluate the printed grid. If the pattern is complete, ink delivery and nozzle output are currently functioning correctly.