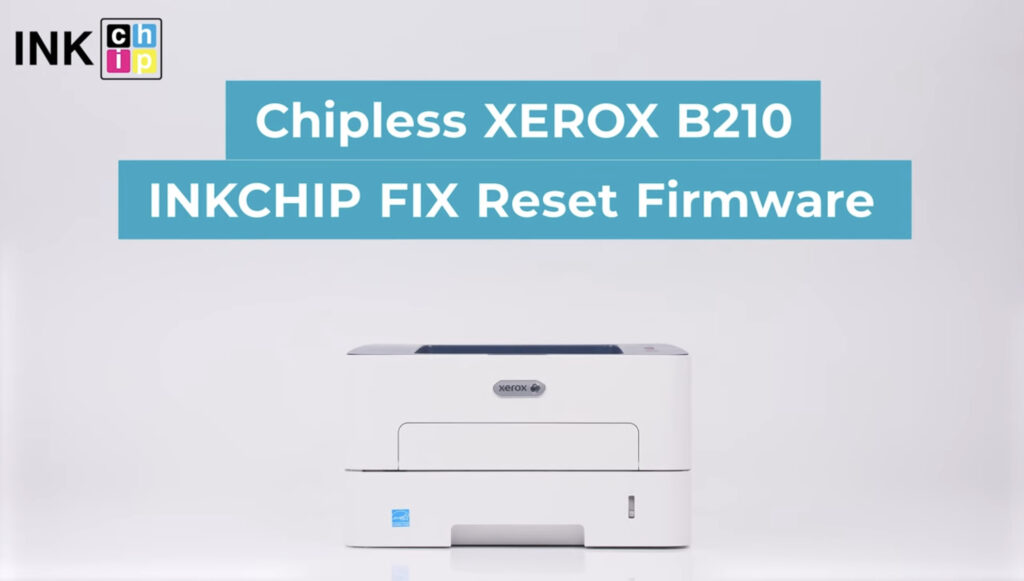
The Xerox B210 printer is a popular choice for many individuals and businesses. However, if you’re looking to make your printer chipless, you’re in luck.
In this blog post, we will guide you through the process of making your Xerox B210 chipless using the ink chip fix reset firmware.
This firmware will help you unlock additional capabilities for your printer, providing you with more control over your printing needs.
Requirements
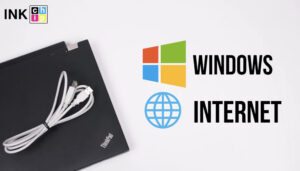
Before we get started, let’s go over the requirements for making your Xerox B210 chipless. You will need the following:
- A computer with a Windows operating system
- An internet connection
- A USB cable
The Process
Now that you have all the necessary requirements, let’s dive into the process of making your Xerox B210 chipless. Follow these step-by-step instructions to achieve the desired result:
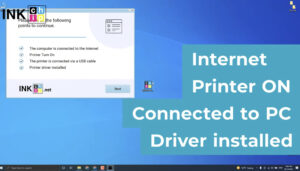
- Ensure that your printer driver is already installed on your computer.
- Connect your printer to your computer using the USB cable.
- Visit the inkchip.net website to access the necessary software.
- Open the laser page and select your preferred language to download the software.
- Launch the software and check if your printer is connected to your computer via USB.
- Establish an internet connection if it is not already established.
- Verify that the printer driver is installed on your computer.
- The program will automatically identify your firmware version and generate a file specific to your printer model.
- Click « Next » to proceed.
- Click « Buy » to proceed to the payment page.
- If the payment page does not open, press the « Copy » button and paste the URL into your browser’s address bar to manually access the payment page.
- Complete the payment to obtain the chipless firmware.
- You will receive an email with the chipless firmware file within 15 minutes of successful payment.
- Download the zipped file containing the chipless firmware.
- Put your printer into recovery mode by turning it off and opening the front cover.
- If the indicator above the button flashes, it means you failed to enter recovery mode and you need to repeat the steps.
- Unzip the chipless firmware files using a tool like Winzip or Winrar.
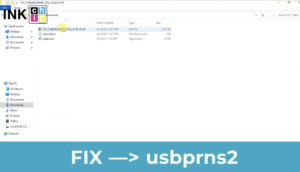
- Locate the firmware file with a name starting with « fix ».
- Drag and drop this file onto the firmware installer using your mouse or touchpad.
- The chipless firmware installation process will begin.
- Once the installation is complete, your printer will reboot and the power light will turn on.
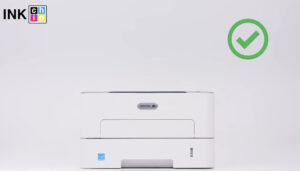
- That’s it! Your printer is now chipless.
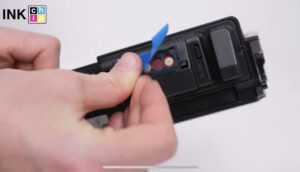
- Remove the cartridge from the printer, tape the contacts, and insert the cartridge back into the printer.
Important Notes
There are a few important things to keep in mind when making your Xerox B210 chipless:
- The ink chip fix reset firmware is non-refundable.
- The firmware is generated for only one printer and cannot be used on other printers.
- Avoid updating your printer’s firmware, as this may reset it to default settings. If this happens, you will need to recover the chipless firmware.
Conclusion
Congratulations on successfully making your Xerox B210 chipless! By following the steps outlined in this blog post,
you have unlocked additional capabilities for your printer, allowing you to have more control over your printing needs. Enjoy the benefits of a chipless printer and happy printing!

