
Fixing Inaccurate Color Laser Prints
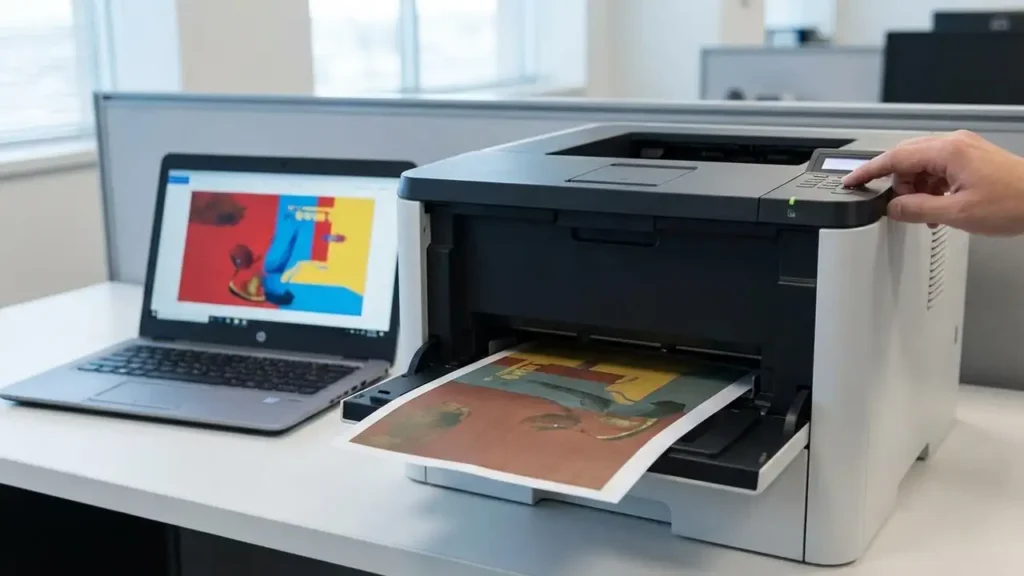
Experiencing inconsistent color output, such as red displaying as brown or blue appearing green, often points to an issue with your printer’s internal color mixing process or a critical hardware component nearing its operational limit. Addressing a color laser wrong colors fix typically involves systematic checks, starting with calibration and moving to hardware and software configurations. This guide outlines the essential steps to restore accurate color printing.
When your laser printer struggles to reproduce secondary colors correctly, it signifies a breakdown in its ability to combine primary colors—cyan, magenta, yellow, and black—with the right intensity. This can lead to prints that look faded, discolored, or significantly different from the on-screen representation. Carefully following the diagnostic steps below can help pinpoint the exact problem and implement a color laser wrong colors fix.

Addressing Color Laser Wrong Colors Fix Through Calibration
Color calibration is often the first and most effective step when dealing with inconsistent hues. This process re-synchronizes the laser’s intensity and the toner’s density, ensuring that colors are mixed precisely as intended. It is designed to correct “color drift,” where one primary color might be slightly weaker, leading to an overall shift in printed output.
- Initiate Calibration on the Device:
- On your printer’s control panel, navigate through the menu. Look for an option labeled “Setup,” then proceed to “System Setup.”
- Within “System Setup,” locate “Print Quality” and select it.
- Finally, choose “Color Calibration” and then “Calibrate Now” to start the process.
- Calibrate Using Software:
- Alternatively, you can trigger calibration from your computer.
- Open the manufacturer’s utility application, such as the HP Smart app for HP devices or the Brother Status Monitor for Brother printers.
- Within the application, find the option to perform a remote calibration.
- After calibration completes, print a test page to assess if the color laser wrong colors fix has been achieved.
Inspecting Imaging Components for Color Laser Wrong Colors Fix
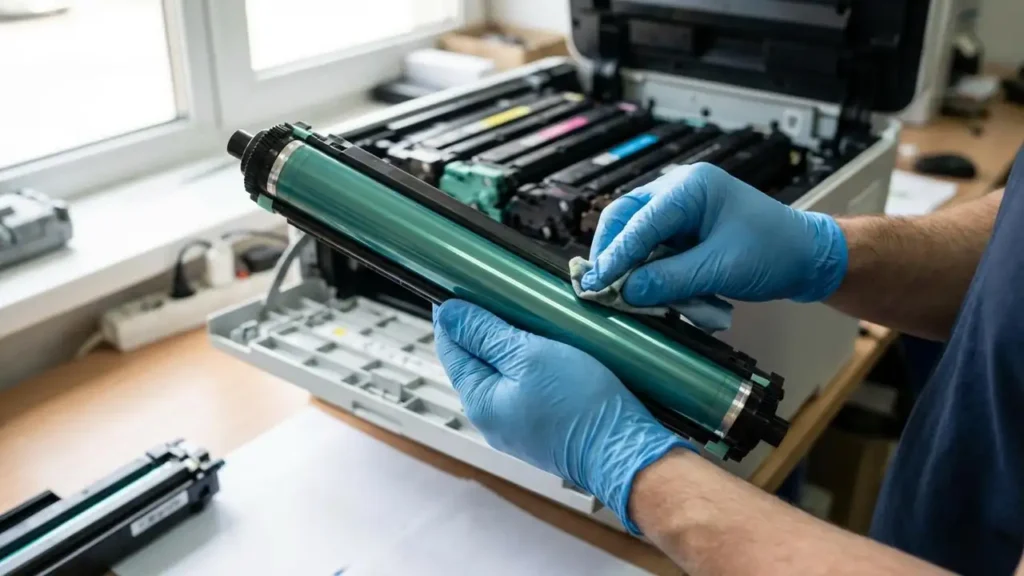
The imaging drum unit, also known as the Organic PhotoConductor (OPC) drum, plays a crucial role in transferring toner to the paper. A worn or damaged drum unit cannot maintain the correct electrostatic charge, which can result in dull or “muddy” colors, directly contributing to the color laser wrong colors fix challenge.
- Examine the Drum Unit:
- Safely remove the toner and drum assembly from your printer.
- Carefully inspect the surface of the greenish or blue roller (the drum) for any visible scratches, smudges, or accumulated toner.
- Caution: Avoid touching the drum surface directly with your fingers, as skin oils can leave residue that permanently damages it.
- Identify the Distorted Color:
- Print a Supply Status Page or a Print Quality Report from your printer’s utility menu.
- Review the report to determine if only one specific color appears distorted. For instance, if magenta is consistently light, causing reds to look brown, it indicates an issue with that particular color’s drum or toner cartridge.
- If a single color is significantly off, that specific drum or toner component likely requires replacement.
Toner and Print Settings Verification
Beyond calibration and hardware checks, your printer’s toner levels and current print settings significantly influence color accuracy. Misconfigurations or low supplies can directly contribute to color laser wrong colors fix issues.
- Check Toner Levels:
- Verify the toner levels for all cartridges. If one cartridge, such as Magenta or Cyan, is running low, the printer cannot properly mix secondary colors, leading to inaccurate output. Replace any nearly empty cartridges.
- Confirm Paper Type Settings:
- Ensure that the paper type selected in your printing software matches the physical paper loaded into the printer. For example, if you set “Plain Paper” for glossy sheets, the toner might not adhere or set correctly, resulting in colors that appear brown or washed out due to improper absorption.
- Review Color Profiles and Modes:
- Confirm that you are not inadvertently printing in Grayscale mode, which eliminates color entirely, or “Toner Save” mode, which reduces toner density and can limit color depth and vibrancy. Adjust these settings in your print dialog box if necessary.
Resolving Color Laser Wrong Colors Fix with Driver Updates
Outdated or corrupted printer drivers can also lead to significant color discrepancies. Generic drivers provided by your operating system, especially after a recent OS update, might not fully support your printer’s color management capabilities, leading to major color shifts.
- Reinstall Official Drivers:
- If you have recently updated your computer’s operating system, navigate to your printer manufacturer’s official website.
- Download and reinstall the latest official drivers specifically designed for your printer model and current operating system. This often resolves compatibility issues that cause a color laser wrong colors fix.
Safety Note: Always power off and unplug your printer before inspecting internal components. If you are unsure about handling internal parts or believe the problem lies with a complex internal component, it is best to consult a qualified service technician to avoid causing further damage or voiding your warranty.
Frequently Asked Questions
Resolving a color laser wrong colors fix demands a methodical approach, moving from software adjustments like calibration to hardware inspections of the imaging drum, and finally to verifying toner supplies and print settings. By systematically checking each potential cause, you can restore your laser printer to producing accurate and vibrant prints.