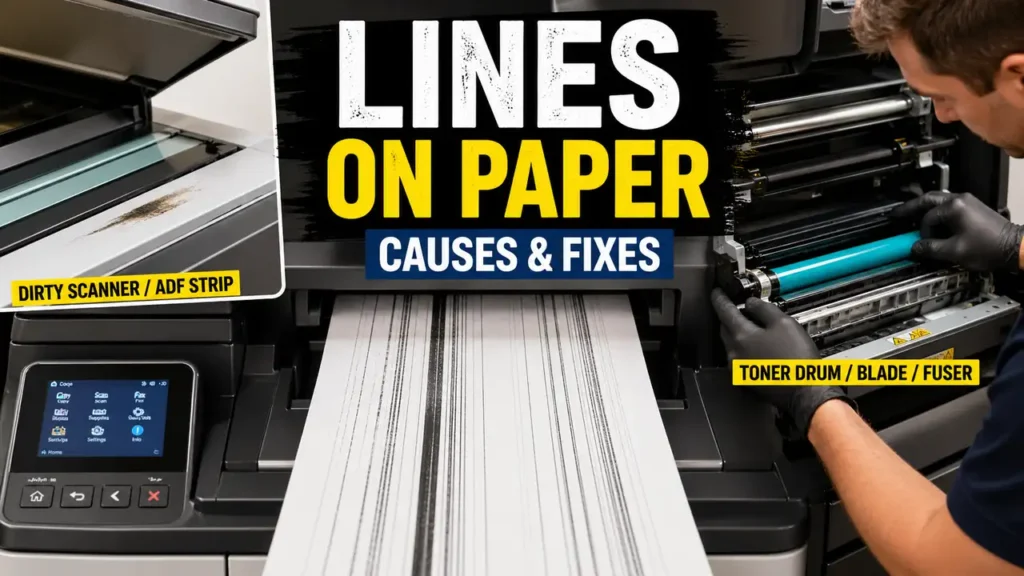
Lines on Paper: What Causes Them and How to Fix Them
When you see lines on paper, the problem usually means something in the copy or print process is interfering with image quality. These lines may appear as streaks, vertical marks, dark bands, repeated defects, or uneven areas that ruin an otherwise normal page. The exact cause depends on whether the lines appear during printing, copying, or both.
That distinction matters. If lines on paper appear only on copies, the scanner side is often the first suspect. If they appear on every printed page, the issue is more likely inside the printer engine itself. In some cases, the problem comes from a dirty scanner glass. In others, it points to a drum, developer, blade, or fuser problem that needs deeper service.
Why lines on paper happen
The phrase lines on paper sounds simple, but it covers several different print defects. Some are thin dark lines that run from top to bottom. Others are broad streaks, faded bands, or repeated marks at regular intervals. Even when they look similar at first glance, the causes can be very different.
In general, lines on paper come from one of two areas:
- the scanning system
- the print engine
The scanning system matters when you are copying or scanning documents. The print engine matters when the machine is physically creating the image on the page. Knowing which side is causing the problem is the fastest way to avoid wasted effort.
If lines on paper appear only on copies
If you notice lines on paper only when copying or scanning, but regular computer prints look clean, the scanner area becomes the main suspect. This is especially common on multifunction printers and copiers.
A small mark, correction fluid spot, dust streak, or dried residue on the scanner glass can create a clear vertical line on every copy. The same thing can happen on the narrow scanner strip used by the document feeder. In larger copier systems, internal mirrors can also contribute if they are dirty enough to affect the scanned image path.
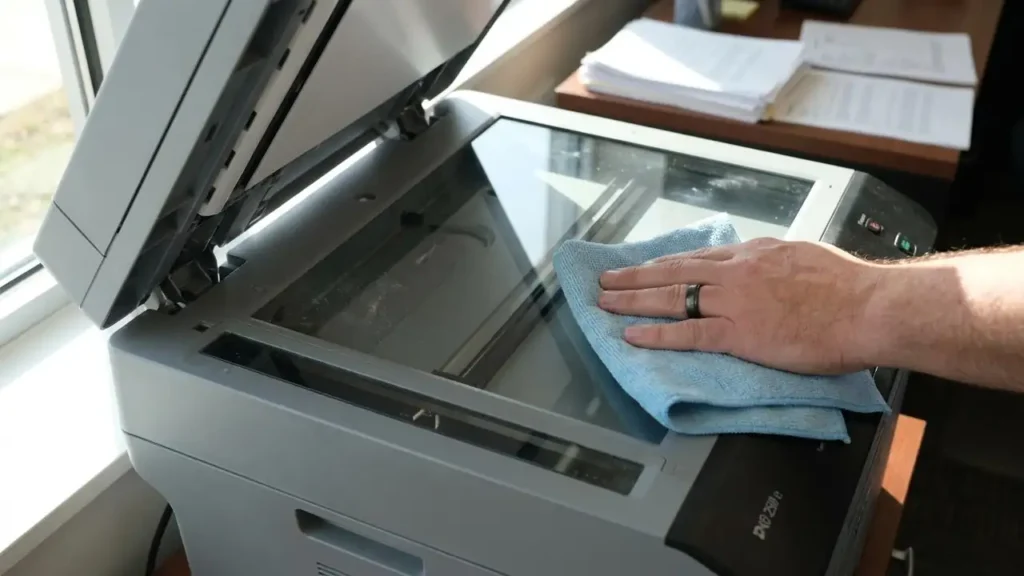
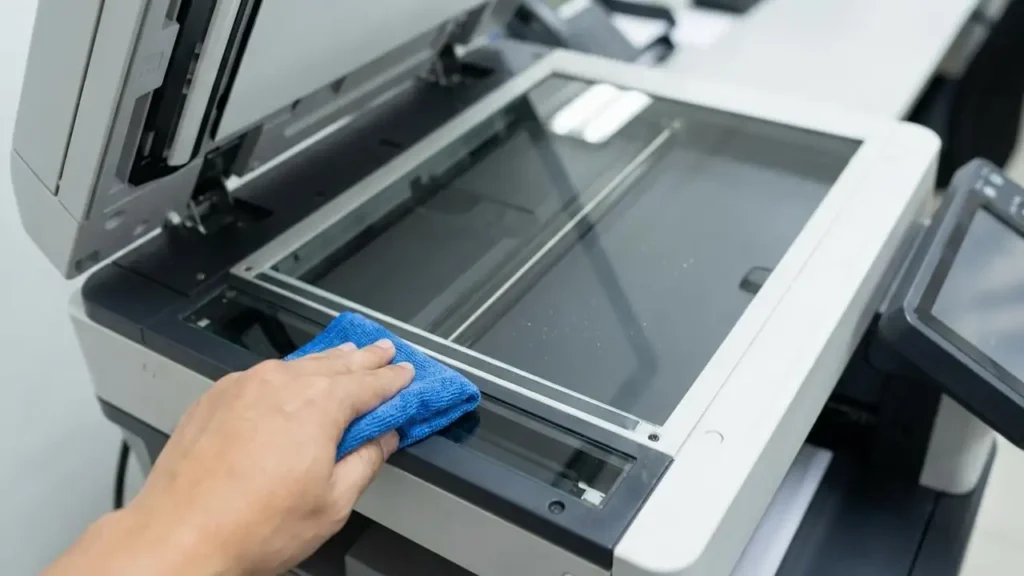
This is why the first safe fix for lines on paper is always to inspect and clean the scanner glass carefully according to the manufacturer’s instructions. Use a soft lint-free cloth and make sure you check both the large glass surface and the narrow feeder glass if your machine has an automatic document feeder.
Many stubborn copy-line problems come from very small marks that are easy to miss unless you look closely under strong light.
If lines on paper appear on all prints
If lines on paper appear on everything the machine produces, including internal reports or prints sent from a computer, then the problem is more likely inside the printer or copier engine.
This is where components like the drum, developer, blade, and fuser become more important. These parts control how the image is formed, transferred, and fixed onto the paper. When one of them fails, the printer may still work, but the page quality becomes damaged in a consistent way.
The key point is that lines on paper from the print engine usually do not disappear just because you cleaned the scanner glass. That is why separating copy-only defects from print-wide defects is such an important first step.
Drum and developer problems
In multi-component copier systems, lines on paper can come from a drum or developer unit problem. These components help create and transfer the image. If they are worn, damaged, contaminated, or not operating evenly, the result can be visible lines or streaks on the page.
A drum-blade problem can be especially noticeable. When the blade fails to clean the drum correctly, it can create larger vertical lines running down the page. These defects often look more severe and repeat consistently from sheet to sheet.
This type of lines on paper is usually not a basic home-cleaning issue. Once the cause is in the drum or developer system, the machine often needs proper inspection and part replacement rather than simple user maintenance.
Fuser-related lines on paper
The fuser is another possible cause of lines on paper, especially when the defect looks heat-related, smeared, repeated, or tied to how the toner or image is fixed to the page.
A fuser problem may not always create a perfect straight line. Sometimes it shows up as repeated marks, dragging, smearing, or bands that appear once the page passes through the hot fixing stage. If the machine is using the wrong paper setting or the fuser itself is worn or damaged, page quality can degrade in a way that looks like lines or streaks.
That is why lines on paper should not be blamed on the scanner or toner alone. In some cases, the defect appears only after the image reaches the final heat stage.
The safest first fix
The safest first response to lines on paper is to remove anything obvious and clean the scanner glass and related surfaces properly. This is the one step that is both low risk and often effective, especially when the problem appears during copying.
After cleaning, test the machine in two ways:
- make a copy from the scanner glass or document feeder
- print an internal report or a simple computer page
This comparison tells you a lot. If the copy has lines but the print does not, focus on the scanner area. If both have lines, the problem is likely in the print engine. That single comparison can save a lot of guesswork.
When cleaning is not enough
If lines on paper remain after proper cleaning, the next step is usually not more random cleaning. At that point, the problem is more likely mechanical or component-related.
A technician may need to inspect the drum, developer system, cleaning blade, fuser, or related internal parts. This is especially true if the lines are large, repeated, consistent from page to page, or present even on internal prints. Those signs usually point to a deeper hardware issue rather than surface dirt.
So while the first fix is simple, persistent lines on paper often require professional diagnosis.
How to tell the difference quickly
A simple way to narrow down lines on paper is to ask these questions:
Does the problem happen only when copying?
If yes, the scanner glass, feeder strip, or mirrors are strong suspects.
Does the problem happen on every printed page?
If yes, look more toward the drum, developer, blade, or fuser.
Are the lines large and vertical from top to bottom?
That often points toward drum or blade-related trouble.
Do the marks look smeared or repeated?
That can point more toward fuser or print-engine movement issues.
This kind of pattern reading is often more useful than guessing from the first page alone.
Frequently Asked Questions
Lines on paper are often a clue, not the final problem. Sometimes the cause is as simple as dirt on the scanner glass. Other times it points to a worn drum, a bad blade, a developer issue, or a fuser problem inside the machine. Start with the safe cleaning steps first, then test whether the defect comes from copying, printing, or both. That approach gives you the clearest path to the right fix.