

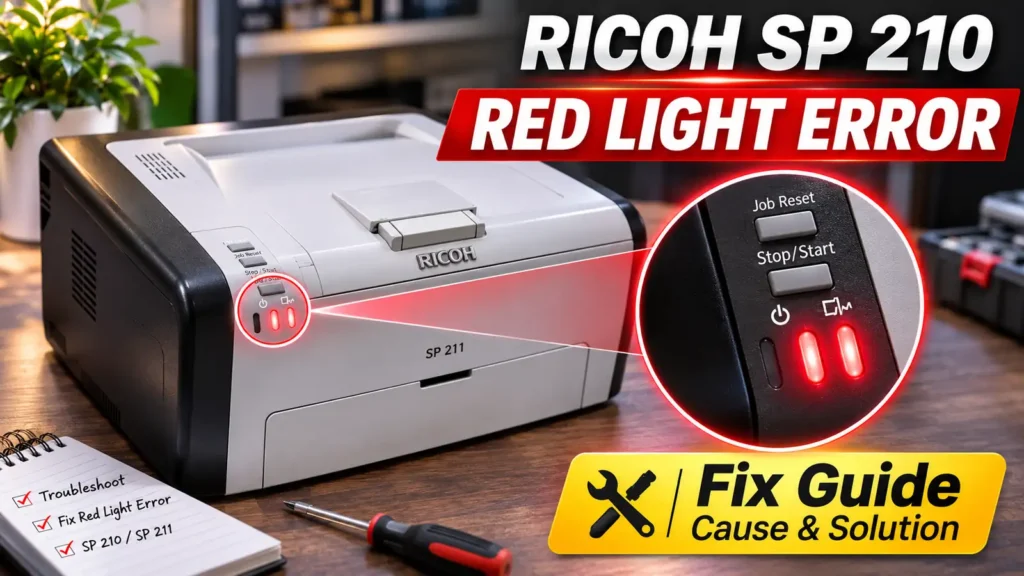
Finding a reliable ricoh sp 210 red light error solution starts with identifying which of the two red LEDs on the control panel is active and whether it is flashing or stays solid. Because the base Ricoh SP 210—along with single-function siblings such as the SP 210Q, SP 211, SP 212w, and SP 213Nw—has no LCD screen, the printer cannot display text warnings or numeric Service Call (SC) codes on its body. Every hardware stop, from an empty paper tray or unseated print cartridge to a locked fuser unit fault, is signaled through the Alert and Toner/Paper End indicator lights.
When a ricoh red light error persists after you load paper, reseat the toner cartridge, clear the paper path, and restart the printer, the machine has almost always recorded a latched fuser error (SC541 through SC560) in its non-volatile memory. On Ricoh DDST host-based laser printers, turning the power switch off and on will not clear a fatal fuser lock. Restoring normal operation requires inspecting the machine’s status and executing a Fuser SC Reset through Ricoh’s Smart Organizing Monitor utility on a connected Windows computer.
Decoding the Ricoh Red Light Error on the SP 210 Control Panel
Before changing software settings, examine the control panel on the top right side of the printer. Single-function models in the Ricoh SP 210 series rely on three status LEDs: the blue Power indicator, the red Alert indicator (marked with a triangular warning icon), and the red Toner/Paper End indicator (marked with toner and paper icons). Multifunction models in the same family, such as the Ricoh SP 210SU and SP 210SF, include a top Alert LED alongside a two-line or four-line LCD screen that displays the accompanying error message or SC code directly.
| Indicator Light | LED State | What the Status Means | Primary Corrective Action |
| Power Indicator (Blue) | Solid Blue | Printer is powered on and ready | Normal operation; no action required |
| Power Indicator (Blue) | Flashing Blue | Receiving print data or warming up | Wait for the current job or warm-up cycle to finish |
| Toner/Paper End Indicator (Red) | Flashing Red | Print cartridge is nearly out of toner | Prepare a replacement print cartridge; printing can still continue temporarily |
| Toner/Paper End Indicator (Red) | Solid Red | Tray is out of paper, cartridge is depleted, waste toner is full, or cartridge is not seated | Load paper into Tray 1, reseat the print cartridge until it clicks, or install a new cartridge |
| Alert Indicator (Red) | Flashing Red | Paper jam inside the paper path or paper size mismatch | Remove jammed paper from the tray, under the cartridge, or rear exit area; verify driver paper size settings |
| Alert Indicator (Red) | Solid Red | Front or rear cover is open, or a fatal system/fuser Service Call (SC) error has locked the printer |
Close all covers firmly; if the solid red light remains after rebooting, check Smart Organizing Monitor and run a Fuser SC Reset |
Distinguishing between the two red lights prevents unnecessary software troubleshooting. If the Toner/Paper End light is solid red while the Alert light is off, opening Smart Organizing Monitor’s service mode will not fix the problem because the sensor is detecting an empty paper tray, a missing cartridge chip connection, or a depleted print cartridge. Conversely, if the triangular Alert indicator stays solid red immediately after startup and all covers are closed, the printer is halted by an internal hardware or fuser status lock.
Physical Checks Before Running a Software Reset
Even when you plan to use Smart Organizing Monitor, you must rule out physical obstructions and consumable locks first. Clearing a fuser error in software while a torn sheet of paper is still wrapped around the hot roller or while the front cover switch is disengaged will cause the red light to return on the very next print cycle.