

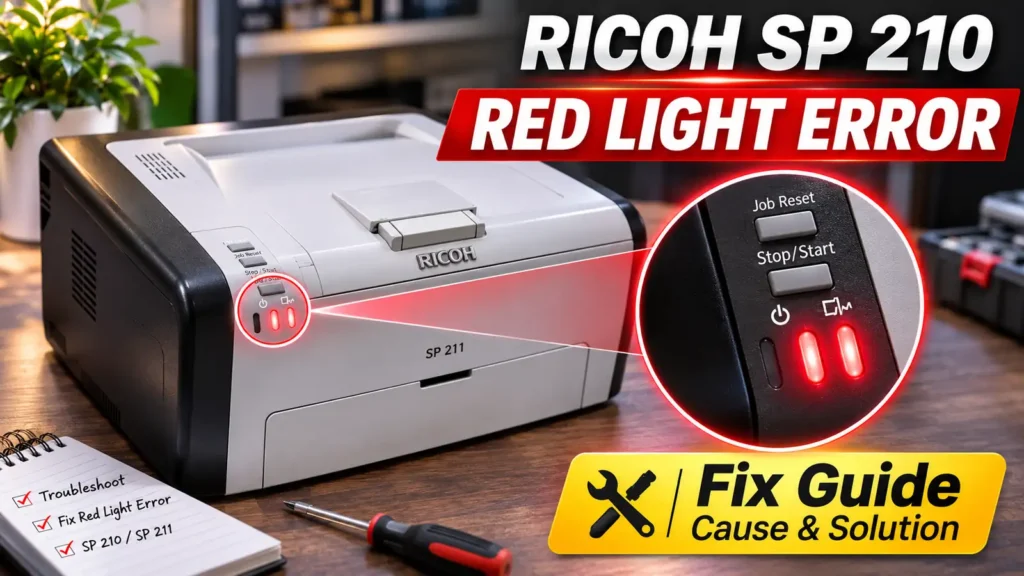
1. Check Paper Supply and Size Settings
Pull out Tray 1 and confirm that clean, dry paper is stacked neatly below the maximum fill mark and that the side and rear paper guides rest snugly against the stack without buckling the sheets. If the red Alert indicator begins flashing during a print job even though no paper is jammed, the paper size configured in the Windows DDST printer driver does not match the physical paper loaded in the tray. Press the Stop/Start button on the control panel to force the page to print, or press Job Reset (on models equipped with the button) and match the paper size in Printing Preferences on your PC.
2. Reseat or Replace the All-in-One Print Cartridge
On the Ricoh SP 210 series, the toner supply, photoconductor drum unit, and waste toner reservoir are combined into a single all-in-one print cartridge. A solid red indicator frequently appears after a cartridge change or paper jam check simply because the cartridge has not engaged its internal lock or chip contacts.
-
If any paper is loaded in the manual bypass slot, remove it before opening the machine.
-
Press the side release button and lower the front cover carefully.
-
Grasp the center handle of the print cartridge and pull it out horizontally without tilting or shaking it heavily, as excess waste toner can spill from the integrated collection chamber.
-
Inspect the cartridge chip contacts on the side of the cartridge and inside the printer cavity for toner dust or bent pins, wiping them gently with a dry, lint-free cloth if needed.
-
Slide the print cartridge back in horizontally until it stops, lift the front edge slightly, push it all the way to the rear, and press down firmly until it clicks into place.
-
Use both hands to push the front cover upward until it latches shut on both sides.
If Smart Organizing Monitor reports No Toner or Waste Toner full, the cartridge has reached the end of its service cycle or its integrated waste chamber is full, and the print cartridge must be replaced.
3. Clear Hidden Paper Jams and Protect the Exit Sensor
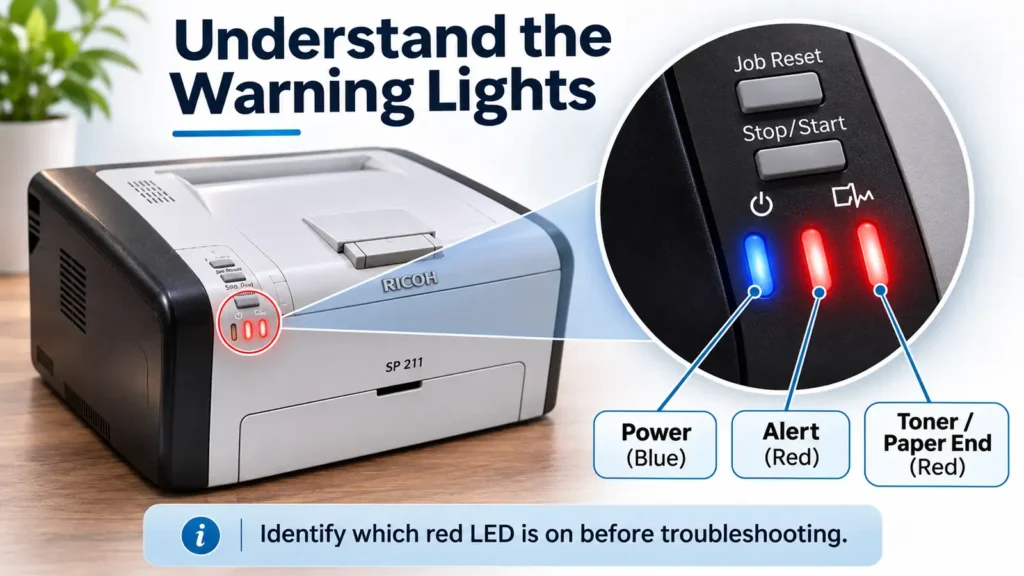
A flashing red Alert light indicates a paper misfeed in Tray 1, the internal transfer area beneath the print cartridge, or the rear fusing exit area. More importantly, on Ricoh SP 111, SP 200, and SP 210 series engines, three consecutive paper jams at the fuser exit sensor trigger fatal error SC559 (Fusing Unit Third Jam Error). Once SC559 trips, the printer shuts down its heating circuit and shows a permanent solid red Alert light that cannot be cleared solely by pulling out the paper.
To inspect the paper path safely:
-
Turn off the printer and wait at least 15 to 20 minutes for the internal fusing unit to cool down. The fuser reaches operating temperatures near 200°C during printing and can cause burns if touched immediately.
-
Open the front cover, remove the print cartridge, and set it on a clean sheet of paper away from direct light.
-
Lift the internal guide plate and check for crumpled paper or torn corners along the registration rollers. Pull any trapped sheet out gently using both hands so it does not tear.
-
Open the rear cover (on models with rear access) or inspect the fuser exit area and lower the fuser release levers if a sheet is caught between the heated rollers.
-
Reinstall the print cartridge and close all covers securely.
How to Check the Exact Error Message in Smart Organizing Monitor
Because the Ricoh SP 210 uses a host-based DDST (Dynamic Data Stream Technology) architecture, its diagnostic interface lives on your computer inside the Smart Organizing Monitor (SOM) utility rather than on the printer itself. Installing only a basic Windows plug-and-play print queue allows documents to spool, but it leaves you blind when a red light halts the printer.
To diagnose and reset the machine, verify two prerequisites on a Windows PC:
-
Direct USB Connection: Connect the Ricoh SP 210 directly to a USB 2.0 or USB 3.0 port on your computer using a shielded A-to-B USB printer cable rather than an unpowered USB hub.
-
Installed Ricoh Utilities: Ensure both the official DDST Printer Driver and Smart Organizing Monitor (such as Version 1.01 for the SP 210 series) are installed from your setup disc or the official Ricoh Global Support portal.
When you open Smart Organizing Monitor and select your printer, the main Status tab displays an illustration of the machine alongside the active error message—such as Cover Open, Paper Misfeed, Print Cartridge Not Detected, or a Service Call (SC) fault. If the status window indicates a service call or the red Alert light remains solid despite normal supply levels and closed covers, proceed to the software fuser reset.