

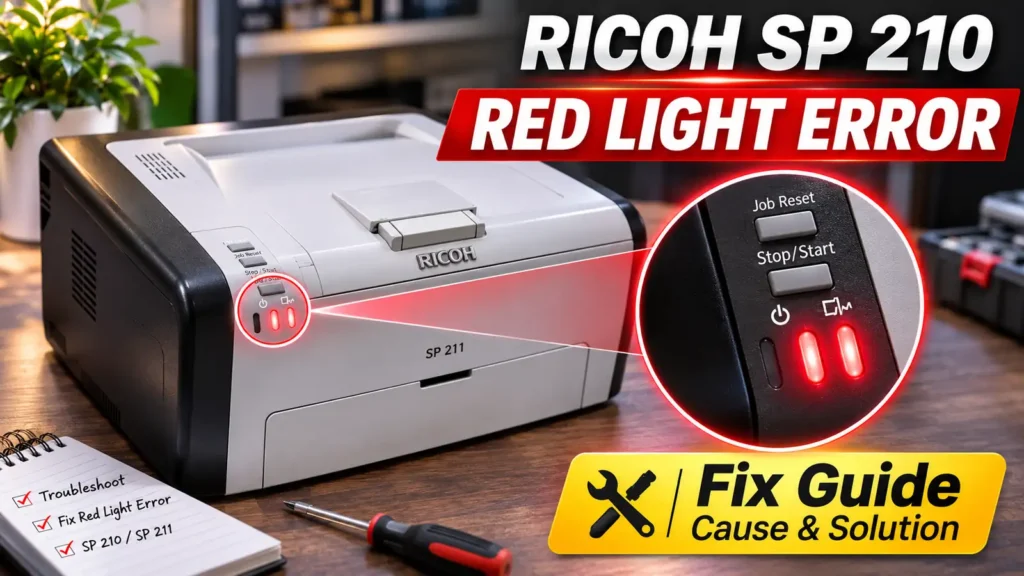
Step-by-Step Ricoh SP 210 Red Light Error Solution via Fuser SC Reset
When a temporary voltage drop, power outage, or repeated exit jam trips the fuser protection flag in firmware, the printer locks out the heating lamp until the error flag is cleared in Service Mode. You can perform this Fuser SC Reset directly from Smart Organizing Monitor on Ricoh SP 111, SP 200, SP 210, SP 210SU, SP 210SF, SP 211, SP 212, and SP 213 models using the following sequence:
-
Power on and connect the printer: Make sure the Ricoh SP 210 is turned on (showing the red Alert light) and connected to your Windows computer via USB.
-
Open Devices and Printers: Press Windows Key + R, type
control printers, and press Enter to open the classic Devices and Printers window (or navigate through Settings → Bluetooth & devices → Printers & scanners in Windows 11 and select your printer). -
Launch Smart Organizing Monitor: Right-click the Ricoh SP 210 printer icon, select Printing preferences, and click the Smart Organizing Monitor button inside the driver window. You can also launch Smart Organizing Monitor for SP 210 Series directly from the Windows Start menu under your Ricoh software utilities folder.
-
Open the About dialog: Once the Smart Organizing Monitor status window opens and connects to your printer, click the About button located near the bottom-right corner of the utility window.
-
Unlock the hidden Service Module: While the About window is open on your screen, press and hold both Ctrl + Shift on your keyboard, then double-click the right mouse button inside the About window (clicking directly on the printer/logo graphic area). A hidden Service Module (or Service Mode) dialog box will appear on screen.
-
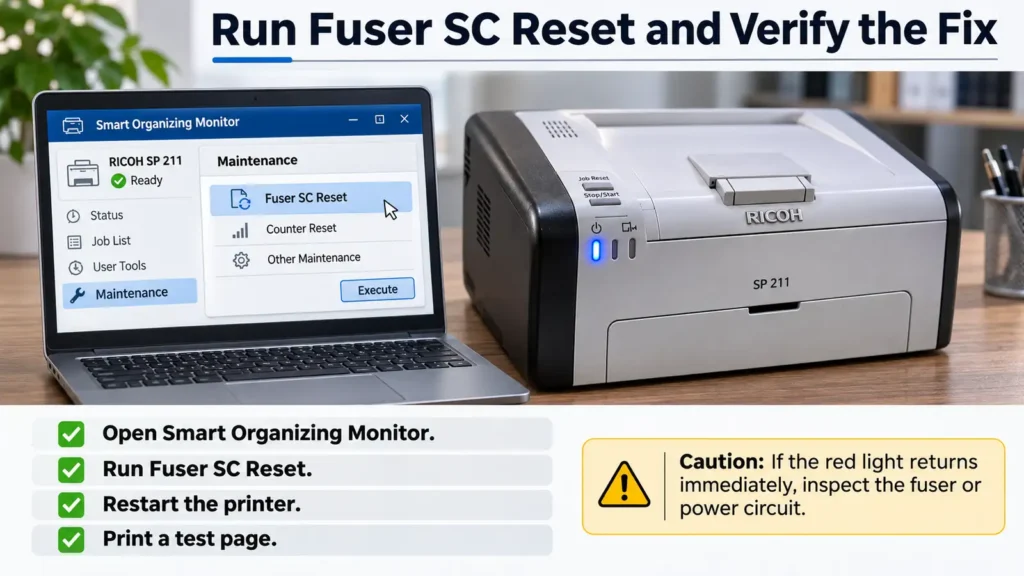
Execute the Fuser SC Reset: Near the bottom of the newly opened Service Module window, click the Fuser SC Reset button.
-
Confirm the reset command: Click OK on the confirmation prompt, and then click OK again to close the Service Module and About windows.
-
Power-cycle the printer: Close Smart Organizing Monitor and all open printer properties windows on your PC. Turn off the Ricoh SP 210 using its physical power switch, wait 20 to 30 seconds for the internal memory buffer to clear completely, and turn the printer back on.
How to Verify the Fix Worked
Watch the control panel LEDs as the printer boots up:
-
During the initial warm-up cycle, the red Alert indicator may flash for up to 30 seconds while the fuser reaches operating temperature and the main motor initializes.
-
After approximately 30 seconds, the red Alert indicator should turn off completely, leaving the blue Power indicator steadily lit.
-
Open Smart Organizing Monitor on your PC to confirm the status reads Ready, then print a Windows Test Page to verify that paper feeds cleanly and toner fuses firmly onto the page without smudging.
When a Fuser SC Reset Does Not Clear the Red Light
A software Fuser SC Reset clears the stored fault flag in the printer’s controller memory, which permanently resolves the issue if the error was triggered by a brief AC power dip, a cleared three-jam lock (SC559), or an isolated warm-up timeout. However, if the solid red Alert light returns within 5 to 15 seconds of turning the printer back on, the controller is actively detecting a live hardware fault in the fusing circuit or power supply.
Understanding the specific fuser error codes used across the Ricoh SP 210 platform helps pinpoint why a reset fails to hold:
-
SC541(Fusing Unit Thermistor Error / C7): The fuser thermistor failed to detect a temperature above 0°C within 5 seconds of startup. This points to a disconnected, broken, or displaced thermistor harness, or an open halogen fusing lamp. -
SC542(Fusing Reload Temperature Error / C8): During warm-up or printing, the hot roller remained 5°C below its target operating temperature across five consecutive readings at 1.5-second intervals. Common causes include a weak wall outlet voltage, a deformed thermistor, or a failing fusing lamp. -
SC543andSC544(High Temperature Errors — Software C9 / Hardware c1): The fusing unit temperature exceeded 225°C (437°F) for more than 1 second (SC543), or the hardware overheat detection circuit tripped (SC544). This is typically caused by a shorted TRIAC on the power supply unit (PSU) or a faulty main controller board keeping the heating lamp energized continuously. -
SC545(Fusing Lamp Remains ON Error / c2): The heating lamp stayed at full power for more than 9 seconds after reaching reload temperature, usually because the thermistor is warped away from the roller surface or its connector is loose. -
SC556(Temperature Deviation Error): The printer detected a temperature discrepancy greater than 1°C between the center and end thermistors for 1.5 seconds five times in a row, caused by unstable input voltage or a degraded fusing assembly. -
SC560(Low Input Voltage Error): On 220–240V regional models (-21and-27), the printer detected AC supply voltage dropping below 140V.