

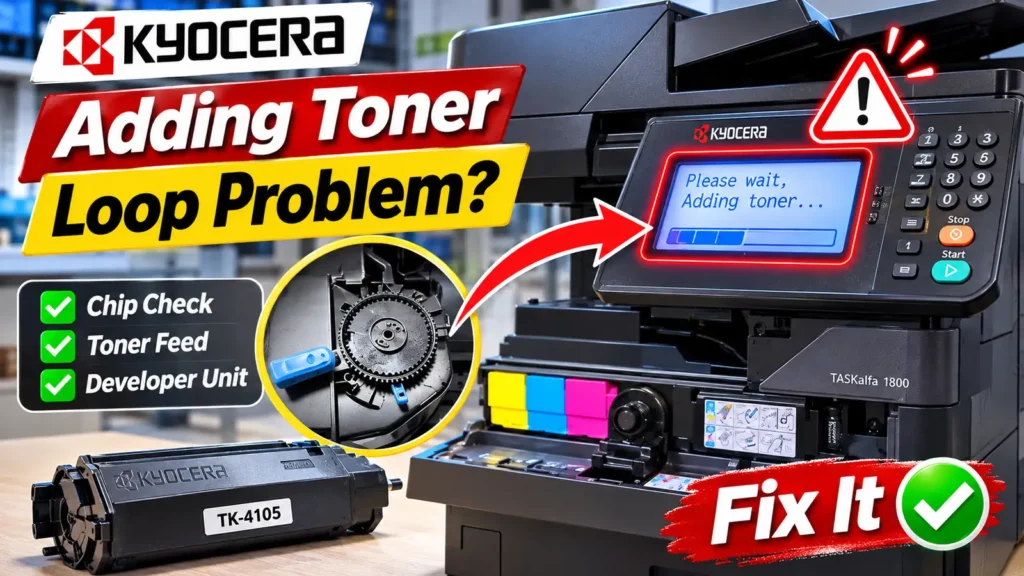
Method 4: Force Toner Installation via Maintenance Mode U130 (Keypad-Equipped Models)
On Kyocera MFPs and printers equipped with a numeric keypad—including the ECOSYS M2040dn, M2135dn, M2540dn, M2635dn, M3040dn, TASKalfa 1800, and KM-2035/3035—service manuals provide Maintenance Item U130 (Set Toner Install / Developer initial setting). Running U130 commands the engine to actively feed toner from the container into the developer unit until the internal toner sensor threshold is satisfied.
Service Mode Precaution: Maintenance Mode gives direct access to factory calibration and memory initialization codes (such as U021, which wipes backup RAM). Do not open or execute any item other than U130 and U001. Do not run U130 more than once or twice in succession; if toner is not physically entering the developer unit, repeated execution will not bypass a broken gear or clogged chute.
-
Power on the printer with the verified toner container locked in place.
-
On the numeric keypad, quickly type 10871087 to enter Maintenance Mode. The screen will change to the maintenance selection menu (starting at U000).
-
Enter 130 on the numeric keypad (or use the up and down arrow keys to highlight U130 Set Toner Install / Developer) and press Start or OK.
-
Use the arrow keys to select Execute (or switch the mode from No Action / Off to On / Execute depending on the firmware interface), then press Start or OK.
-
Wait while the printer drives the toner feed motor and developer auger. The cycle automatically stops once the developer sensor detects sufficient toner, or times out after roughly 5 minutes. Never turn off the power while U130 is running.
-
When the motor stops, press the Stop button once to return to the
U130menu header. -
Enter 001 (U001: Exit Maintenance Mode) on the numeric keypad and press Start. The machine will exit service mode and reboot to the standard operating screen.
How to Verify the Repair
After completing the physical inspection and the appropriate replenishment procedure, verify that toner is both recognized and physically transferring to the drum:
-
Check the Ready state: Confirm the display stays on Ready (or the Ready indicator stays solid green) without restarting the feed motor when you open and close the front cover.
-
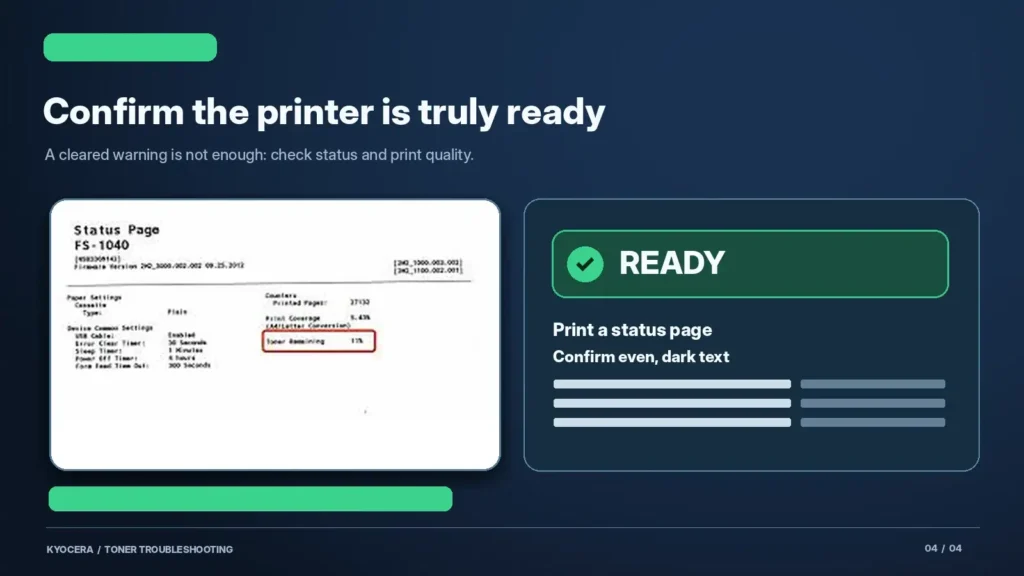
Print a Status Page:
-
On LCD models: Press System Menu / Counter, navigate to Report, select Report Print, and choose Status Page.
-
On displayless models (such as the ECOSYS P2235dn): Hold the GO button for 5 seconds until the printer feeds a sheet.
-
-
Inspect print density: Check the solid black graphics and text blocks on the printed status page. Even, dark black text confirms that the developer unit has proper toner concentration.
Troubleshooting Persistent Hardware Failures
If the machine remains kyocera stuck adding toner or returns to the error state right after a replenishment cycle, use the symptom behavior below to isolate the failing hardware component:
| Observed Symptom | Underlying Hardware Cause | Recommended Action |
| Motor spins normally, stops after a few minutes, and returns to “Add Toner” with a known-good OEM cartridge | Cartridge shutter is not opening, or the internal auger inside the toner container is broken. | Remove the container and inspect whether the locking lever actually retracts the shutter door. Test with a different TK container. |
| Prints become progressively paler until pages are blank, then “Add Toner” locks the machine | Toner is not dropping into the developer unit (bridged powder, clogged developer inlet chute, or stripped toner feed motor gear). | Clear any caked toner at the developer inlet port. Listen during the spin cycle to confirm the cartridge drive coupling is rotating. |
| Printer sits on “Please wait (Adding toner)” indefinitely even though the developer unit is visibly full of toner | Faulty toner concentration sensor on the developer unit or loose sensor harness connection on the engine board. | Check the small wire harness connecting the developer unit to the chassis. If the connection is secure, the developer unit (DV) must be replaced. |
| Loud clicking or grinding noise from the right side during the “Adding toner” spin cycle | Broken or stripped plastic teeth on the developer drive gear or sub-hopper feed assembly, often caused by forcing a jammed locking lever. | Stop using the machine immediately to prevent further gear train damage. Inspect and replace the damaged drive gear or developer unit. |
| Error clears temporarily with OK + Stop but returns every time the printer is restarted | Depleted, damaged, or non-OEM cartridge chip that cannot store or report a valid supply status. | Replace the cartridge chip with a fresh, region-matched chip or install a verified compatible/OEM container. |