

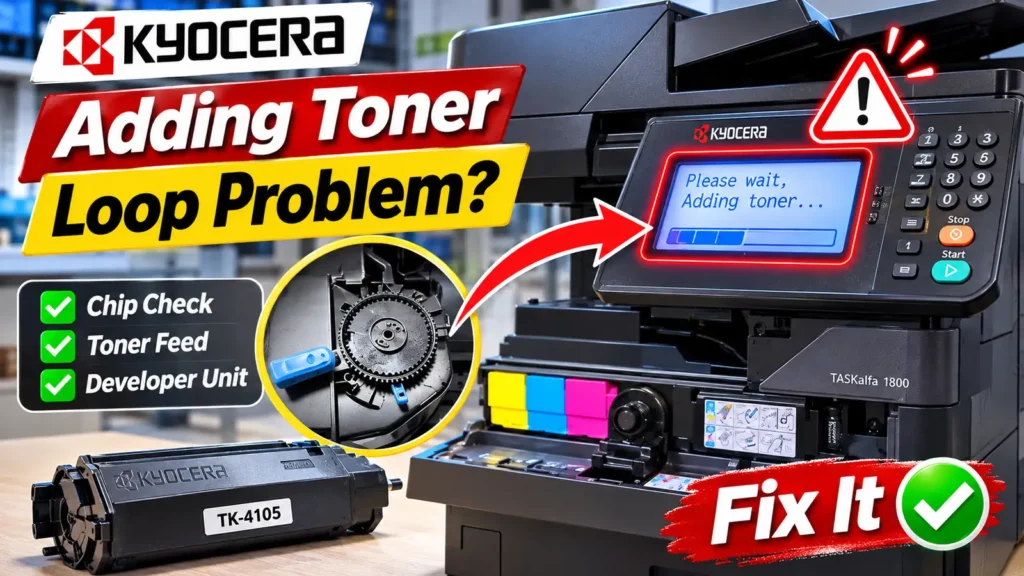
Step-by-Step Remedies for a Kyocera Add Toner Loop Fixed Problem
Once you confirm that the toner powder is loose, the inlet port is unobstructed, and the locking lever clicks fully into place, use the procedure below that matches your printer model and symptom.
Method 1: Clear a “Non-Genuine Toner” Lockout (Compatible or Refilled Cartridges)
If you installed a refilled, chipless, or third-party cartridge and the printer finishes spinning its motor but halts on Non-genuine Toner, Unknown Toner, or Replace Toner, the machine is blocking operation because the chip reports an empty or unrecognized state.
-
On LCD models with an OK and Stop button (ECOSYS M2040dn, M2540dn, P5021cdn, TASKalfa series): With the error displayed on screen, press and hold OK and Stop simultaneously for 3 to 5 seconds (some colour ECOSYS models require holding for up to 10 to 20 seconds) until the attention light clears and the printer warms up to Ready.
-
On older copier-style panels without an OK key: Press and hold Start and Stop/Clear (or Start + OK depending on the panel layout) for 8 to 10 seconds.
Important limitation: This key combination only bypasses chip verification so you can continue printing. It does not force mechanical toner feeding, and the prompt may return after a power cycle unless you install a cartridge with a working, region-matched chip.
Method 2: Run a Panel Developer Refresh on Displayless Printers (ECOSYS P2235dn / P2235dw)
Printers such as the ECOSYS P2235dn and P2235dw do not have an LCD screen or numeric keypad, so technician keypad codes cannot be entered. If the printer stays stuck on the toner warning LED or prints very faintly after inserting a verified TK-1150 series cartridge, run the built-in developer refresh sequence:
-
Ensure the printer is powered on and the toner container is seated and locked.
-
Open the front cover of the printer.
-
Press and hold the GO and STOP buttons together for approximately 5 seconds.
-
Release the buttons and close the front cover.
-
Allow the toner installation and developer refresh cycle to run until the motor stops and the Ready LED stays solid green. Do not turn off the printer while the rollers are turning.
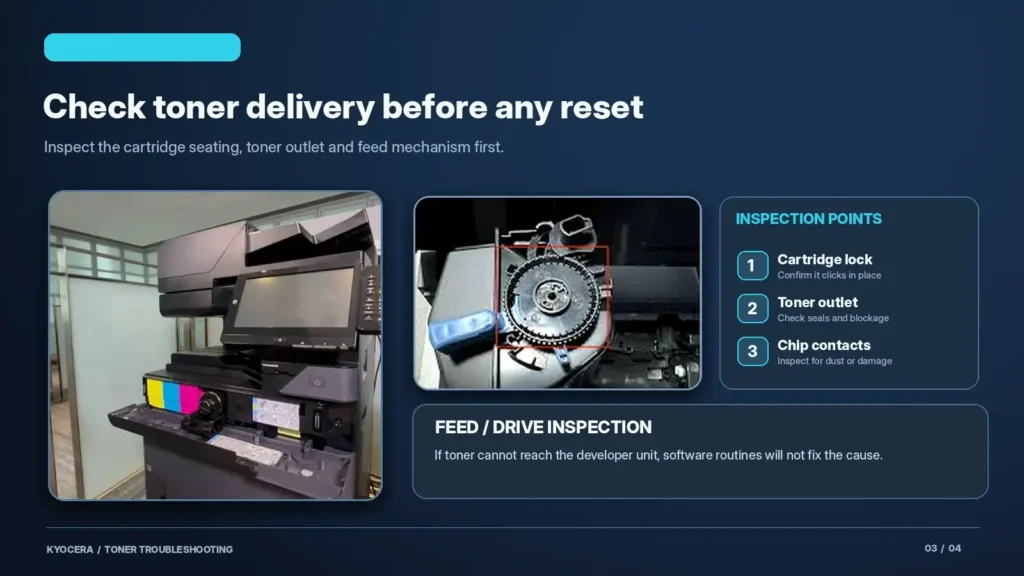
Method 3: Trigger Replenishment via KYOCERA Client Tool (FS-1040, FS-1060DN, FS-1320D)
On compact USB-connected desktop printers where the front panel only provides basic LED indicators, use the Windows KYOCERA Client Tool utility to inspect the exact error state and trigger maintenance routines:
-
Connect the printer to your Windows computer via USB, turn the printer on with the new cartridge locked in place, and launch KYOCERA Client Tool.
-
Check the live status message on the main device screen to confirm whether the machine is reporting Replace toner, Non-genuine toner, or an open cover switch.
-
Open the Maintenance tab in the utility window.
-
Select the developer/toner replenishment option (labeled New Developer, Toner Install, or Stop Flashing of Attention Indicator depending on your model’s driver package and firmware).
-
Confirm the prompt and let the printer run its feed motor until the status changes to Ready.