

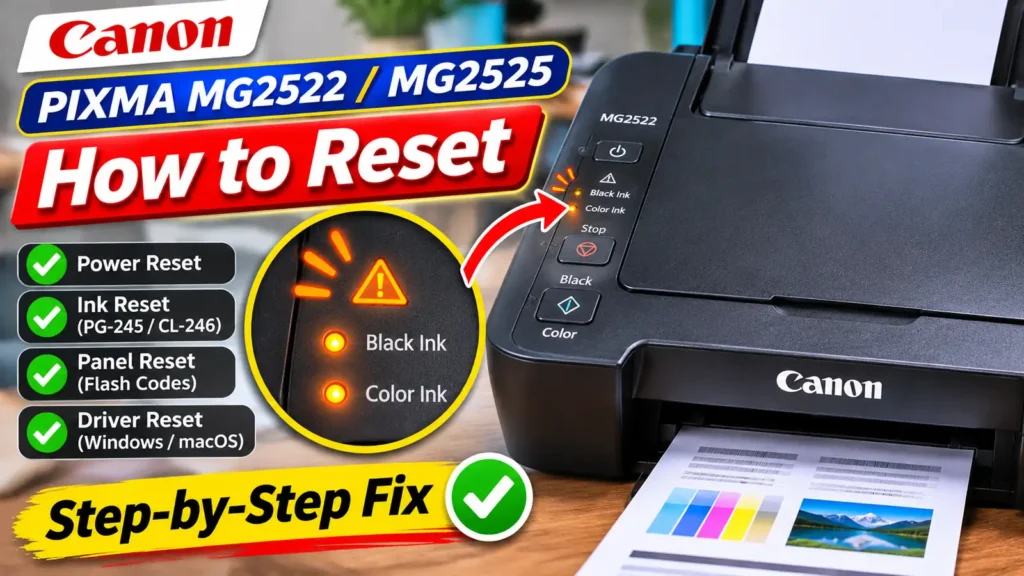
Knowing how to reset a Canon MG2522 printer starts with identifying what has actually locked up the machine. Because the Canon PIXMA MG2522—and its functionally identical sibling, the PIXMA MG2525—belongs to the entry-level MG2500 series, it has no LCD screen, no Wi-Fi module, and no single “Factory Reset All” menu button. Instead, every reset function is controlled through four physical buttons on the left side of the top panel (ON, Stop, Black, and Color) or through the Canon IJ Printer Driver over a USB connection.
When users search for a pixma mg2522 reset, they almost always need one of four distinct procedures:
-
A hard power reset to clear a frozen carriage, a stalled print queue, or a lingering false paper jam alert after clearing an obstruction.
-
An ink level detection bypass (holding the Stop button for at least 5 seconds) to resume printing when a refilled, remanufactured, or still-usable PG-245 or CL-246 cartridge triggers 13 or 16 orange flashes.
-
An operation panel settings restore using counted orange flashes of the Alarm lamp to undo accidental changes to default paper size (Letter vs. A4), Quiet Mode, or Auto Power behavior.
-
A driver defaults reset on Windows or macOS when corrupted software preferences make a healthy printer refuse jobs.
Matching Your Symptom to the Right PIXMA MG2522 Reset
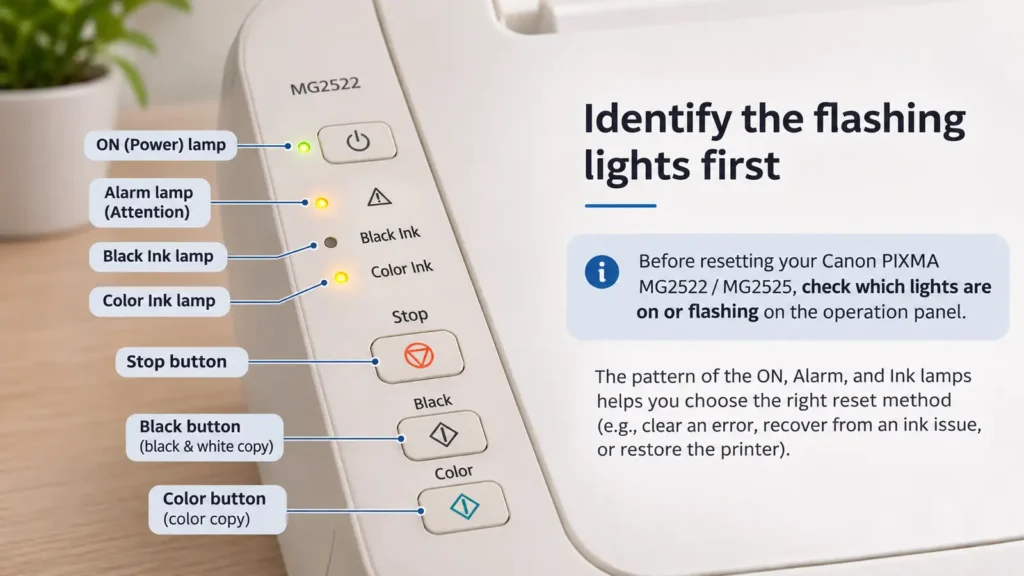
Before pressing random button combinations, look closely at the four indicator LEDs on the operation panel: the green ON lamp, the orange Alarm lamp (marked with a lightning bolt triangle), and the two orange Ink lamps (the upper LED represents the PG-245 / PG-245XL Black FINE cartridge, and the lower LED represents the CL-246 / CL-246XL Color FINE cartridge).
On the MG2500 series, the printer communicates errors by either flashing the orange Alarm lamp repeatedly in a counted cycle (with a brief pause between cycles) or flashing the green ON lamp and orange Alarm lamp alternately.
| Flashing Light Pattern | Support Code | Root Cause | Correct Reset or Fix |
| 2 orange flashes | 1000 | No paper in the rear tray | Load paper in the rear tray and press Black or Color |
| 3 orange flashes | 1203 / 1300 | Cover open while printing or paper jam | Clear jammed paper, close cover, and press Black or Color (or run a hard power reset) |
| 4 orange flashes | 1687 | FINE cartridge not seated properly | Open front cover, push cartridge up until it clicks, and close cover |
| 5 orange flashes | 1401 / 1403 / 1485 | Cartridge missing, wrong model, or unread contact | Reseat PG-245/CL-246 cartridge and clean gold contacts; cannot be bypassed by holding Stop |
| 8 orange flashes | 1700 / 1701 | Waste ink absorber is almost full | Press Black or Color to exit the warning and continue printing temporarily |
| 11 orange flashes | 4102 | Paper size or media type setting mismatch | Reset onboard page size (10-flash Stop procedure) or match driver paper size |
| 13 orange flashes | 1686 | Remaining ink level cannot be detected | Press and hold Stop for at least 5 seconds to disable ink level detection |
| 14 or 15 orange flashes | 1684 / 1682 | FINE cartridge cannot be recognized | Clean cartridge contacts or replace defective cartridge; 5-second Stop bypass will not clear this |
| 16 orange flashes | 1688 | Ink has run out according to chip counter | Replace cartridge, or hold Stop for at least 5 seconds to bypass ink detection |
| 2 alternate green/orange flashes | 5100 | Carriage movement or encoder strip obstruction | Unplug printer, clear foreign objects, and perform a hard power reset |
| 7 alternate green/orange flashes | 5B00 / 5B01 | Waste ink absorber counter is full | Requires physical pad inspection and EEPROM service software; button resets alone will not clear it |
| 10 alternate green/orange flashes | B200 / B201 | Print head voltage or hardware failure | Turn off, unplug, and inspect/replace faulty FINE cartridges; often indicates hardware failure |
Identifying your exact flash pattern saves time and prevents unnecessary wear on the print head. Once you know whether you are dealing with a temporary hardware lockup or an ink counter lock, you can apply the exact reset procedure below.
How to Reset Canon PIXMA MG2525 & MG2522 Printer Hardware (Hard Power Reset)
Because the MG2522 and MG2525 share identical internal electronics and mechanical assemblies, the procedure for how to reset canon pixma mg2525 & mg2522 printer hardware after a paper jam, carriage stall (Support Code 5100 or 6000), or USB communication freeze is the same on both models. A hard power reset drains residual charge from the main logic board, clears temporary volatile memory, and forces the printer to re-home the FINE cartridge holder and paper feed rollers on startup.
Follow these steps to perform a safe hard power reset:
-
Cancel any active print job. If the printer is currently attempting to print, press the Stop button (the button marked with an upside-down triangle inside a circle) and cancel all pending documents in your computer’s print queue.
-
Power down with the ON button. Press the ON button and wait until the green ON lamp stops flashing and goes completely dark. Waiting for the green light to turn off ensures the printer parks and caps the PG-245 and CL-246 print head nozzles so they do not dry out.
-
Disconnect power and USB cables. Unplug the AC power cord from the rear of the printer and from the wall outlet or surge protector. Disconnect the USB cable from the printer as well.
-
Inspect the carriage path while unpowered. Open the front cover and retract the paper output tray. Look inside the chassis for torn paper scraps, packaging tape, or foreign objects. If you need to slide the FINE cartridge holder to the left or right to check beneath it, push the holder gently by hand. Never touch the translucent plastic timing strip (clear encoder film) stretched horizontally behind the carriage—skin oils or scratches on that film will cause permanent alignment and 5100 carriage errors.
-
Wait 3 to 5 minutes. Leaving the printer completely disconnected for several minutes allows the power supply capacitors to discharge fully.
-
Reconnect and verify startup. Close the front cover, plug the power cord directly into a wall outlet, and press the ON button. Reconnect the USB cable only after the internal rollers finish spinning and the green ON lamp stays solid green with no orange Alarm flashes.
If the green ON lamp turns solid and the orange Alarm lamp remains off, the hardware reset succeeded. However, if the orange Alarm lamp immediately resumes flashing 13 or 16 times along with one or both orange Ink lamps, the printer is blocked by its cartridge chip monitor rather than a hardware glitch.