

Step-by-Step NVM Reset Procedure
Once the fuser is repaired or replaced, clear the latched error bit in Non-Volatile Memory:
-
Enter Service Mode (
6789): Use the Home button (5–7 seconds) method on VersaLink/AltaLink models or the0+Start(5–10 seconds) method on keypad WorkCentre models, then log in with6789. -
Open NVM Read/Write:
-
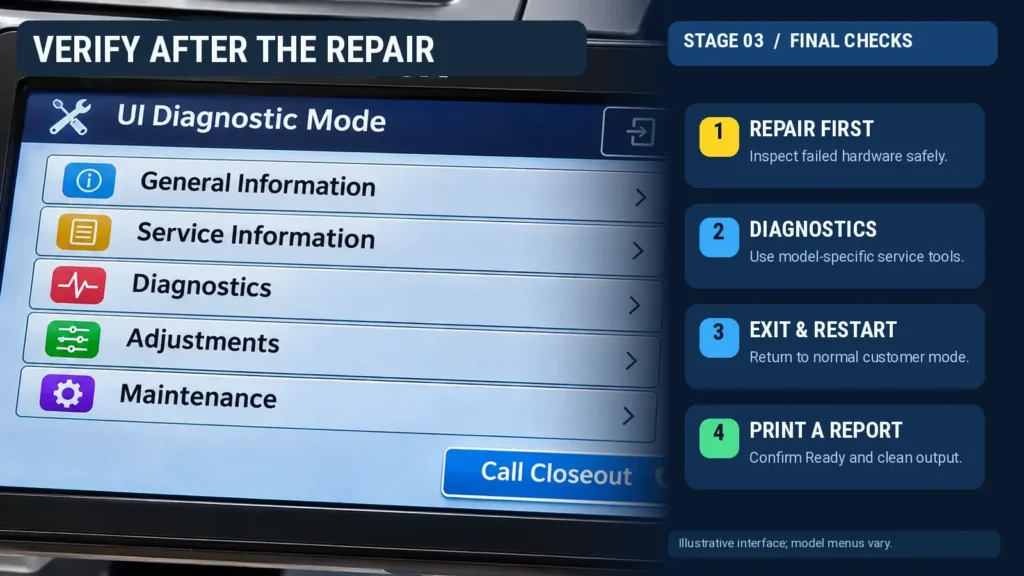
In the UI Diagnostics menu (AltaLink, VersaLink A3, WorkCentre 7220/7225), select Adjustments and touch
dC131 NVM Read/Write. -
In legacy Machine Status menus (WorkCentre 5225/5230/7425), go to Machine Status > Tools > System Settings > Common Service Settings > Maintenance / Diagnostics > NVM Read/Write.
-
-
Enter the Chain and Link for your model’s fault code: Every NVM setting is identified by a Chain (first number) and Link (second number).
-
For WorkCentre 5225 / 5230 fuser codes
010-320and010-327, enter Chain744and Link220(744-220 FuserOverTemp). -
For WorkCentre 7425-style fuser heat control faults, enter Chain
744and Link455(744-455). -
Note for
dC131interfaces: Do not type leading zeros in the Link box (for example, enter2rather than002), asdC131only accepts numeric Link values from1to999.
-
-
Read and overwrite the latched value: Touch Read (or Confirm / Change). Verify that the current value shows
1, enter0into the New Value (or Value of) field, and touch Write or Save. -
Reboot to apply the NVM change: Touch Call Closeout, check Reset Counters, and select Exit & Reboot (or power cycle the main switch) so the engine controller loads the cleared
0value on startup.
Critical Precaution: Never select NVM Initialize (or ESS/MCU NVM Initialization) when attempting to clear a fault code. Initializing NVM erases factory optical calibrations, serial number synchronization, and memory configurations, rendering the copier inoperable until a technician reloads the machine’s settings with a Xerox Portable Workstation (PWS) laptop and backup files.
Resetting Fuser and Consumable Maintenance Counters
Sometimes a Xerox printer displays a persistent maintenance message or supply fault code (such as 05-01 for a full waste toner bottle or a fuser end-of-life alert) rather than a hardware breakdown. While genuine OEM consumables with a fresh Customer Replaceable Unit Monitor (CRUM) chip usually reset their counters automatically upon installation, refurbished fuser units or non-chipped maintenance assemblies require a manual counter reset:
-
Via the Standard Control Panel Menu: Press the Machine Status button, open the Tools tab, and navigate to Admin Settings > Service Tools > Reset Fuser > Reset. On models where the Supplies counter is unlocked in customer mode, you can also go to Machine Status > Supplies, select the replaced consumable, and touch Reset Counter.
-
If Prompted for an Admin Password: Depending on the firmware generation of your Xerox VersaLink or AltaLink printer, the default administrator password is either the device serial number in all capital letters (printed on the rear chassis label or visible in the Embedded Web Server) or
1111on older firmware revisions. -
Via UI Diagnostic Mode (
dC135): If the standard menu does not clear a High Frequency Service Item (HFSI) warning, enter UI Diagnostic Mode using passcode6789, select Maintenance (or Service Information), open routinedC135(HFSI Counter), select the replaced component, and reset its count before exiting with Call Closeout > Exit & Reboot.