

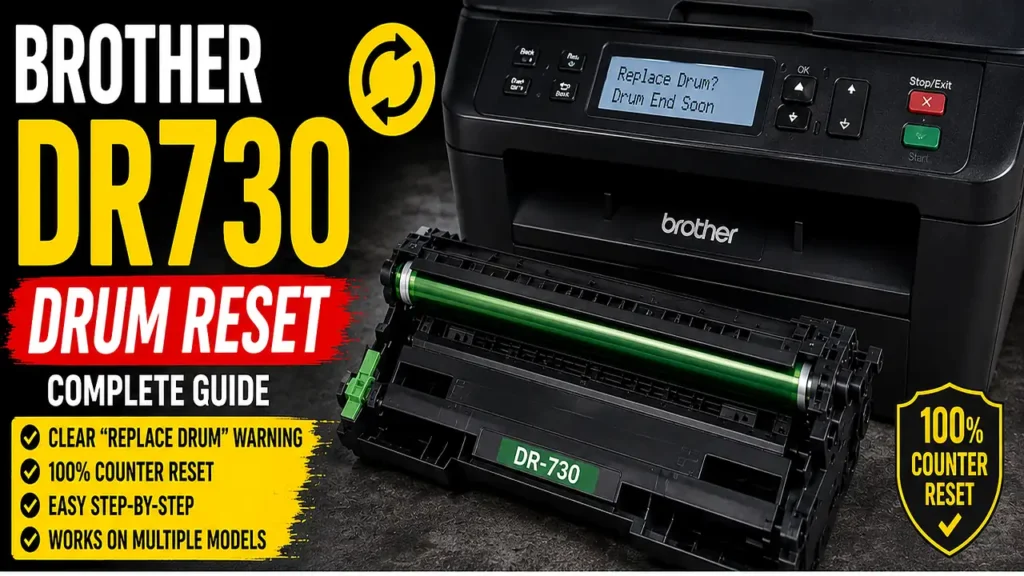
Executing a Brother DR730 Drum Reset Fix is an essential maintenance procedure when servicing Brother monochrome laser printers.
When Brother machines display a persistent “Replace Drum” or “Drum End Soon” warning after installing a new drum assembly, the printer’s logic board requires a manual counter initialization sequence to register the change.
Unlike toner cartridges that rely on physical flag gears or smart chips, Brother drum units depend on a specific keypad sequence performed directly through the control panel.
Understanding how to execute a Brother DR730 Drum Reset Fix allows technicians to clear the maintenance warning and correctly initialize the counter after installing a new drum unit.
This technical manual details a 4-phase approach, moving from corona wire decontamination to model-specific keypad sequences and report verification.
Safety Warning and Official Stance: Brother explicitly instructs users DO NOT reset the drum counter unless you are replacing the drum unit with a new one. Resetting a used drum counter is an unofficial diagnostic choice; it clears the prompt but does not physically restore the photosensitive OPC surface. This guide is intended strictly for educational and troubleshooting purposes. Proceed at your own risk.
Prerequisites and Diagnostic Limitations
To align with professional servicing standards, please review the following limitations before attempting this procedure:
-
Physical Wear vs. Digital Registry: Resetting the counter clears the maintenance prompt, but it does not repair scratches or electrical wear on the photosensitive drum cylinder.
-
Corona Wire Condition: If the primary corona wire inside the drum assembly is contaminated with paper dust, clearing the digital counter will not resolve background streaking.
-
Model-Specific Key Sequences: Reset button combinations vary significantly between single-line LCD, dual-line LCD, and touchscreen control panels.
Recommended Tool Setup
To perform a thorough drum evaluation and reset, having the following items on your workbench is highly advised:
-
A clean, lint-free microfiber cloth (for wiping the plastic housing only; do not wipe the OPC drum surface directly).
-
99% Isopropyl Alcohol (IPA) and foam swabs (for wiping metal contacts; never apply IPA to the OPC drum).
-
Nitrile gloves (to prevent fingerprints and skin oils from contacting the photosensitive OPC drum surface).
-
Standard paper for printing system reports.
Supported Printer Architectures and Reset Logic
The drum counter reset sequence varies depending on the specific printer layout. All procedures require the front access cover to remain completely closed.
| Model Family | Control Panel Interface | Front Cover | Exact Reset Key Sequence |
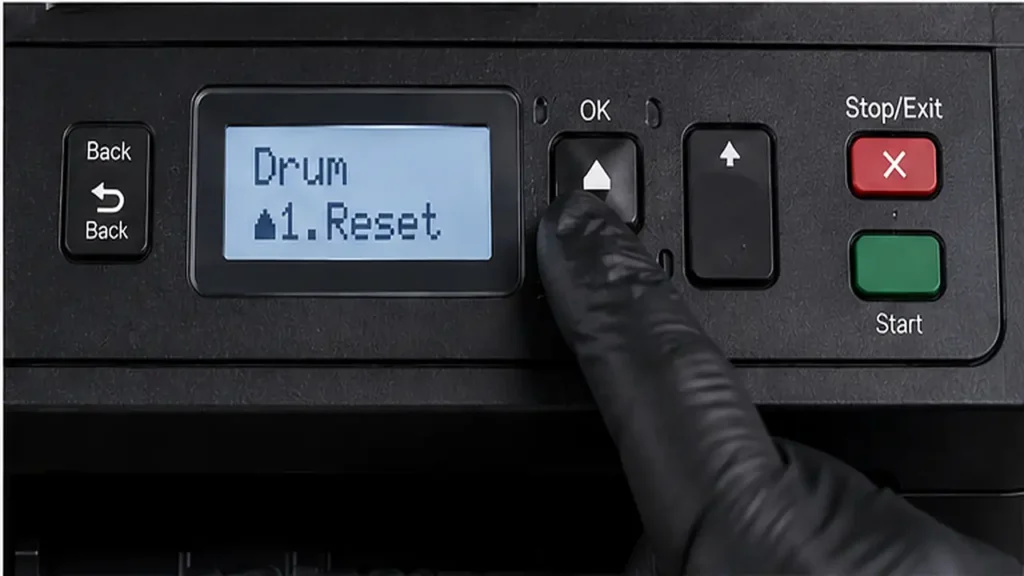
| MFC-L2710DW / DCP-L2550DW / HL-L2390DW | Dual-Line LCD & Buttons | Closed | Press OK + Up Arrow → Select Drum → Press OK → Press Up Arrow (‘1’) to Reset |
| HL-L2350DW / HL-L2370DW | Single-Line LCD & Buttons | Closed | Press OK + Up Arrow → Select Drum → Press OK → Press Down Arrow to Reset |
| MFC-L2750DW / MFC-L2730DW | Touchscreen Display | Closed | Press Cancel (X) → Press and hold Toner Icon for 5s → Select Drum → Press Yes |
Understanding the Electrostatic Drum Counter Logic
The Brother printing system separates the toner cartridge (powder container) from the drum unit (OPC cylinder).
The drum unit receives the laser image and electrostatically transfers toner onto the paper.
Brother rates the DR-730 drum unit for approximately 12,000 pages under standardized testing conditions. However, actual drum life varies based on average job size, media type, and environmental conditions.
Because replacing the physical drum unit does not activate an automatic mechanical switch, executing a Brother DR730 Drum Reset Fix via the control panel is mandatory to reset the internal memory counter back to zero.
Phase 1: Corona Wire Decontamination and Contact Care
Before initiating a Brother DR730 Drum Reset Fix, ensure the drum frame and primary charge wire are free of debris.
-
Turn off the printer, open the front access cover, and pull out the drum and toner assembly.
-
Press the green lock lever on the left side of the assembly to release the toner cartridge from the drum cradle.
-
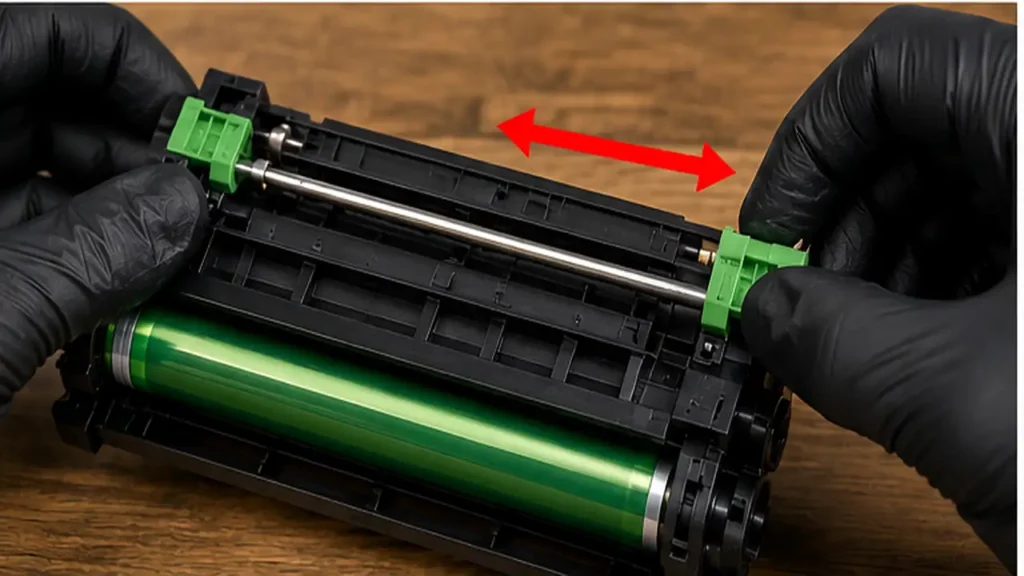
Locate the green tab on the top of the drum unit (the corona wire cleaner).
-
Gently slide the green tab from left to right and right to left several times.
-
Critical Alignment: Return the green tab to its home position (far left) until it clicks into place. Failing to lock the tab in its home position may cause a vertical stripe or another print-quality defect.
-
Re-insert the toner cartridge into the drum cradle until it locks, reinstall the assembly into the printer, and close the front cover securely.
Phase 2: Model Identification and Control-Panel Preparation
A critical step when preparing for a Brother DR730 Drum Reset Fix is verifying that the machine is in a ready state with its panels secured.
-
Ensure the front access cover is completely closed.
-
Power on the printer using the physical Power button.
-
Wait for the main motor spin to complete and ensure the display reaches its standard home or error prompt without any open-door warnings.
-
Identify your specific control panel layout (Dual-line LCD, Single-line LCD, or Touchscreen) to choose the corresponding sequence in Phase 3.
Phase 3: Executing the Model-Specific Reset Sequence
Follow the precise keypad sequence corresponding to your model to complete the Brother DR730 Drum Reset Fix.
Sequence A: Dual-Line LCD Models (e.g., MFC-L2710DW, DCP-L2550DW, HL-L2390DW)
-
With the front cover closed, press and hold OK and the Up Arrow simultaneously.
-
Press OK to select Drum.
-
Press the Up Arrow (or ‘1’) to confirm the reset. The screen will display “Accepted.”
Sequence B: Single-Line LCD Models (e.g., HL-L2350DW, HL-L2370DW)
-
With the front cover closed, press and hold OK and the Up Arrow simultaneously.
-
Press OK to select Drum.
-
Press the Down Arrow to confirm the reset. The screen will display “Accepted.”
Sequence C: Touchscreen Models (e.g., MFC-L2750DW)
-
With the front cover closed, press and hold the red Cancel (X) button to return to the main menu if needed.
-
Press and hold the Toner Icon (bottom left) for 5 seconds until the hidden reset menu appears.
-
Select Drum, then press Yes to confirm the reset.
Phase 4: Counter Verification and Test Print
Completing the Brother DR730 Drum Reset Fix requires verifying that the logic board has updated its maintenance registers.
Primary Verification: Control Panel Status
-
On LCD Models, navigate to Menu > Machine Info. > Parts Life > Drum.
-
On Touchscreen Models, navigate to Settings > All Settings > Machine Info. > Parts Life > Drum.
-
Verify that the display shows the remaining drum life status at 100%.
Optional Verification: Print Quality Test
-
Navigate to the reports menu on the control panel (e.g., Menu > Print Reports > User Settings or Printer Settings).
-
Print the User Settings or Supplies Status report to perform a visual print quality test and confirm the report displays 100% drum life. Alternatively, verify status via the Brother Status Monitor on a connected PC.