

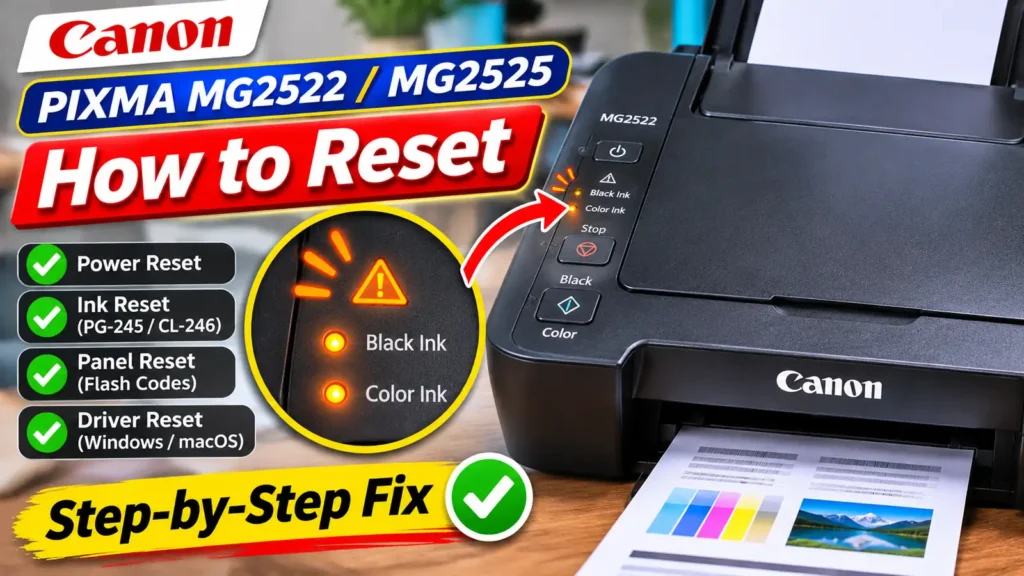
Avoiding Accidental Maintenance Runs When Holding the Stop Button
When the printer is idle with a solid green ON lamp, releasing the Stop button after fewer than 9 flashes triggers built-in maintenance routines rather than resets. Keep this flash-count map in mind so you do not waste ink by releasing the button early:
| Alarm Lamp Flashes (While Holding Stop in Standby) | Triggered Function Upon Releasing Stop |
| 1 flash | Prints the Nozzle Check Pattern (requires plain paper in rear tray) |
| 2 flashes | Runs standard Print Head Cleaning (takes about 30 seconds; uses ink) |
| 3 flashes | Runs Deep Print Head Cleaning (consumes a substantial amount of ink) |
| 4 flashes | Prints the automatic Print Head Alignment sheet |
| 6 flashes | Prints current head position adjustment values |
| 7 flashes | Rotates and cleans the Paper Feed Rollers |
| 8 flashes | Runs Bottom Plate Cleaning to remove internal ink smudges |
Understanding Button-Combination “Factory Resets” and Service Mode Limits
Many online guides and video tutorials demonstrate multi-button sequences on the ON and Stop buttons claiming to perform a full factory reset on the Canon PIXMA MG2522 and MG2525. Before using these sequences, it helps to understand what they actually do on MG2500-series hardware—and where their limitations lie.
The Panel Button Reset Sequence
A widely circulated button sequence for the MG2522 and MG2525 is performed when the printer is unresponsive in normal standby:
-
Turn the printer completely off using the ON button so no lights are illuminated.
-
Press and hold both the Stop button and the ON button simultaneously for 5 seconds.
-
While keeping the Stop button held down, release the ON button and press the ON button again once the indicator light begins blinking.
-
Release the Stop button, then press the Stop button 5 times in a row; on the 6th press, hold the Stop button down for 5 seconds.
-
Release all buttons and allow the power light to finish blinking until the printer powers down, then press ON to restart it.
Important technical limitation: Canon does not document this sequence as an official factory reset in the MG2500 series service or user documentation. While cycling power and button inputs can clear a stuck panel state, it will not bypass a depleted cartridge chip (which requires the 5-second Stop hold while powered on) and will not clear hardware fault codes.
Entering Canon MG-Series Service Mode (And Why It Cannot Fix 5B00 Alone)
Technicians use a specific startup sequence on Canon MG-series printers to enter Service Mode when diagnosing Support Code 5B00 / 5B01 (7 alternate flashes of the green ON lamp and orange Alarm lamp, indicating the waste ink absorber counter has reached 100%):
-
Turn off the printer with the ON button and wait until all lights are off.
-
Press and hold the Stop button, then press and hold the ON button.
-
While continuing to hold the ON button down, release the Stop button.
-
Still holding the ON button, press and release the Stop button 5 times (or 6 times on certain MG-series firmware revisions), then release the ON button.
Critical precaution for Support Code 5B00: Entering Service Mode via physical buttons only puts the printer into a diagnostic listening state (where the green ON lamp lights up or the screen remains blank for USB service commands). Pressing the buttons alone does not reset the internal EEPROM waste ink counter on modern PIXMA MG2522 or MG2525 mainboards; clearing a 5B00 lock requires a compatible Canon service tool or waste ink reset utility over USB. Furthermore, never reset the waste ink counter repeatedly without inspecting, cleaning, or replacing the physical felt ink absorber pads in the base of the printer, or excess waste ink will eventually overflow from the bottom chassis.
Resetting Canon MG2522 and MG2525 Software Defaults on Windows and macOS
If your printer shows a solid green ON lamp with no orange Alarm flashes, prints a clean nozzle check page when you hold the Stop button for 1 flash, yet still fails to print from your computer or prints with garbled layouts, the issue lies in your computer’s driver settings rather than the printer hardware.
Restoring Driver Defaults on Windows
-
Make sure the printer is turned on and connected to your PC via USB.
-
Open Control Panel and select Devices and Printers (or open Settings, select Bluetooth & devices, and click Printers & scanners).
-
Select your Canon MG2500 series Printer and open Printing preferences.
-
On the Quick Setup tab, click the Defaults button at the bottom of the window to return saved profiles to factory settings.
-
Switch to the Main tab and click Defaults, then open the Page Setup tab and click Defaults to clear custom scaling, duplexing, or paper size overrides.
-
Click OK to save the restored factory driver configuration.
Resetting the Printer Queue on macOS
If you use the MG2522 or MG2525 with a Mac and print jobs stall in the queue, open System Settings (or System Preferences), navigate to Printers & Scanners, select the Canon MG2500 series printer, click Remove Printer, and then re-add the printer from the USB device list so macOS builds a fresh print queue.
Confirming Your Reset Worked
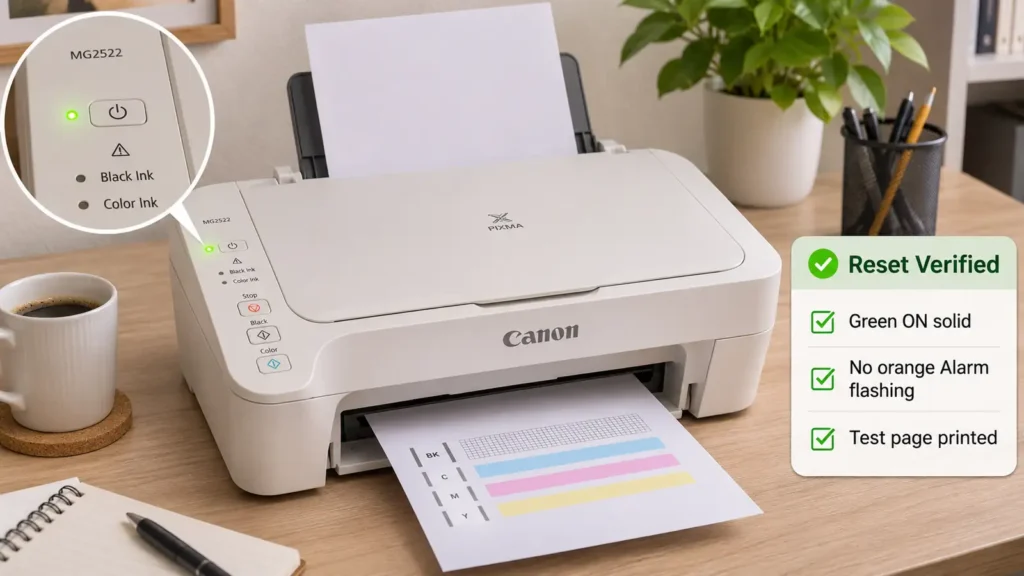
After completing the appropriate reset—whether bypassing Support Code 1686 / 1688 with the 5-second Stop hold, restoring the 10-flash page size setting, or resetting the driver defaults—load two sheets of plain Letter or A4 paper in the rear tray. Hold down the Stop button until the orange Alarm lamp flashes once, then release it immediately. If the MG2522 or MG2525 feeds the paper smoothly, prints a complete nozzle check grid at normal speed, and returns to a solid green ON lamp, your printer is fully reset and ready for everyday printing.