

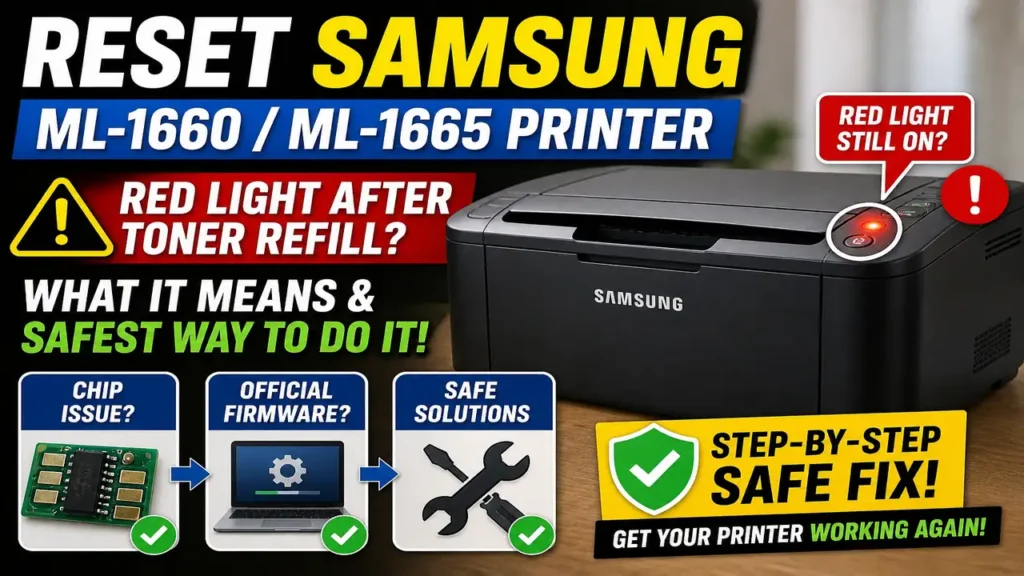
Executing a Reset Samsung ML-1660 ML-1665 Printer procedure is a highly searched diagnostic requirement among users servicing Samsung ML-series monochrome laser printers.
A solid red LED after refilling a toner cartridge may indicate an exhausted or unreadable cartridge chip, but it can also signal a paper-feed error, open cover, paper jam, or general printer fault. Technicians must confirm the reported status via software before physically replacing the CRUM chip.
Refilling the cartridge with fresh powder without addressing an unreadable chip or an underlying software conflict leaves the printer locked in an error state.
By systematically diagnosing the LED status, inspecting the physical contact assembly, replacing the CRUM chip, and reserving official firmware updates for system instability, technicians can safely restore normal printer operation.
This comprehensive technical manual details a structured troubleshooting protocol, moving from error identification and LED analysis to contact decontamination, chip installation, and optional firmware updates.
Safety Warning and Official Stance: Manufacturer support documentation does not provide procedures for cartridge refilling, replacement-chip installation, or unofficial firmware patches. These modifications are not manufacturer-approved and may affect reliability or support eligibility. This guide prioritizes standard troubleshooting, cautious contact inspection, and clearly identified aftermarket chip replacement. Proceed at your own risk.
Prerequisites and Diagnostic Limitations
To align with professional servicing standards, please review the following limitations before attempting this procedure:
-
Chip Lockout vs. Hardware Faults: Replacing the cartridge chip addresses toner lifecycle prompts. It will not resolve mechanical paper feed jams, broken gears, or mainboard component failures.
-
Unofficial Patch Risks: Community-developed firmware patches may permanently modify the printer’s firmware or cartridge-verification behavior. An interrupted or incompatible flash can leave the printer unable to initialize normally and may require specialized recovery equipment or mainboard replacement.
-
Regional Compatibility: Replacement chips must strictly match the specific geographic region of the printer’s original firmware.
Recommended Tool Setup
To perform a thorough evaluation, having the following items on your workbench is recommended:
-
A clean, dry lint-free foam swab or microfiber cloth.
-
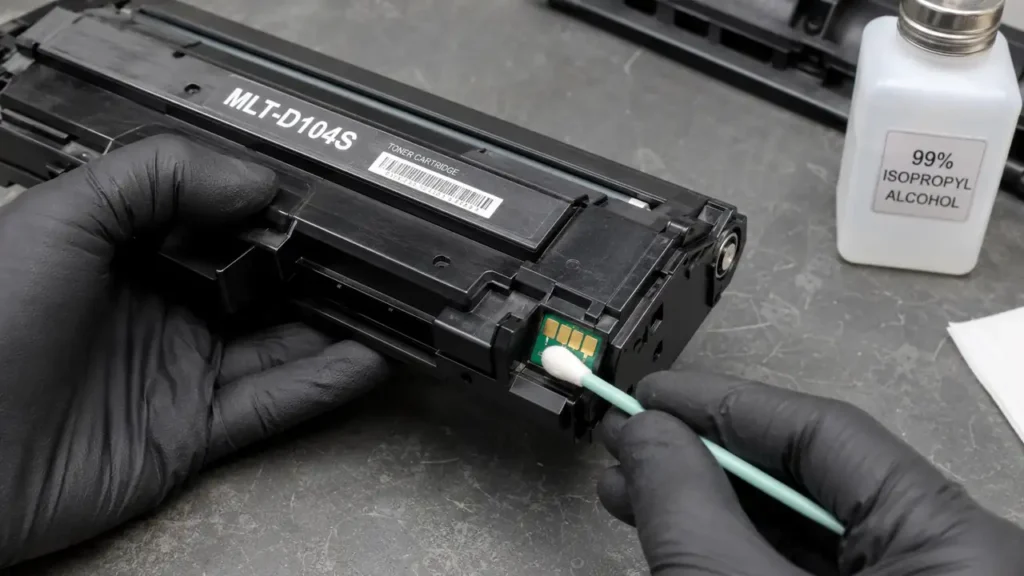
99% Isopropyl Alcohol (IPA) for cleaning external chip pads only.
-
A direct USB-A to USB-B cable (do not use USB hubs or wireless extensions during firmware procedures).
-
A replacement MLT-D104S series chip matching your printer’s region.
-
A flashlight for internal cavity inspection.
Supported Printer Architectures
This diagnostic methodology applies to several compact Samsung ML-series monochrome laser models utilizing the MLT-D104 cartridge platform.
| Printer Family | Common Cartridge Reference | Important Note |
| ML-1660 / ML-1665 | MLT-D104S or regional equivalent | Verify country and firmware region |
| ML-1860 / ML-1865 | MLT-D104S or regional equivalent | Do not order by appearance alone |
Understanding the LED Status Indicators
Before opening the printer chassis, understanding the exact behavior of the top-panel LED is critical. The ML-series uses simplified light codes to communicate hardware states.
| LED Status | Typical Meaning | Recommended Action |
| Solid Green | Ready or online | No action required |
| Blinking Green | Receiving or printing data | Wait for completion |
| Blinking Red | Low toner, minor error, manual feed, or job cancellation | Check Printer Status and paper feed |
| Solid Red | Cover open, no paper, major error, or toner end condition | Check Printer Status before replacing the chip |
| Orange Jam LED | Paper jam | Clear the jam |
Note: LED behavior can represent more than one condition. Confirm the exact error through Samsung Printer Status or Smart Panel before replacing the cartridge chip.
The Supply Chip Mechanism Explained
The cartridge uses a memory chip, commonly referred to as a CRUM (Customer Replaceable Unit Monitor) or supply chip, to provide cartridge identity and lifecycle information. When the printer can no longer read or accept that information, it may report a toner-related error.
The MLT-D104S is rated for approximately 1,500 standard pages under ISO/IEC 19752 test conditions. Actual yield varies with page content, graphics density, and printing patterns.
Simply pouring fresh toner powder into the hopper does not clear an exhausted chip state. If the chip has reached its programmed usage limit, the printer may remain in a toner-related error state until it detects an accepted and readable cartridge chip.
Phase 1: Identify the Red LED Condition
Before attempting hardware modifications, you must rule out basic paper-feed, cover, or print spooler faults.
-
Power off the printer using the physical power switch.
-
Disconnect the AC power cord from the wall outlet and leave the machine unplugged for 60 seconds to allow internal components to reset fully.
-
Disconnect the USB cable from the host computer to ensure no stuck print jobs are sending conflicting signals.
-
Reconnect the AC power cord directly to a wall outlet (bypassing surge protectors for testing) and power the printer on in complete isolation.
-
Observe the status LED: a solid red light with no USB connected points toward a printer-side condition, such as an open cover, paper jam, paper-feed issue, or cartridge recognition fault.
-
If the printer reaches the Ready state while disconnected from USB, reconnect it and troubleshoot the Windows Print Spooler separately. A host-side spooler fault should be treated as a printing communication issue, not a toner reset.
Phase 2: Contact Decontamination and Verification
If the red light persists, inspect the physical interface between the cartridge chip and the printer chassis.
-
Open the top cover and carefully extract the toner cartridge by its built-in handle.
-
Use a flashlight to inspect the internal right-hand side of the printer cavity. Locate the spring-loaded gold contact pins associated with the cartridge chip.
-
Visually check if any pin is bent, misaligned, or coated with toner residue, which may interfere with reliable electrical contact.
-
With the printer unplugged, clean the internal spring contacts first with a dry, lint-free foam swab. Do not spray or apply liquid cleaner inside the printer. If the cartridge chip pads require cleaning, remove the cartridge and use a minimally dampened electronics-safe swab on the external chip pads only. Allow them to dry completely before reinstalling the cartridge.
-
Reinsert the cartridge firmly until it seats into the chassis guides. Ensure it clicks into place.
-
Print Status Report: If the printer reaches Ready mode, print the Configuration or Supplies Information report and review the cartridge status, page count, and reported supply-life information. Verify the exact button timing for your specific firmware revision in the user manual.
Phase 3: Regional Chip Replacement Protocol
For refilled cartridges with an exhausted chip status, the practical step to resolve an ML-1665 cartridge recognition error is installing a new, compatible chip.
-
Power off the printer completely and remove the toner cartridge.
-
Place the cartridge on a flat, static-free surface. Locate the small chip housing on the side of the cartridge frame.
-
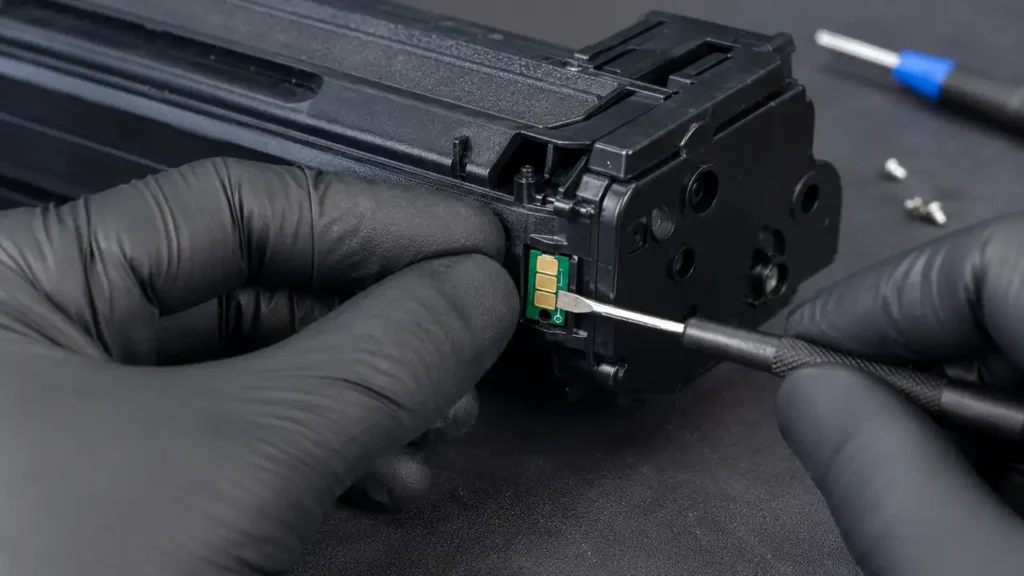
Carefully unclip or remove the plastic retention tabs holding the old chip using a precision flathead screwdriver. Do not snap the plastic housing.
-
Remove the expired chip and seat the new replacement chip in the exact same orientation. The gold contact pads must face outward toward the printer’s internal contact pins.
-
Secure the chip using the original retention slot or the mounting method supplied by the chip manufacturer. The contact pads must remain flat, exposed, and correctly aligned.
-
Reinstall the cartridge into the printer and close the top cover. Power on the machine. If the replacement chip is compatible and no other printer-side fault is present, the status LED may return to solid green after initialization.
Phase 4: Optional Official Firmware Updates
If the printer exhibits severe system instability, unexpected boot loops, or communication failures via USB, the final stage of troubleshooting involves checking for official firmware updates.
Note: Do not flash firmware solely to clear an exhausted toner chip. Use this phase only when the printer also shows firmware or USB communication instability.
-
Connect the printer directly to a PC using a high-quality USB cable. Avoid USB hubs, front-panel PC extensions, or wireless print servers.
-
Open the official HP support page for the exact printer model and operating system. Use a firmware utility only if HP currently lists an official package for that specific model and regional variant.
-
Ensure your PC is plugged into a reliable power source and disable any aggressive sleep modes.
-
Follow the official manufacturer instructions provided with the downloaded firmware update package.
-
Critical Warning: Do not interrupt power or disconnect the USB cable during a firmware flashing process. Doing so may permanently damage the mainboard.
-
Follow the update utility until it confirms completion. The printer may restart automatically; do not reconnect or power-cycle it until the official utility indicates that the process has finished entirely.
Reset Samsung ML-1660/ML-1665 Printer Download here :
Download
Nice. Thank you.